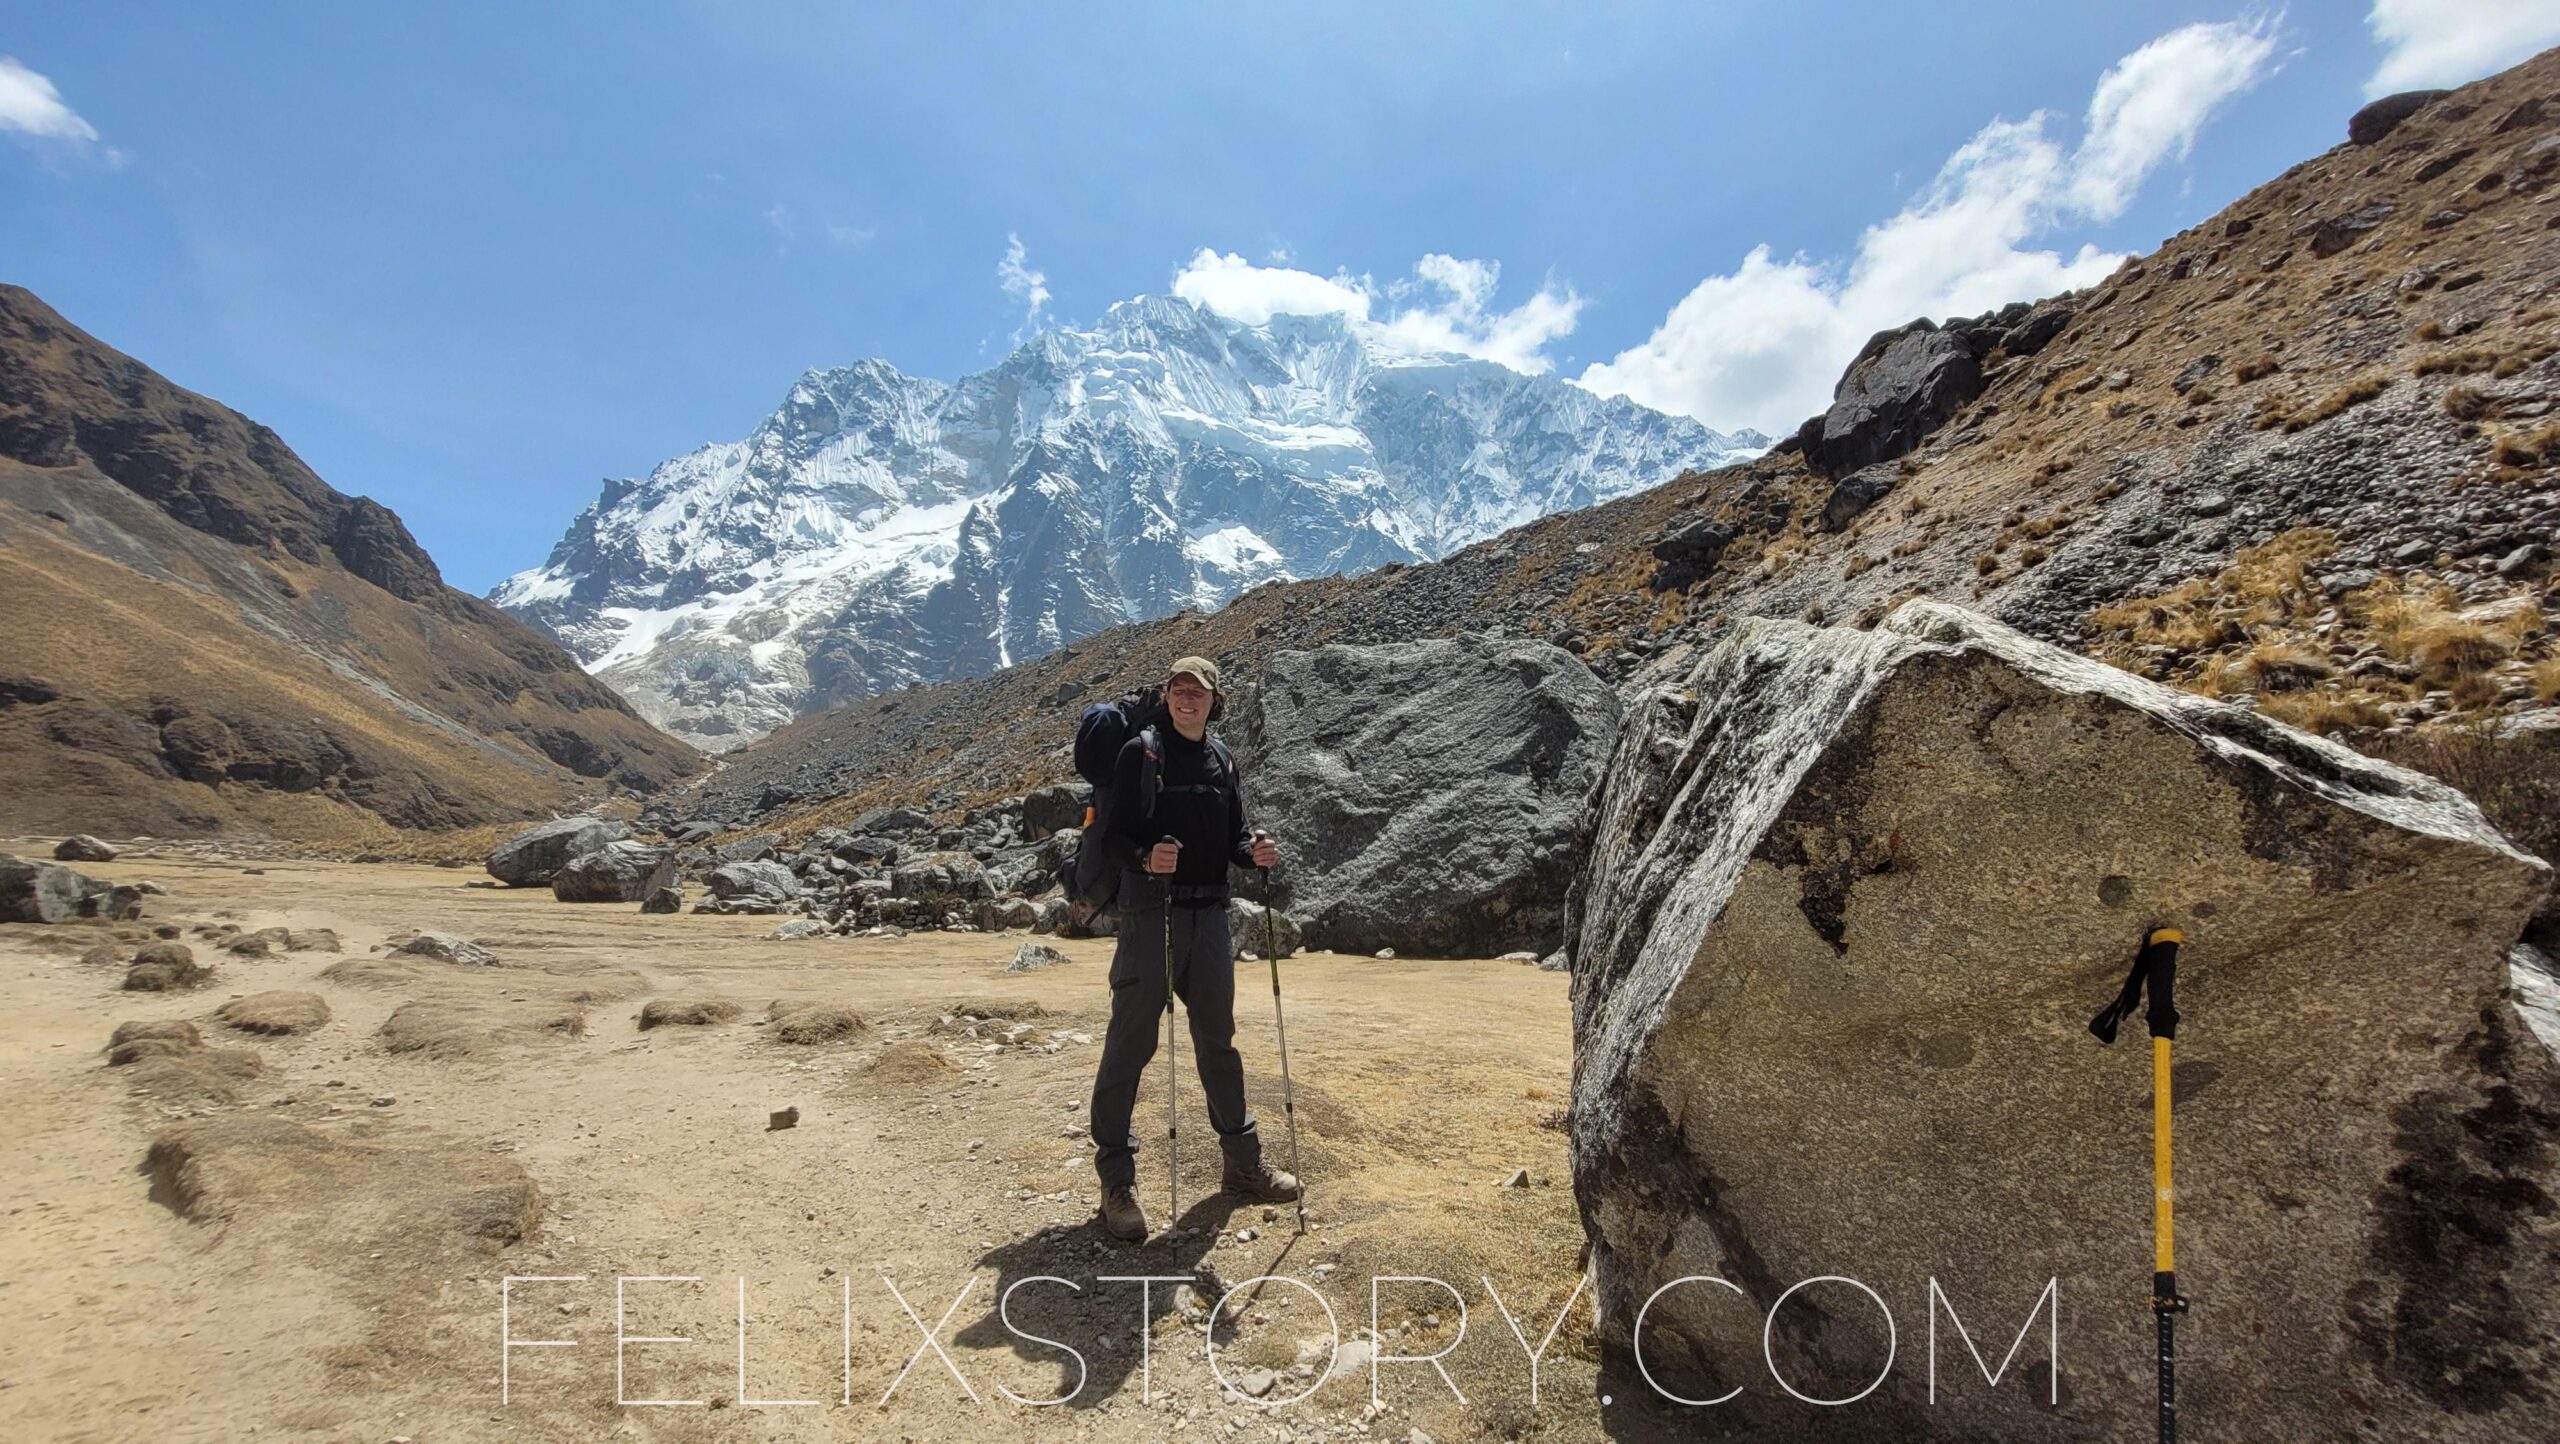
HOW TO HIKE THE SALKANTAY TREK INDEPENDENTLY
Most people hike the Salkantay Trek in a group, with a guide. But that is not necessary at all. Hiking Salkantay independently is easier than you think! I’ll show you how! When I told other travelers that I’m going to hike the Salkantay Trek without a guide just by myself they would look at me with eyes wide open, with a speaking pause followed by “WHAT?!”. To many this seems like a crazy idea, but it really isn’t. Actually, doing this trek by yourself is quite easy and you don’t even need camping gear.
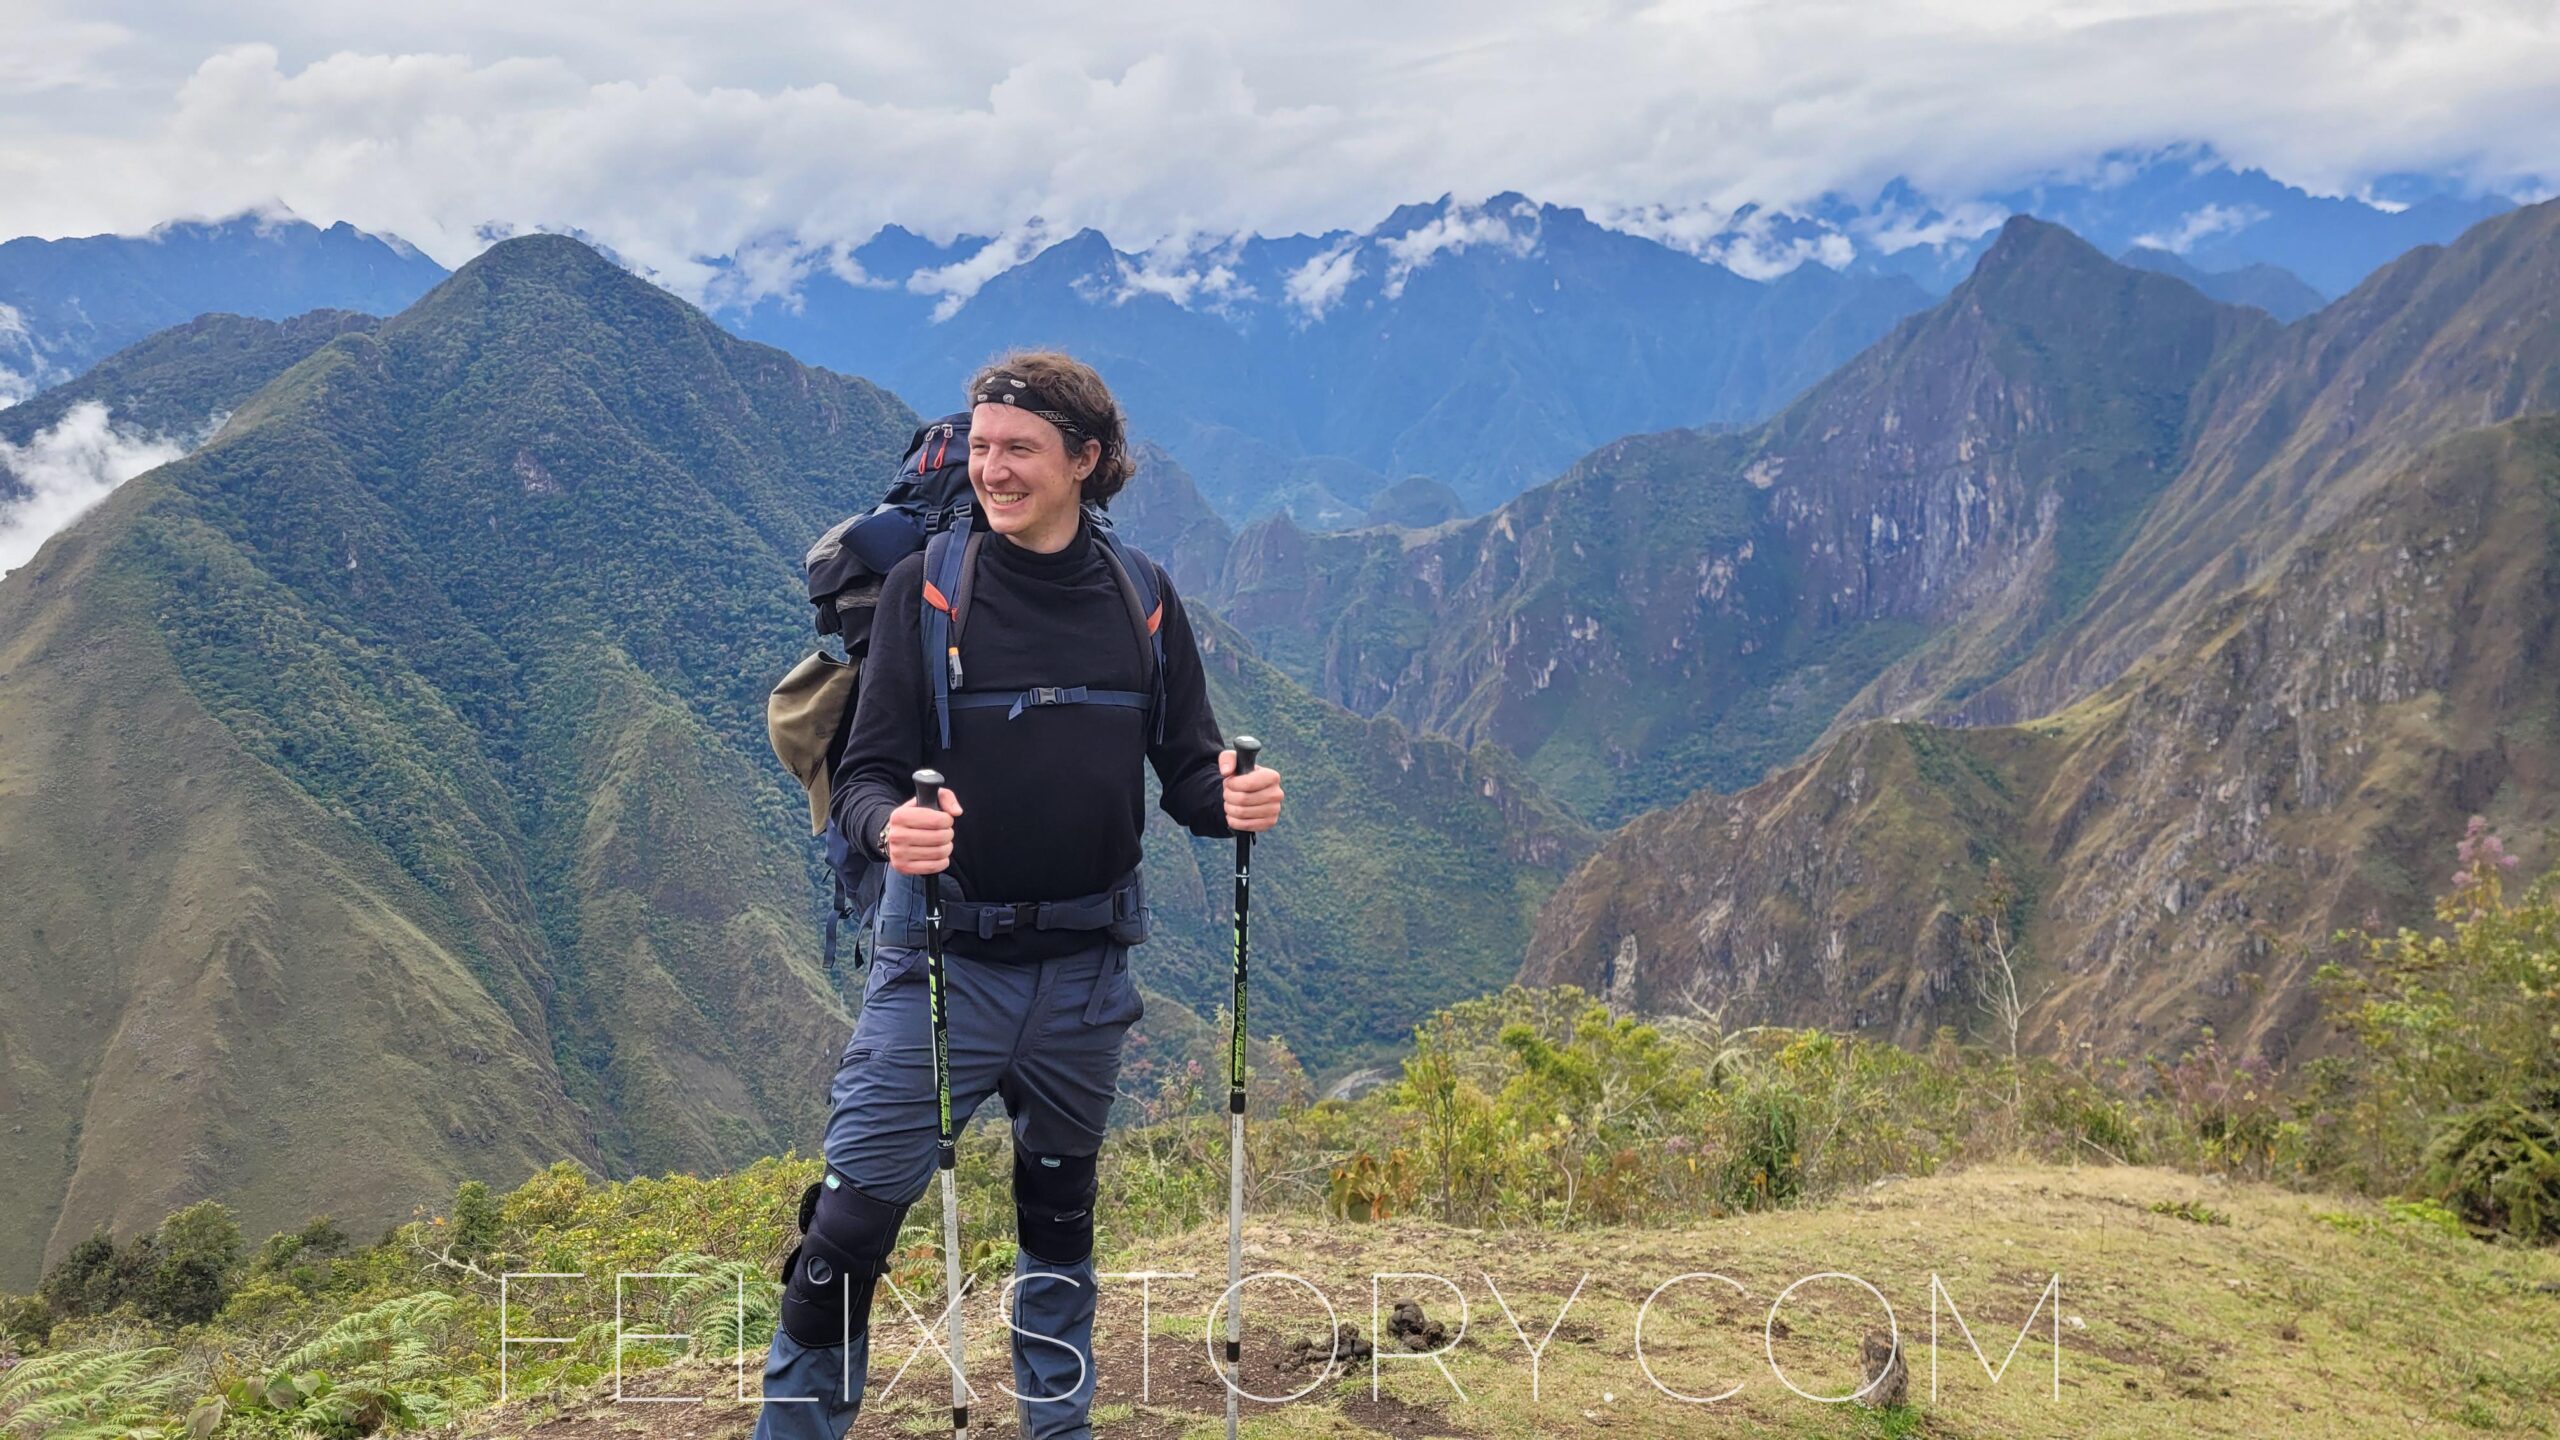
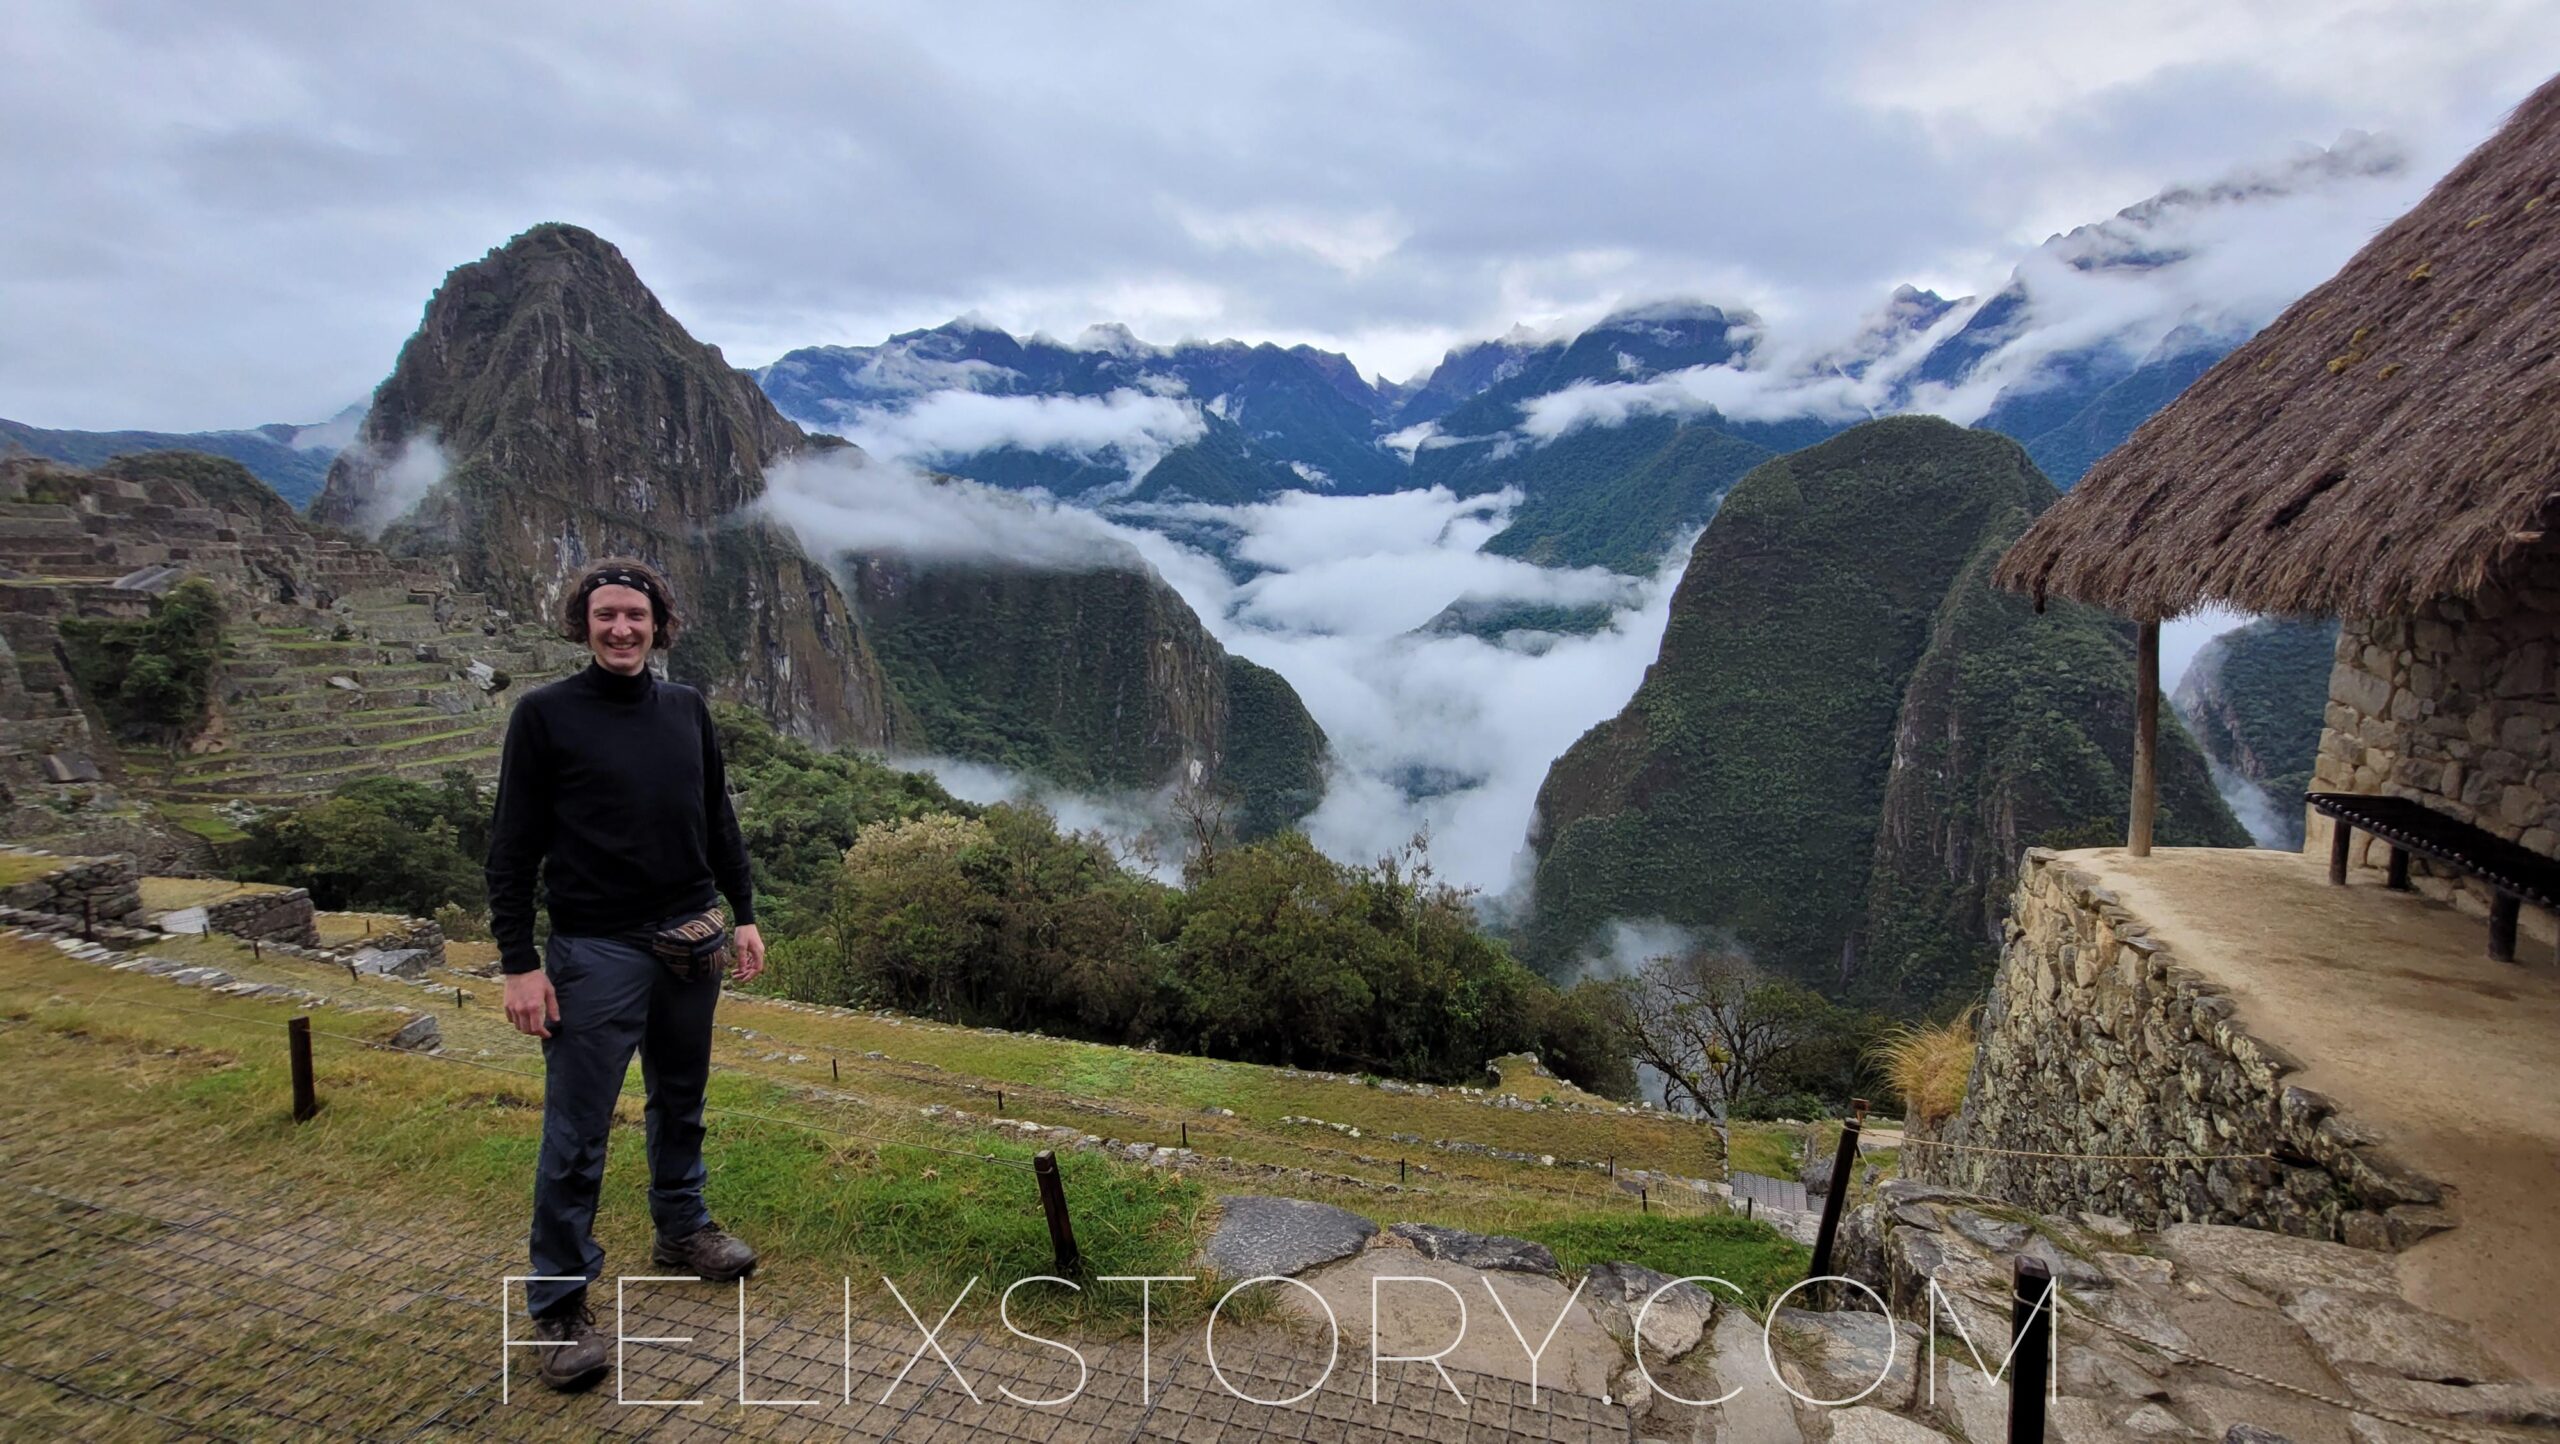
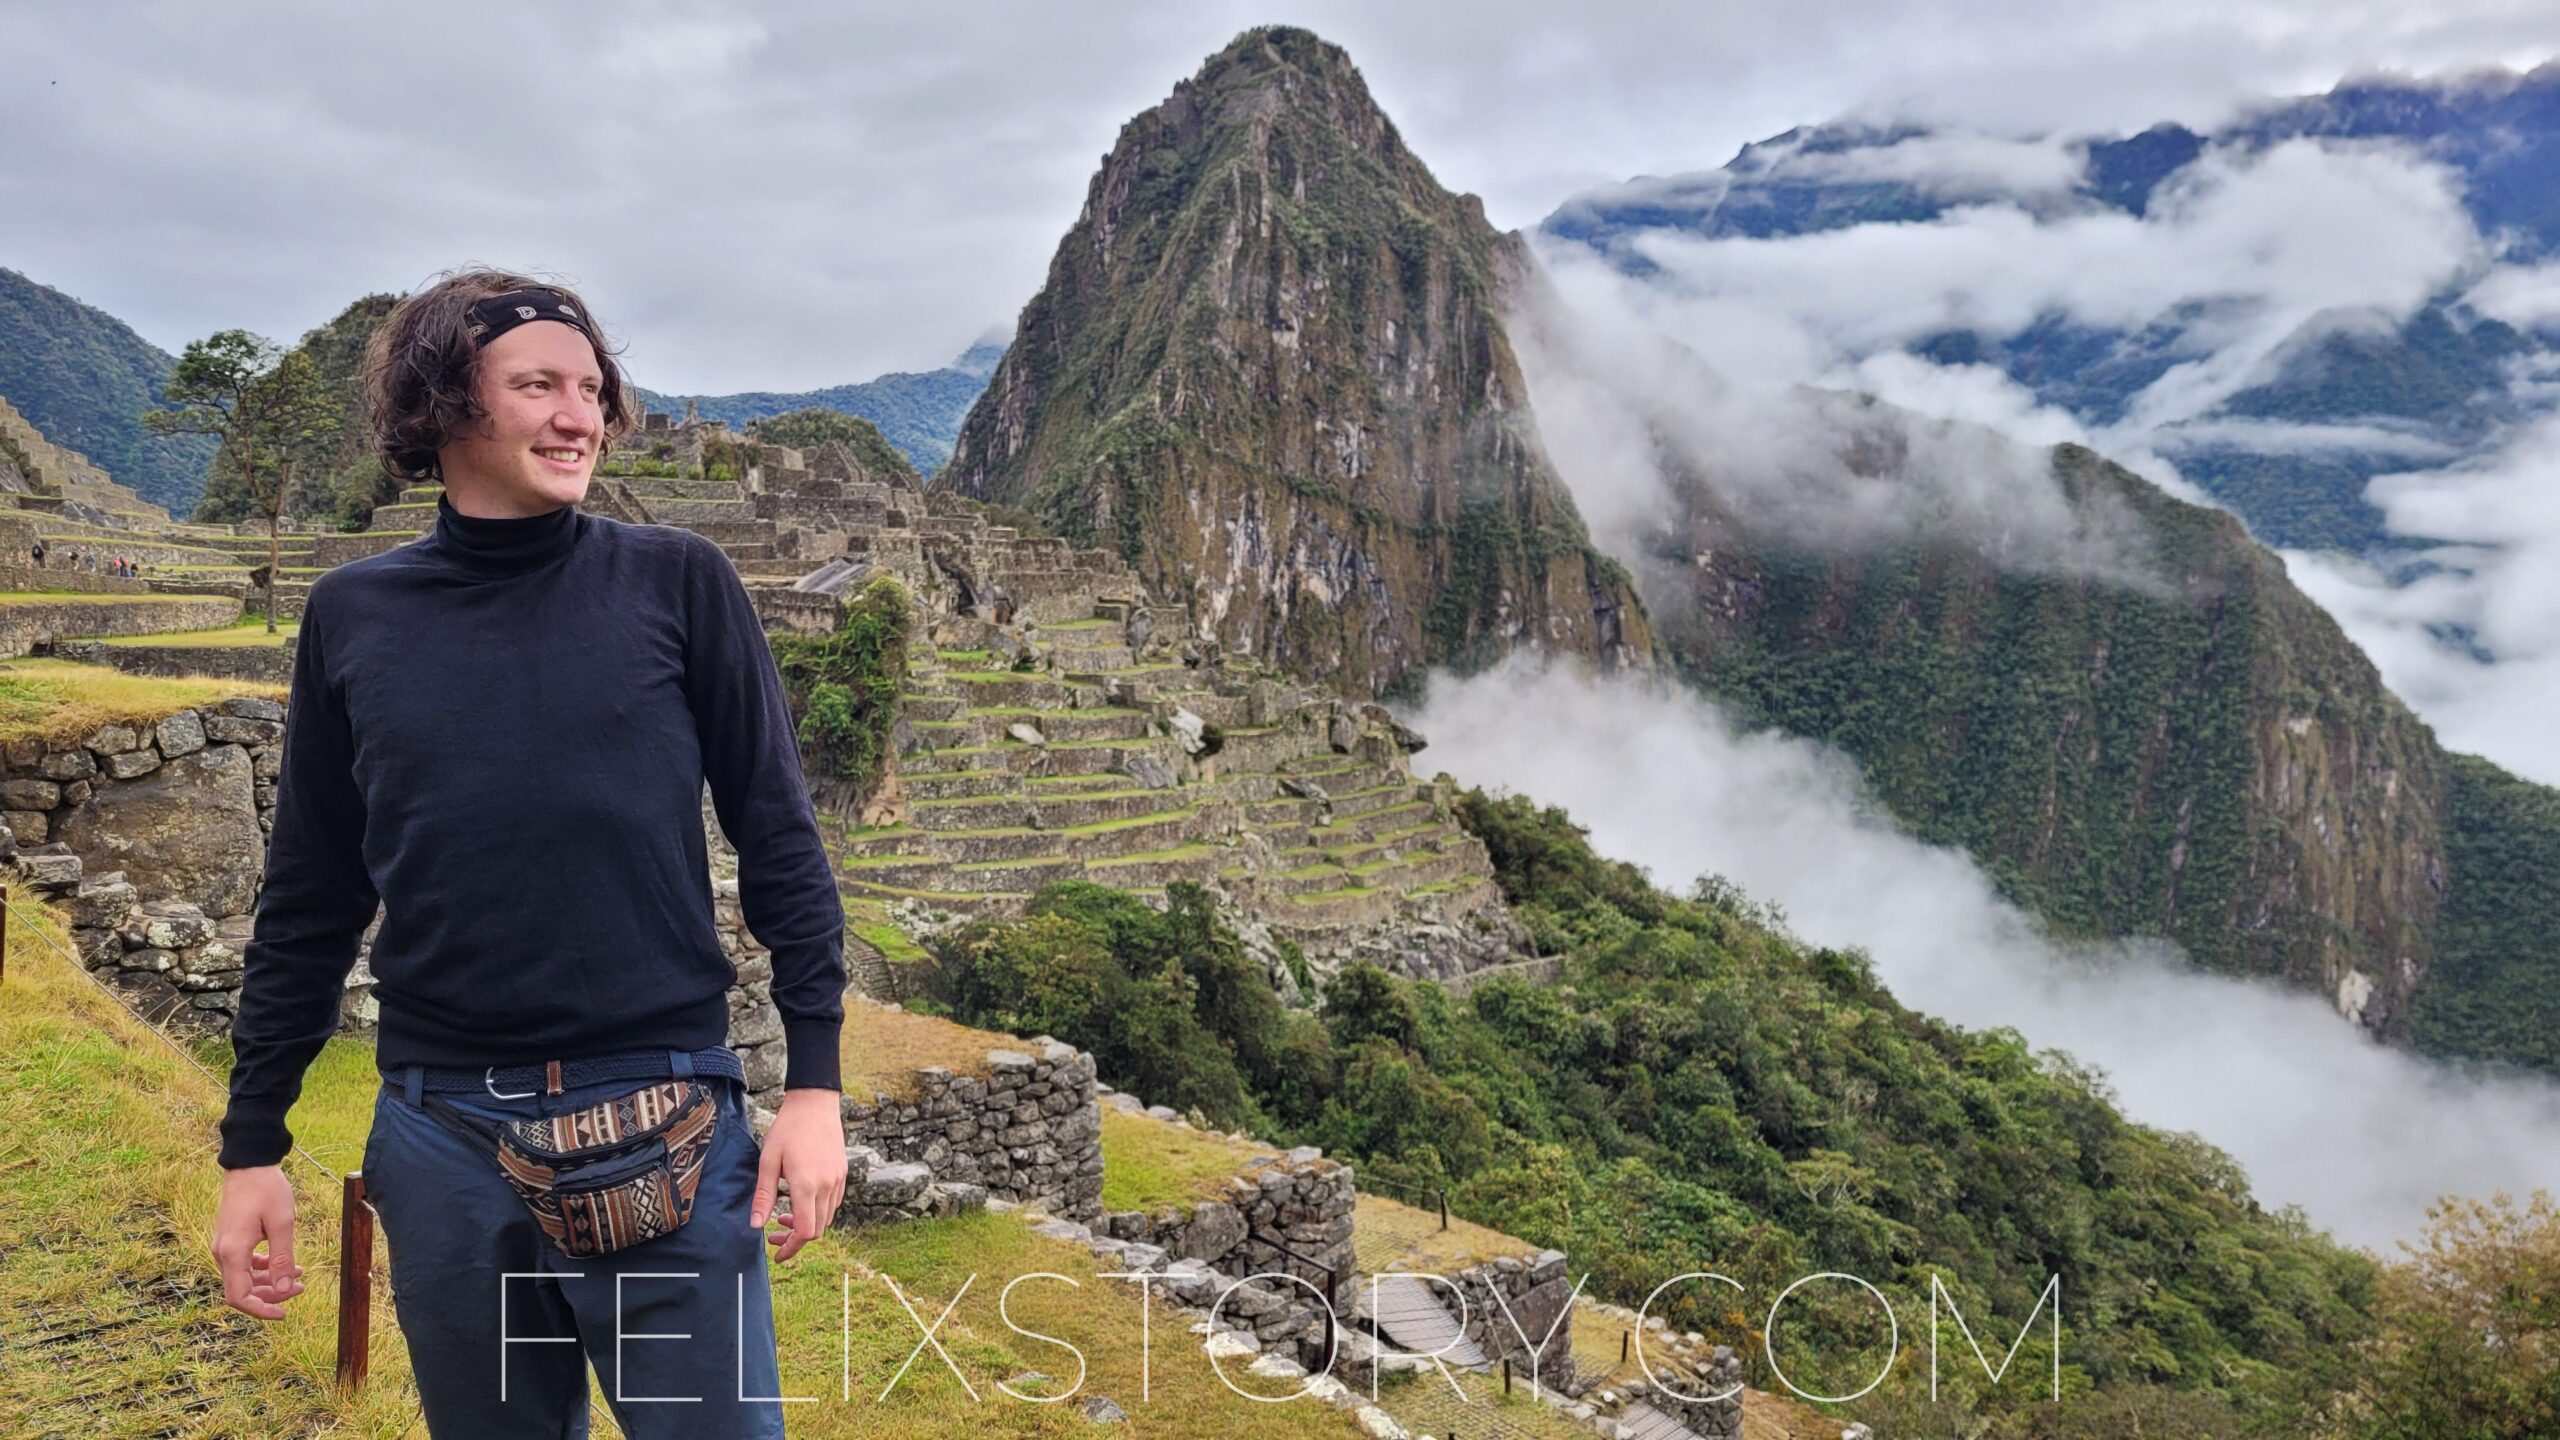
There are some benefits to having a guided tour, mainly that everything is taken care of for you and you get to know other people. However, if you want to have a real adventure and want to leave your comfort zone, I highly recommend doing it by yourself. The feeling of arriving in one of the seven world wonders -famous Machu Picchu- after having hiked for 4 days just by yourself is something else. The feeling of really having accomplished something without the help of others makes you proud of yourself and gives you confidence to seek more adventures. It’s worth it.
The structure of this post is as follows. First, I am going to summarize the most important information, then I’ll explain you what to bring and what not to bring with you and finally I’ll explain the trek day by day and give you an estimate for the budget you will need.
Obviously, a decent level of fitness is required as for any other hiking activity, but you don’t need to be extraordinary fit to do this trek. If anyone tells you that you can only do the trek if you train for months, that is simply not true.
Also, don’t let yourself discourage by travel agencies that tell you doing this trek independently is dangerous, they love this fairytale. Travel agencies hate it when people do the trek independently, because it threatens their business. If more people find out how easy it is to the trek independently, they are going to run out of customers. Facility owners on the trek are aware of that, which is why they will either only allow agency hikers or independent hikers. And if they host both, they will do everything to separate you from the agency hikers. They are in big trouble if they let you talk to the agency hikers, because it destroys the business of the agencies. The agencies are simply going to switch to another facility, and they lose their main customers. To make it clear: The trek is not dangerous! If any accident happens to you, there are many other people passing, willing to help you. The Salkantay Trek is quite popular and definitely not a trek that is completely out of civilization. However, this advice is specifically for the Salkantay Trek. There are other treks in South America, that you definitely shouldn’t do just by yourself, but only in a group or with an agency!
The most important things summarized
- The only reasonable option to do the hike is to have your base in Cusco. That’s where you leave the things you don’t need for the trek and that’s where you are going to return to. Also, Cusco is a good place to acclimatize yourself to the height, which is a non-negotiable must do.
- There are several variations of the Salkantay Trek. The most important difference is whether you hike for 5 days / 4 nights or for 4 days / 3 nights. However, the 4 days trek is a cheat, because you simply skip the first day that goes from Mollepata to Soraypampa by taking a taxi. The traditional trailhead is in Mollepata and if you want to say of yourself, you have hiked the entire Salkantay trek, you have to start in Mollepata and need 5 days to accomplish the trek. What all variations have in common is that the last day is your Machu Picchu visit and return to Cusco.
- The total distance from the traditional trailhead (Mollepata) to Aguas Calientes from where you will visit Machu Picchu on the last day is 79 km. Depending on whether you climb one of the mountains in Machu Picchu and whether or not you decide to take the train back to Cusco or use a colectivo (a shared transport in a small bus or taxi) between 8 – 21 km will be added on the last day. In my case I walked a total distance of 100 km in 5 days.
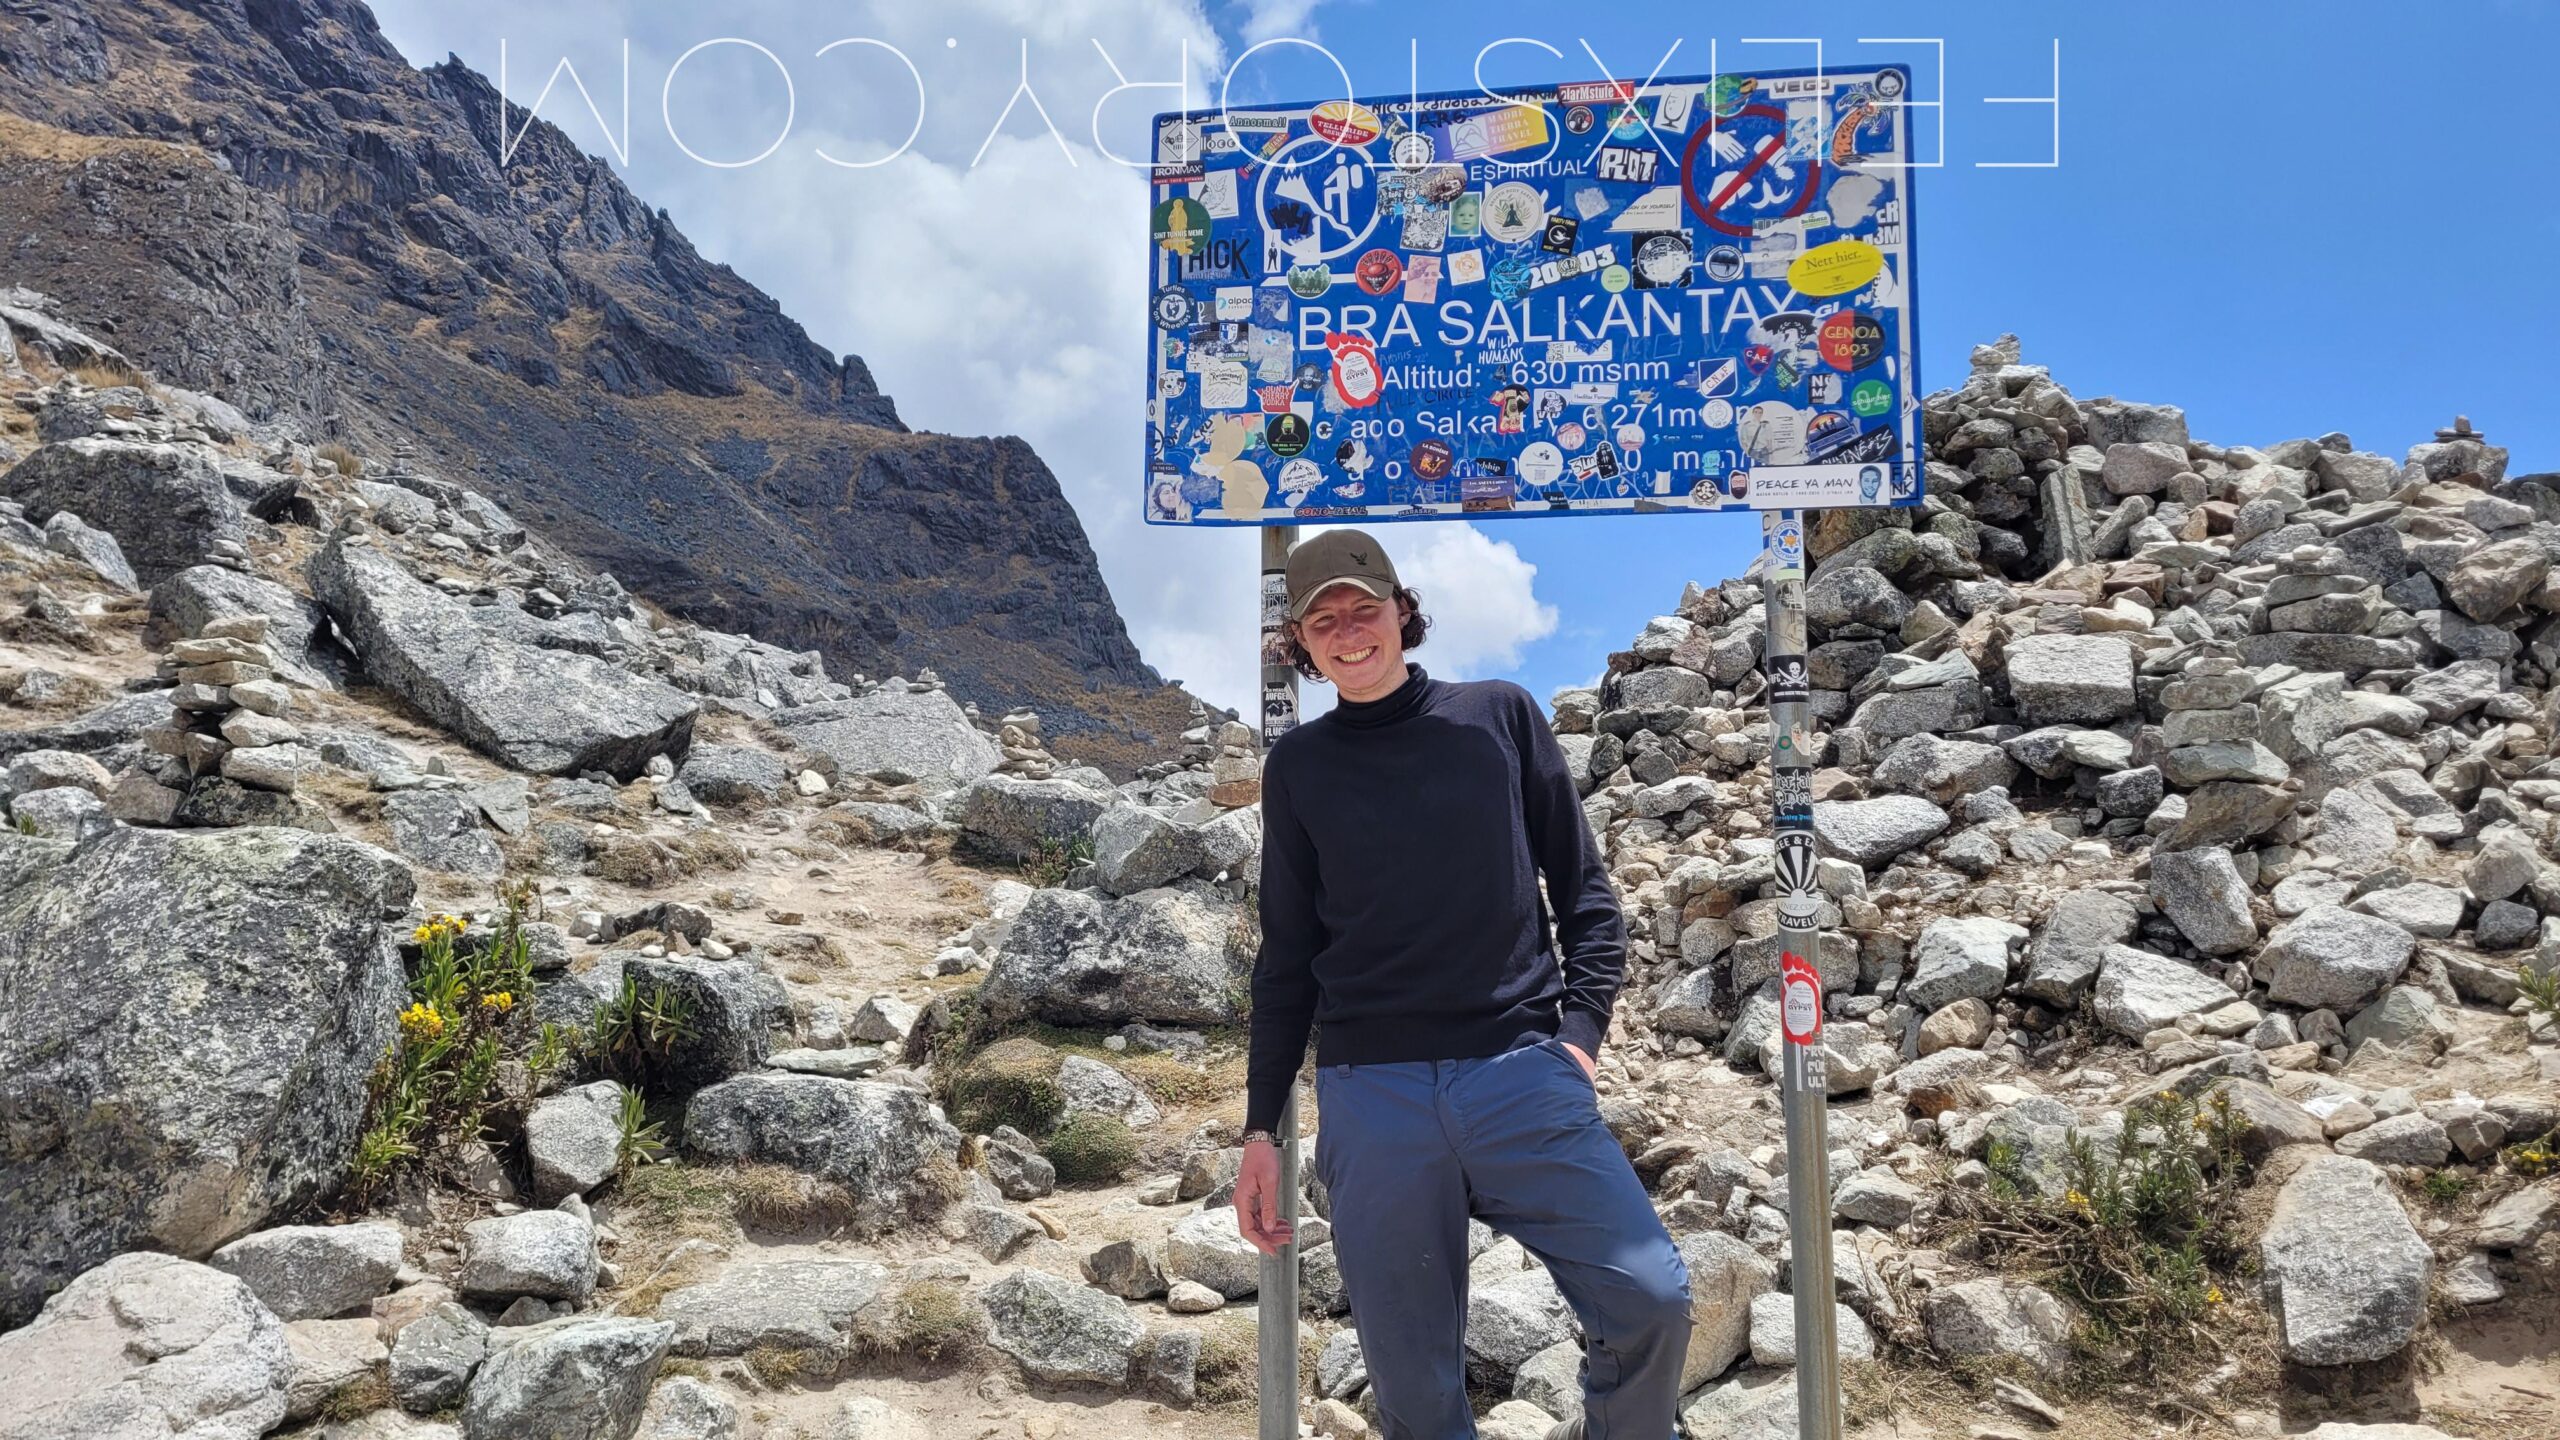
- Overall, the Salkantay Trek is not a high altitude trek. 4 out of 5 days of the trek happen on an altitude lower than Cusco where you acclimatize. However, when you cross the Salkantay pass you will reach a height of 4629 m, which is quite high and dangerous to people who are not properly acclimatized
- While it is quite cold especially during the nights you spend above 3500 m, mostly it is rather warm and you should be aware that you need to pack for both the cold and warm.
- There is barely any reception during the trek. You need to download offline maps (I recommend Komoot, but maps.me and Alltrails work as well) and if you want to listen to music once in a while, take care of downloading everything as well.
- Buy your tickets to Machu Picchu way in advance. If you want to visit one of the sacred mountains and you’re going in the peak season, tickets will be sold out months in advance. If you just want to visit the ruins and you’re going in the off-season, two weeks in advance will be enough. The peak season is June – August. However, there is a (not ideal) possibility to get tickets in Aguas Calientes the same day, more on that below at Day 5.
- Try to get a ticket for the early morning, ideally at 6 AM, so you can return to Cusco the same day and (if you’re lucky with the weather) you can see the sunrise in Machu Picchu.
Your Packing List
- The basics: 40L backpack, hiking boots, headwear, sunscreen, mosquito repellent
- Clothes: underwear, socks, shorts, t-shirts, long pants, long-sleeved shirts, sweater, rain pants, rain jacket, gloves. Ideally, you use functional clothes and avoid cotton clothing (because it dries very slowly and is heavy)
- Technical gear: Smartphone, headphones, powerbank, cables, charging plug and adapters
- Loads of snacks for the entire 5 days. Dried fruits and nuts are ideal.
- Filter bottle. Buying water on the trek is expensive and produces waste. Be more flexible, save money and the environment by buying a filter bottle. You’ll be able to drink from any source of water. I used the filter bottle from Water2Go, because it’s cheaper and just as safe, but I would actually recommend using the Grayl filterbottle because it is much more comfortable, though more expensive.
- Enough cash. After you leave Cusco there will be no more ATMs anywhere around and the next one is in Aguas Calientes on your 4th day. Cards are not accepted anywhere on the trek. I recommend bringing 150 € – 200 €, but more on the budget at the end of the post.
- Your Passport. If you forget to bring your passport you will have no access to Machu Picchu, they require both your ticket and your original passport. A copy, photo or whatever is not accepted.
- First-Aid kit and medication. What you need specifically is explained in my packing list post (click here)
- Travel towel, travel liner, headtorch, toilet paper in zip-bag, toothbrush, toothpaste, hand sanitizer, travel cutlery
- Food for the first day
- Optional, but recommended: hiking poles, drinking bladder
- If you want to save weight, you can take just two sets of clothes with you and wash your clothes everyday in a drybag. For drying you can hang your clothes on your backpack, and they dry while you hike.
Note on camping:
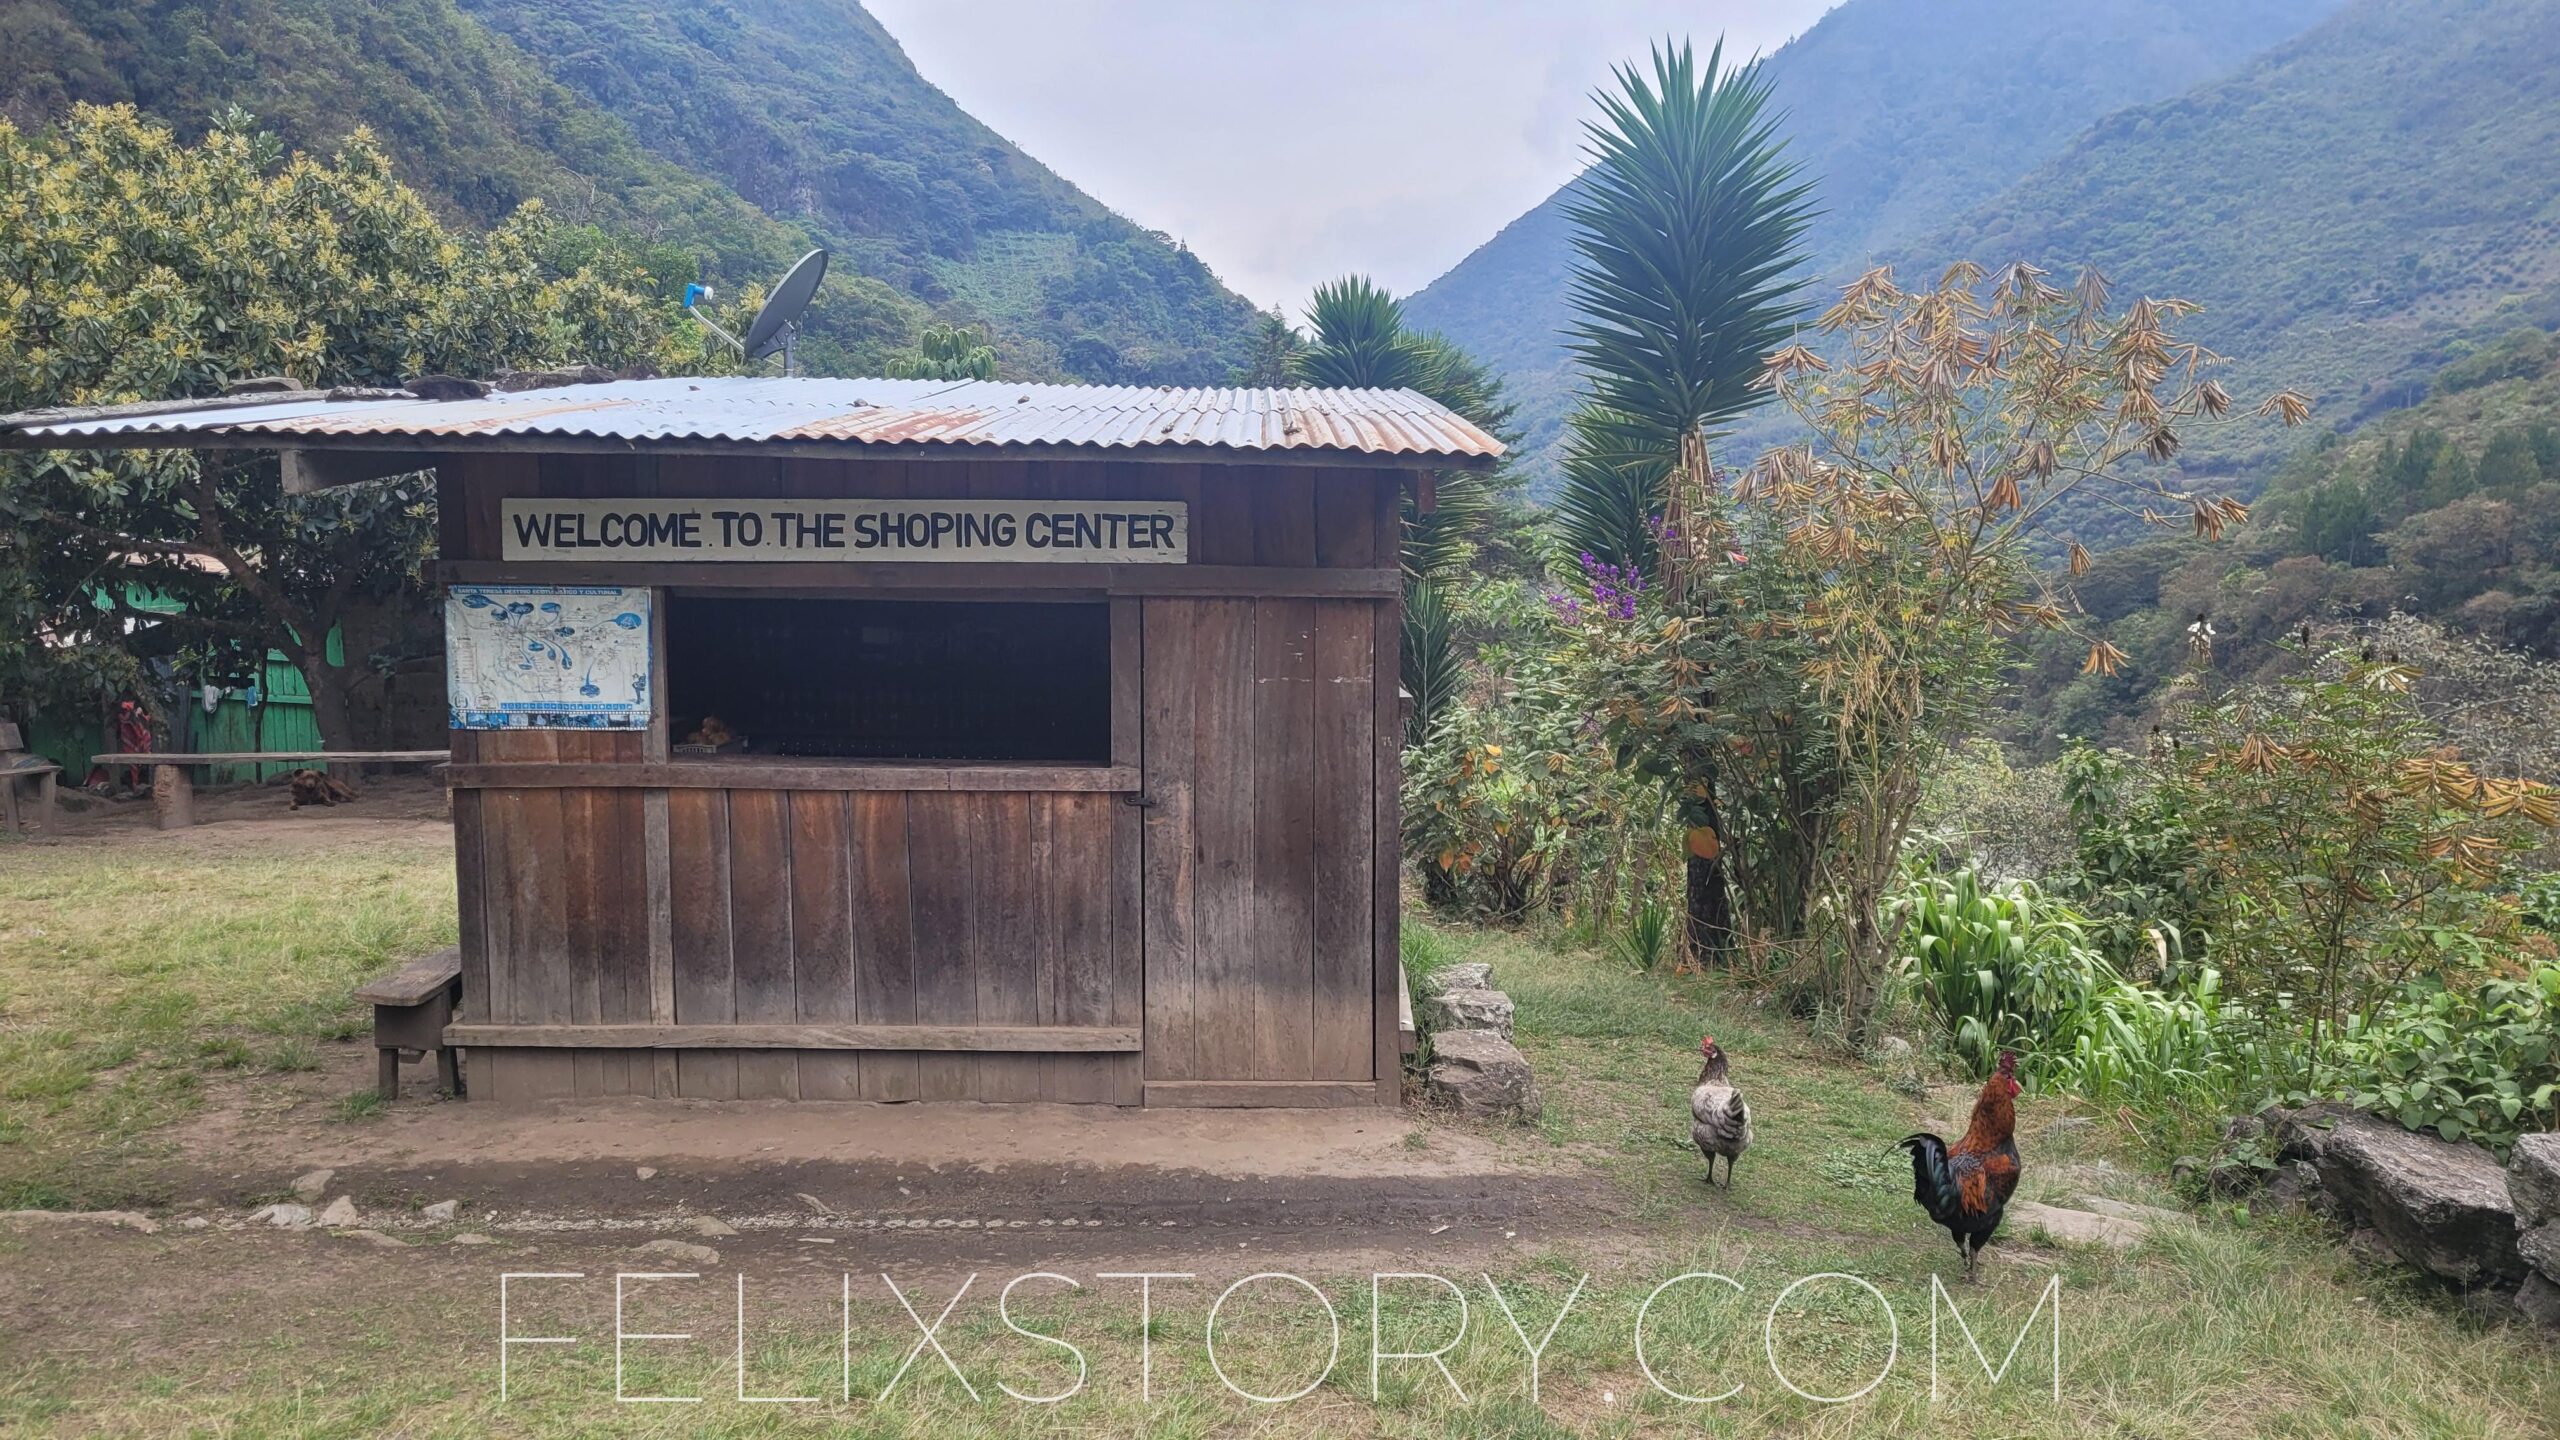
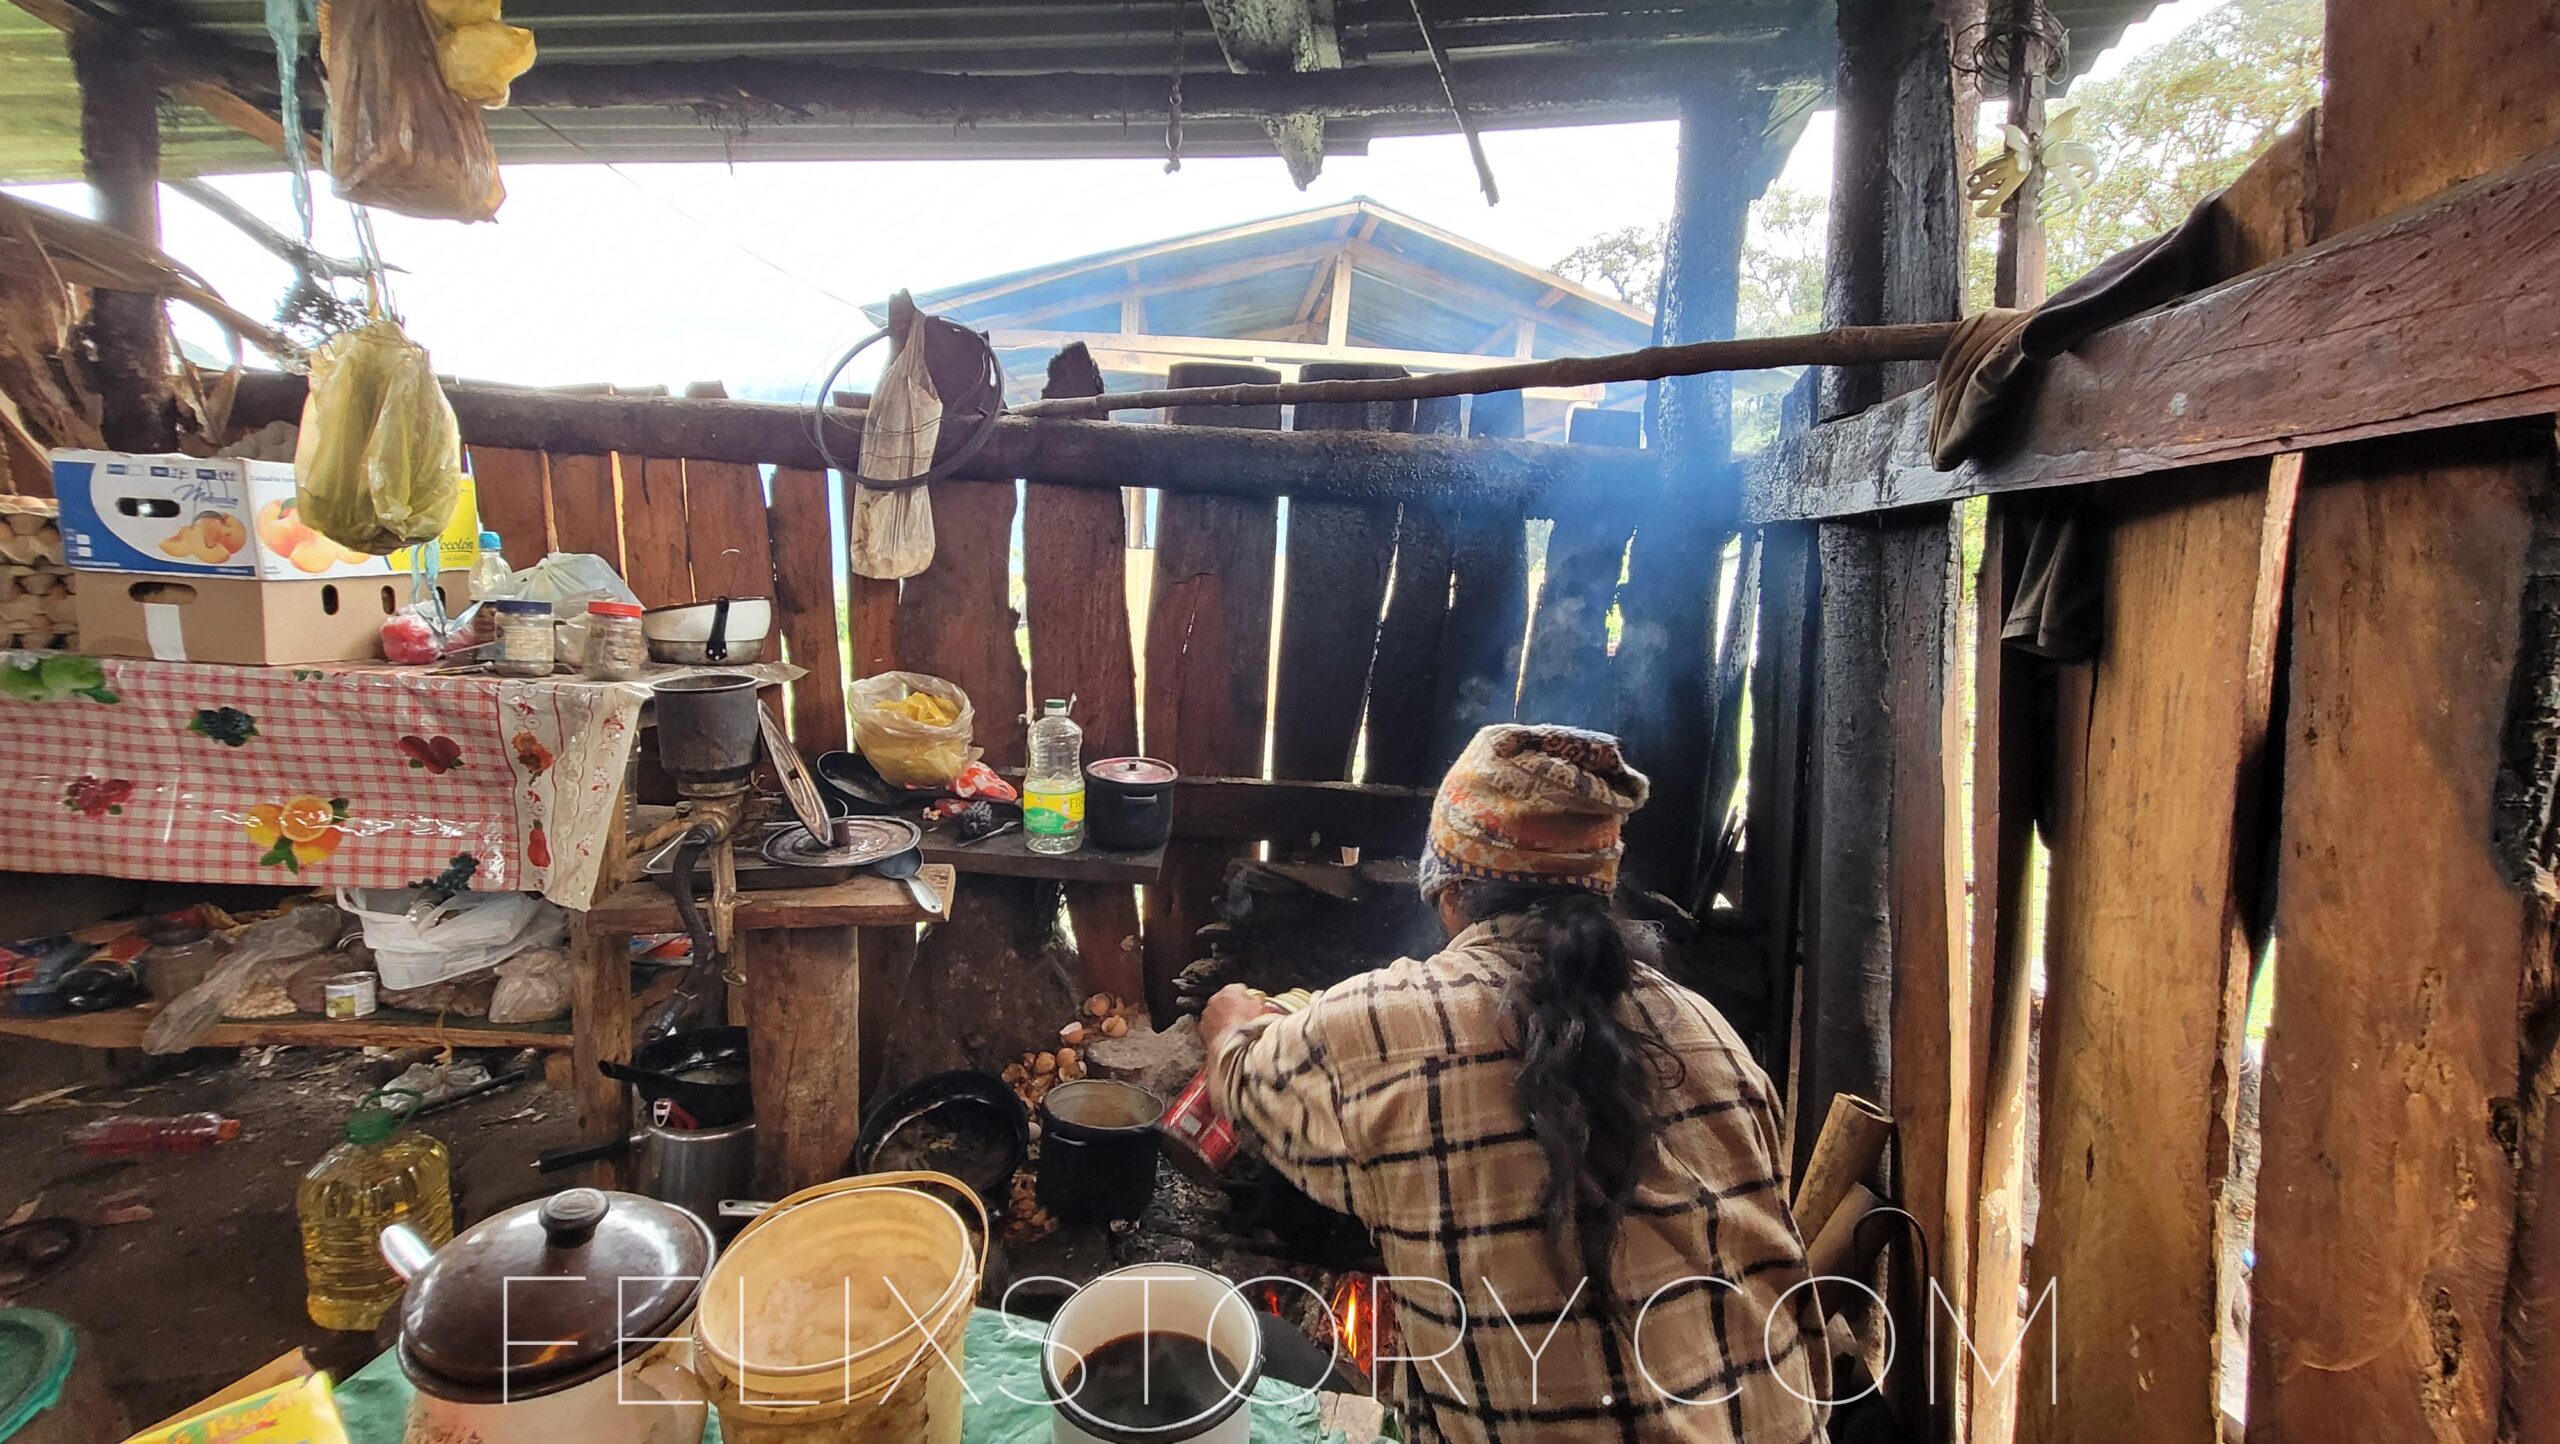
You don’t need to bring camping gear. I did and I regret the decision. My backpack was super heavy, which was a big disadvantage to my back. I developed very strong backpain in the same spot like on the Huayhuash trek, but this time my backpack was much heavier and it got worse. Being lite is essential for multi-day hikes. Afterall, every single village I crossed offered cheap accommodation with meals included. Often it just didn’t make any sense to build up my camping equipment at all and I ended up sleeping most nights under a roof. The nights where I did use my camping equipment, it wasn’t necessary and I just saved a few bucks on accommodation. Bringing camping gear isn’t worth it.
Day 0: How to get to the Trailhead (Mollepata)
If you type in Google Maps “Bus to Mollepata” in Cusco you will immediately find the spot from where the Colectivos leave to Mollepata. The drive takes approx. 2 ½ hours and costs you 20 Soles. Since it’s a colectivo, you will have to wait until the car is filled up with people, which can take everything between 10 min to 45 min. The first colectivos leave at 4 AM, so you can take a super early colectivo and start hiking right away. I personally preferred the option of taking the colectivo the evening before and staying in Mollepata for the night, so I don’t have to wake up super early. It’s up to you.
Day 1: Mollepata to Soraypampa
This day only concerns those who want to hike the entire trek. If you are short on time or want to reduce the intensity of the trek, you can skip this day by taking a taxi from Mollepata to Soraypampa. I always prefer doing the things right and start at the traditional trailhead. I must admit though, that the first day is not really spectacular. There isn’t too much to see and its quite though because you climb over 1140 m in altitude. When you add a visit to the Humantay Lake, it’s an extra 360 m, resulting in 1500 m climb. That’s really tiring. However, be aware that if you decide to skip the first day, you won’t be able to visit Humantay Lake. Doing Humantay Lake and afterwards hiking over the Salkantay pass is only realistic if you are really fit and a fast hiker. You might wonder why that is, since the climb to the Salkantay pass is only 710 m compared to 1140 m on the first day. Climbing becomes increasingly more difficult the higher you get in altitude. Thus, doing Humantay Lake and the Salkantay pass is more difficult than combining the hike of the first day with Humantay Lake, even though you’re doing more height meters. Eventually, Humantay Lake is an extra. You go from Soraypampa to the lake and descend back to Soraypampa. It’s a detour of 4 km and 360 height meters. Whether you want to do it or not is up to you. Personally, I didn’t visit the lake, because I was arriving in Soraypampa quite late and it wasn’t really important to me because I’ve seen dozens of these turquoise lakes while I was hiking in the Cordillera Blanca and Cordillera Huayhuash.


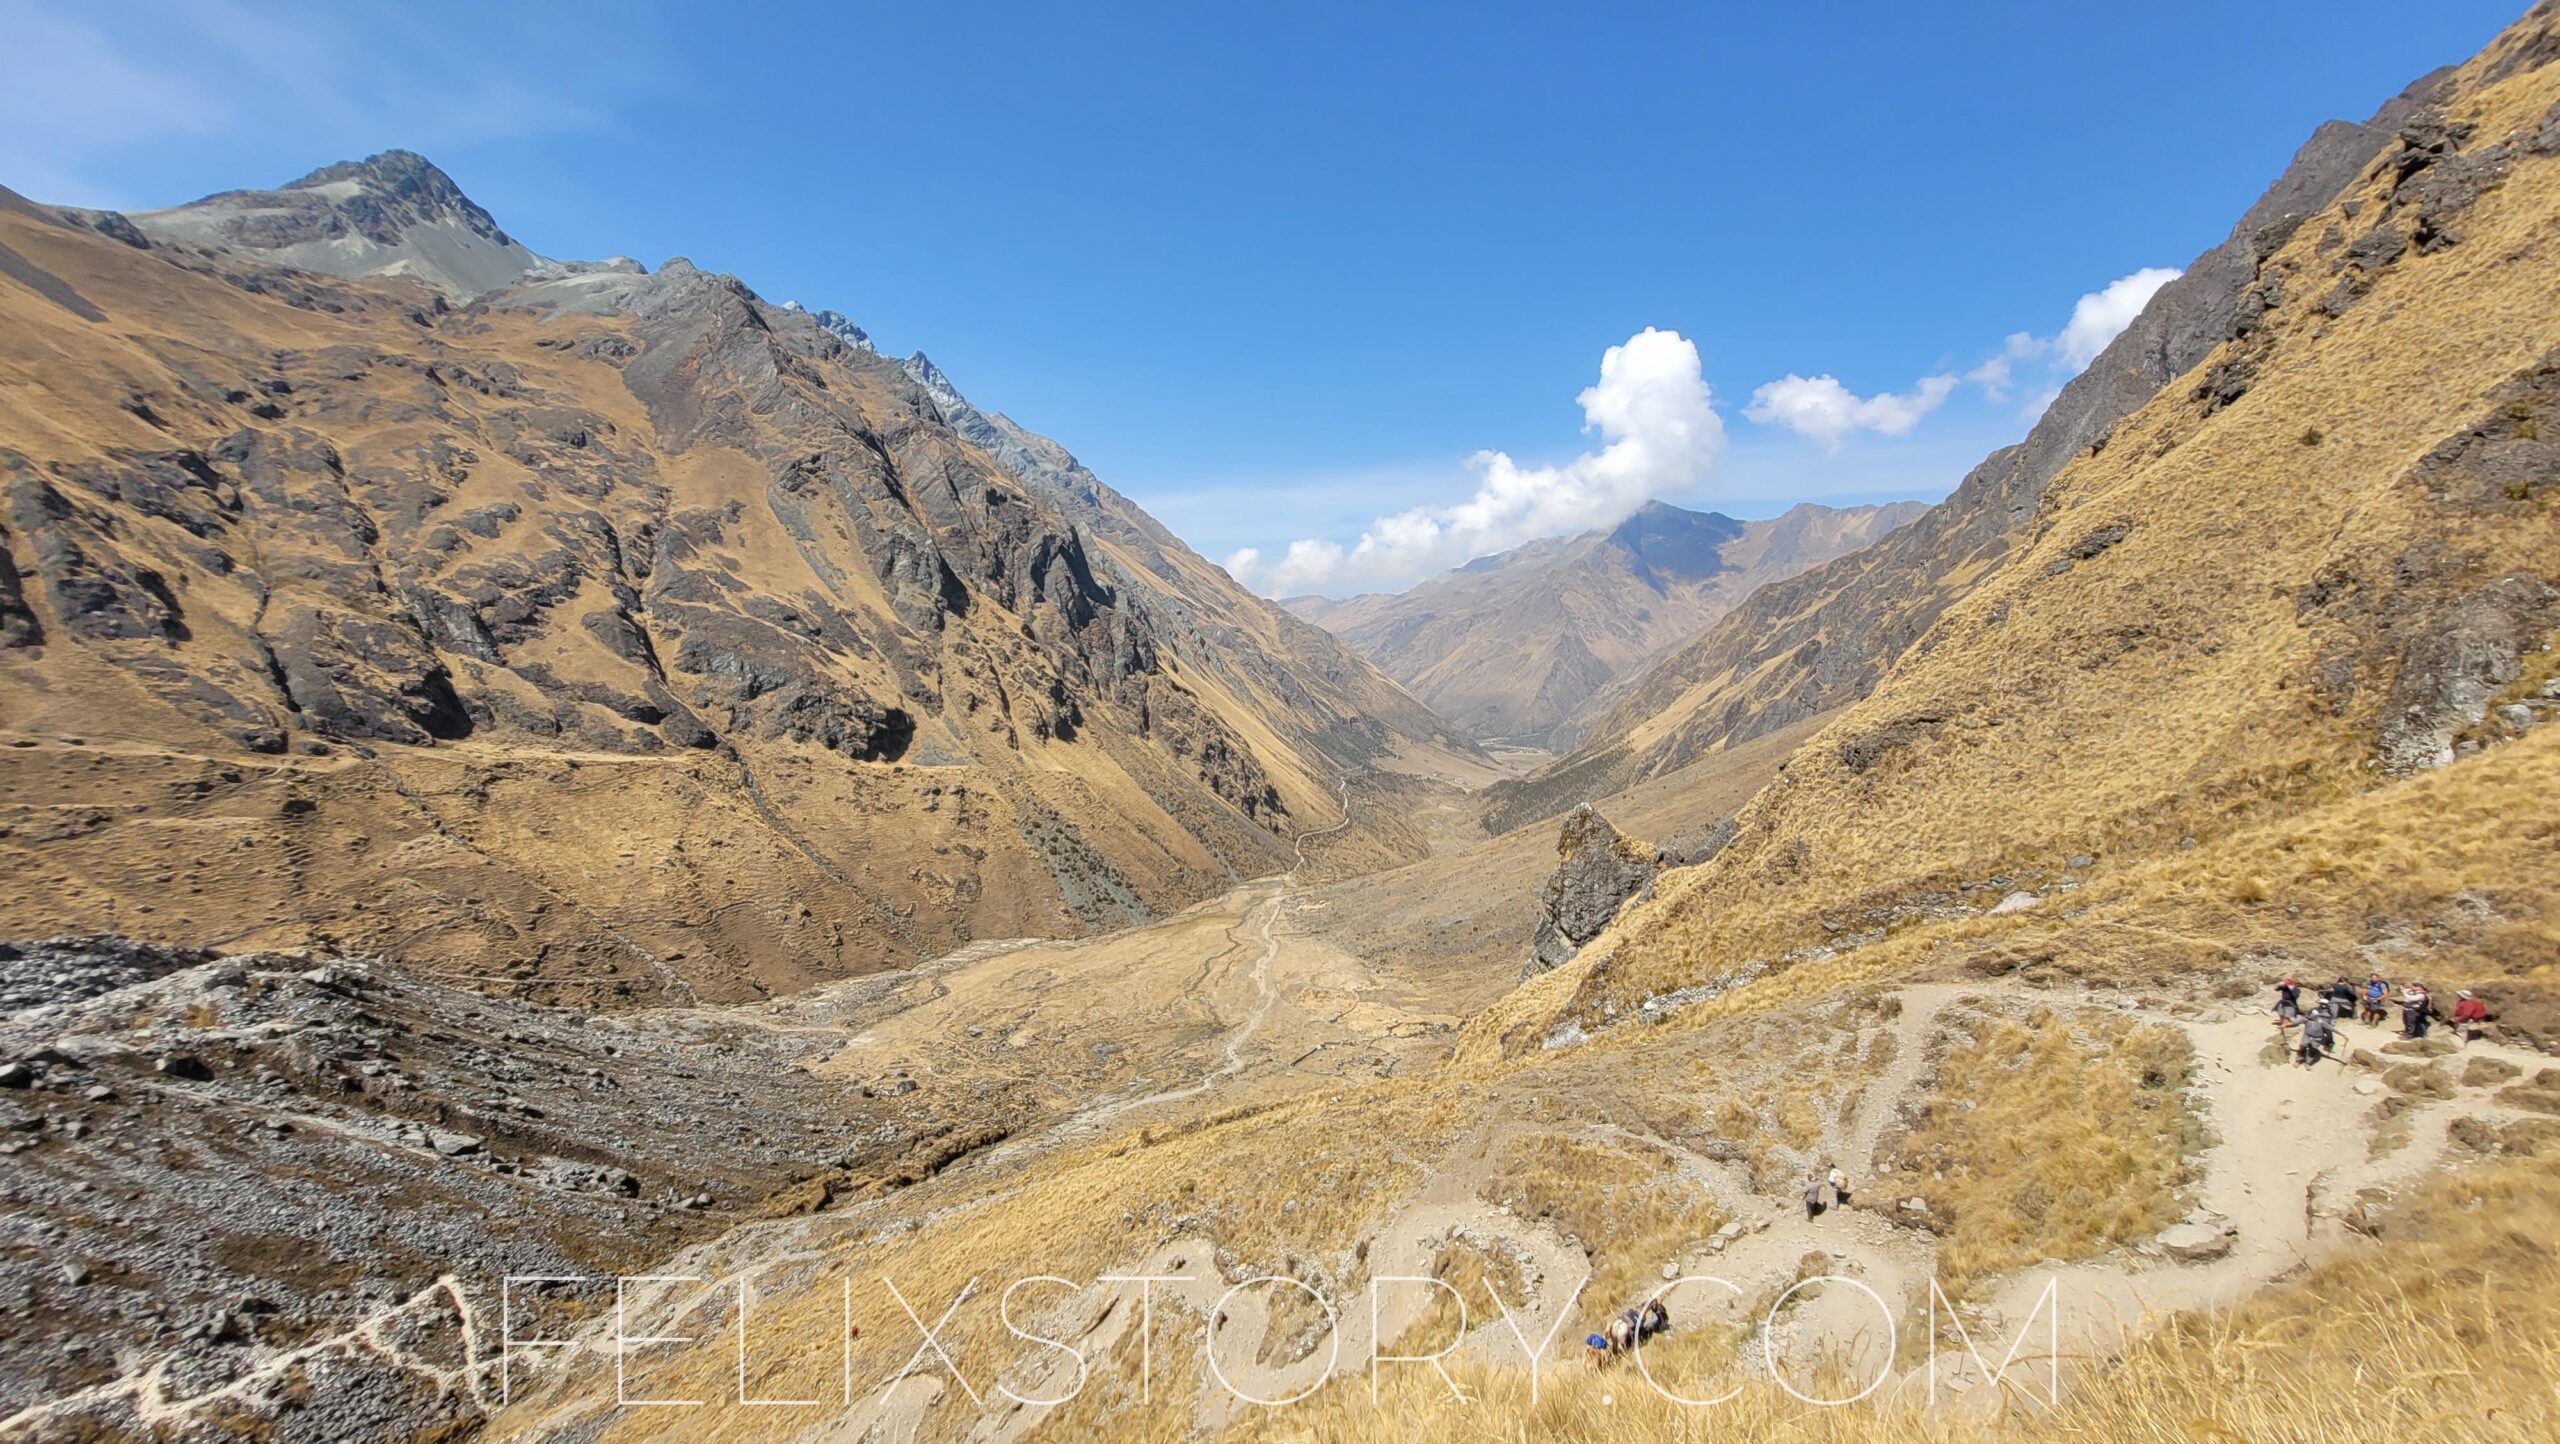
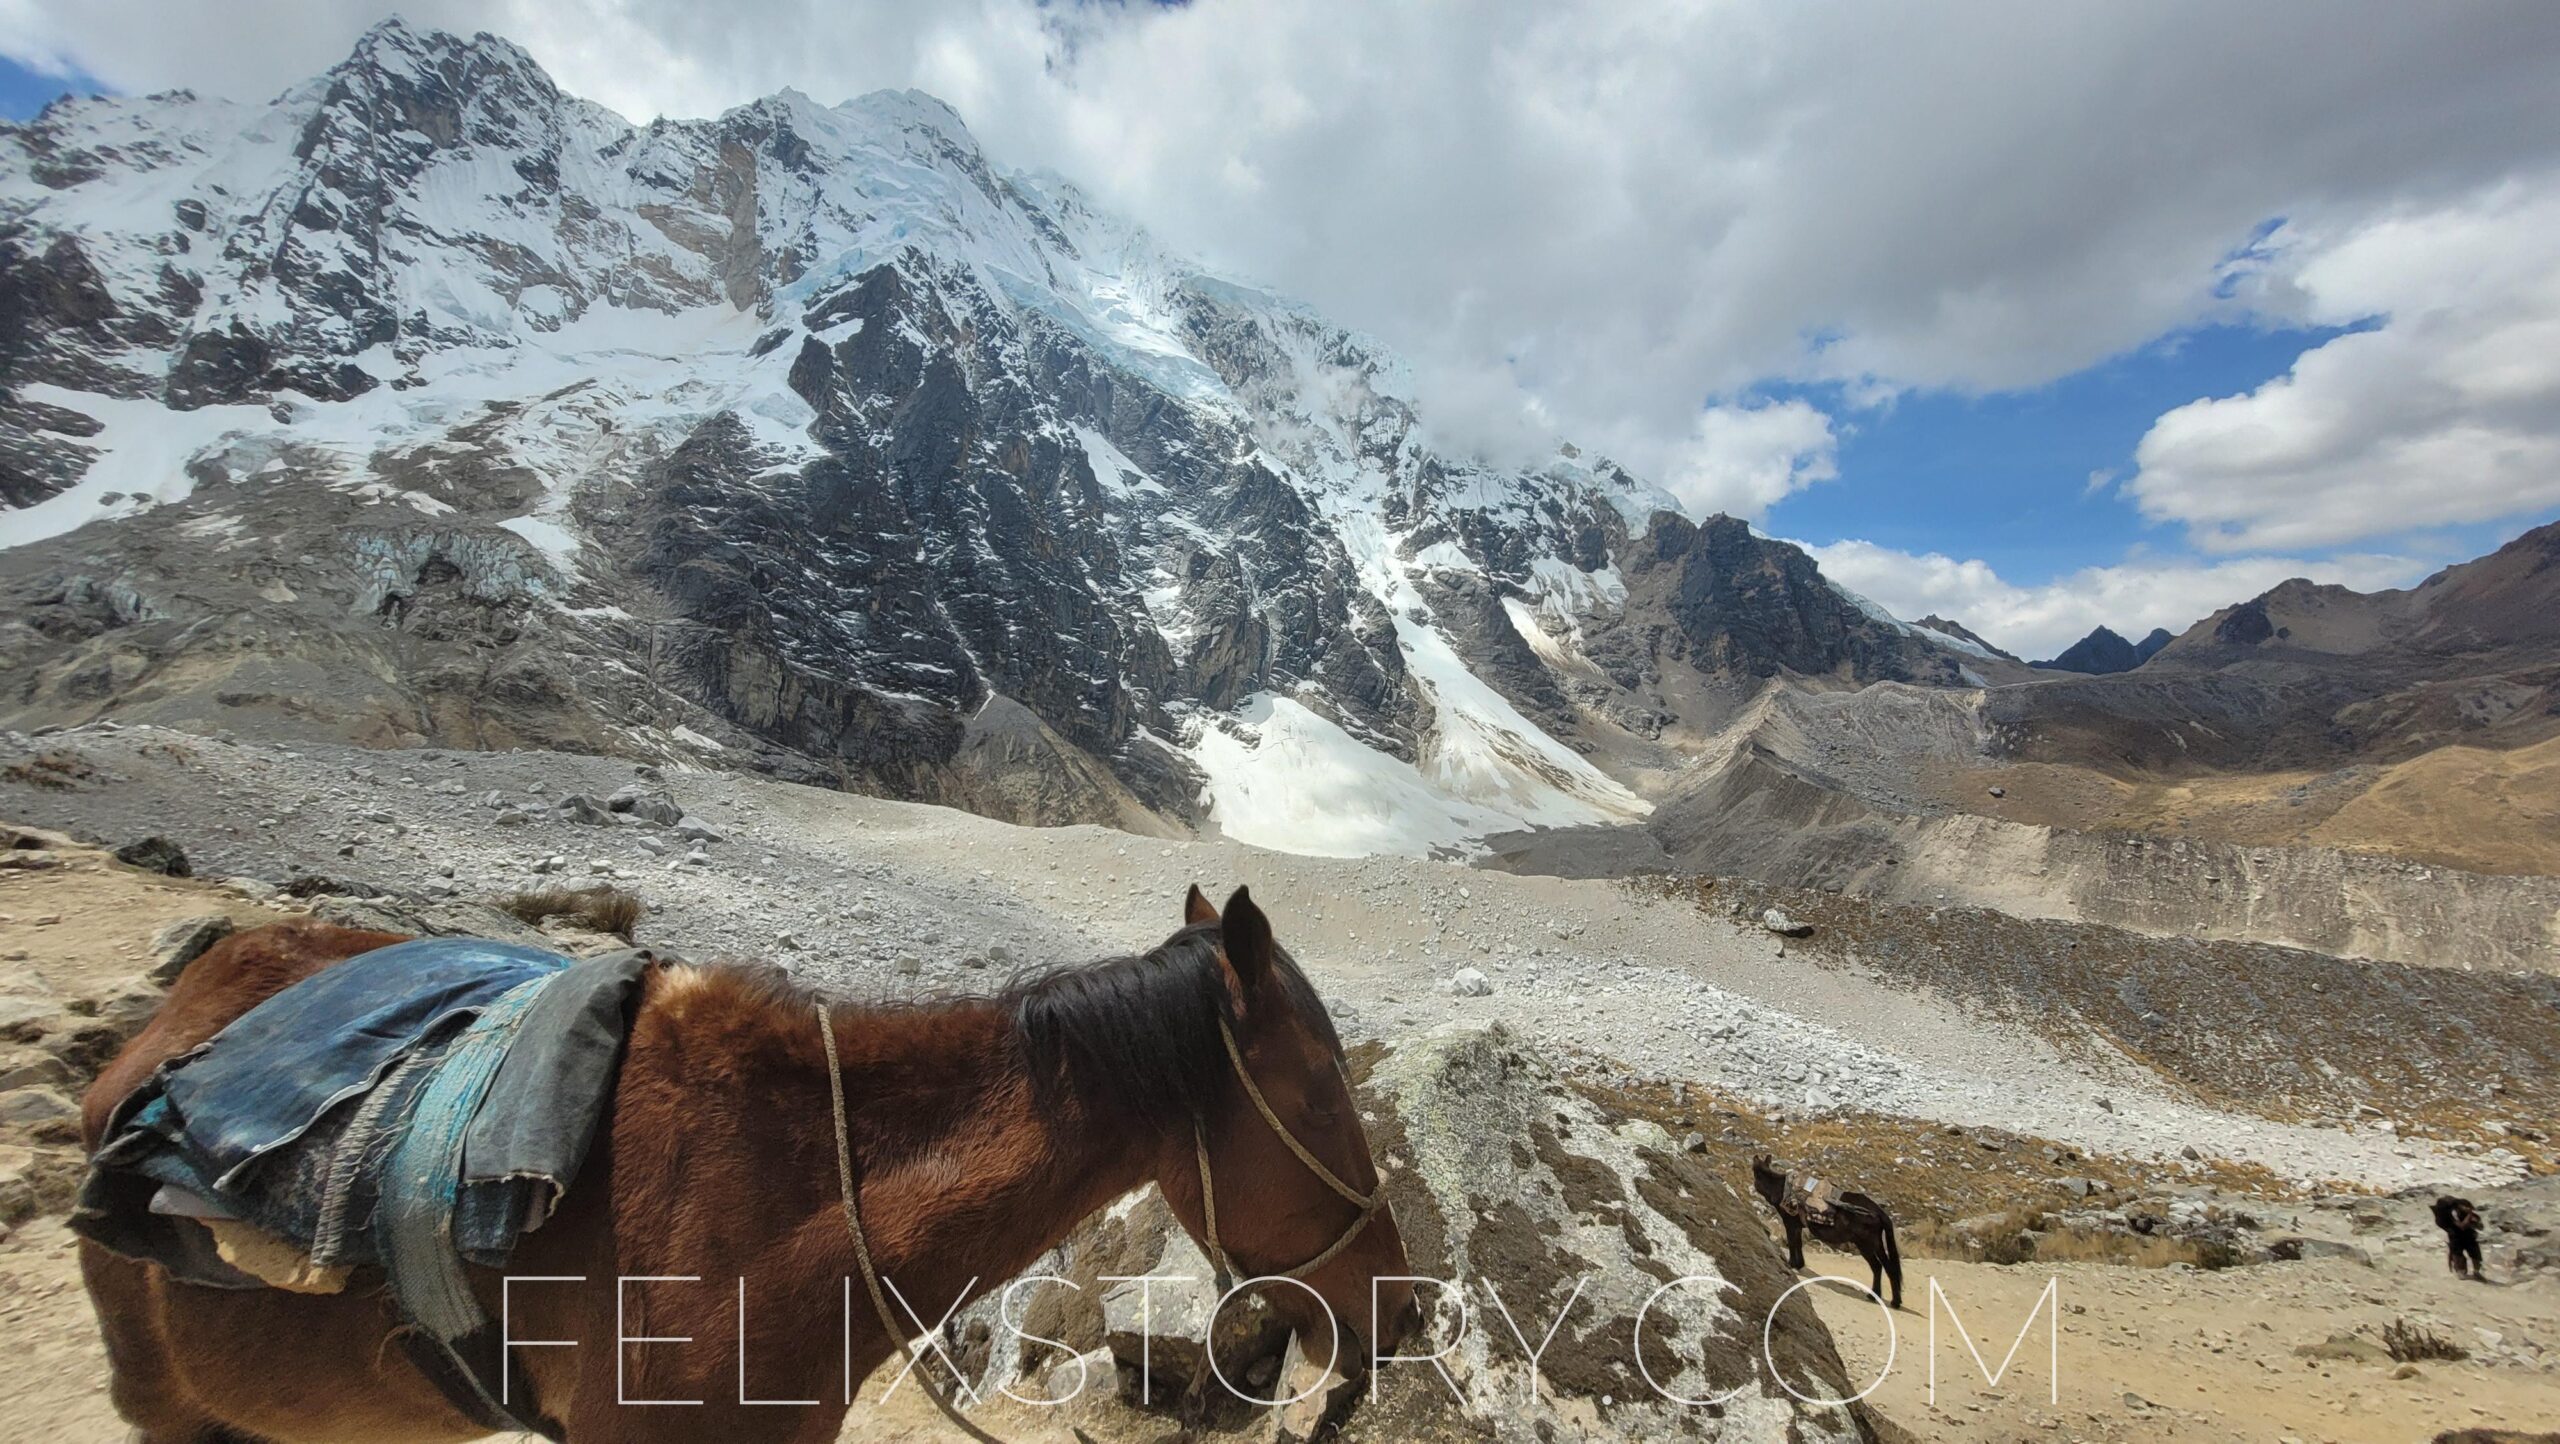
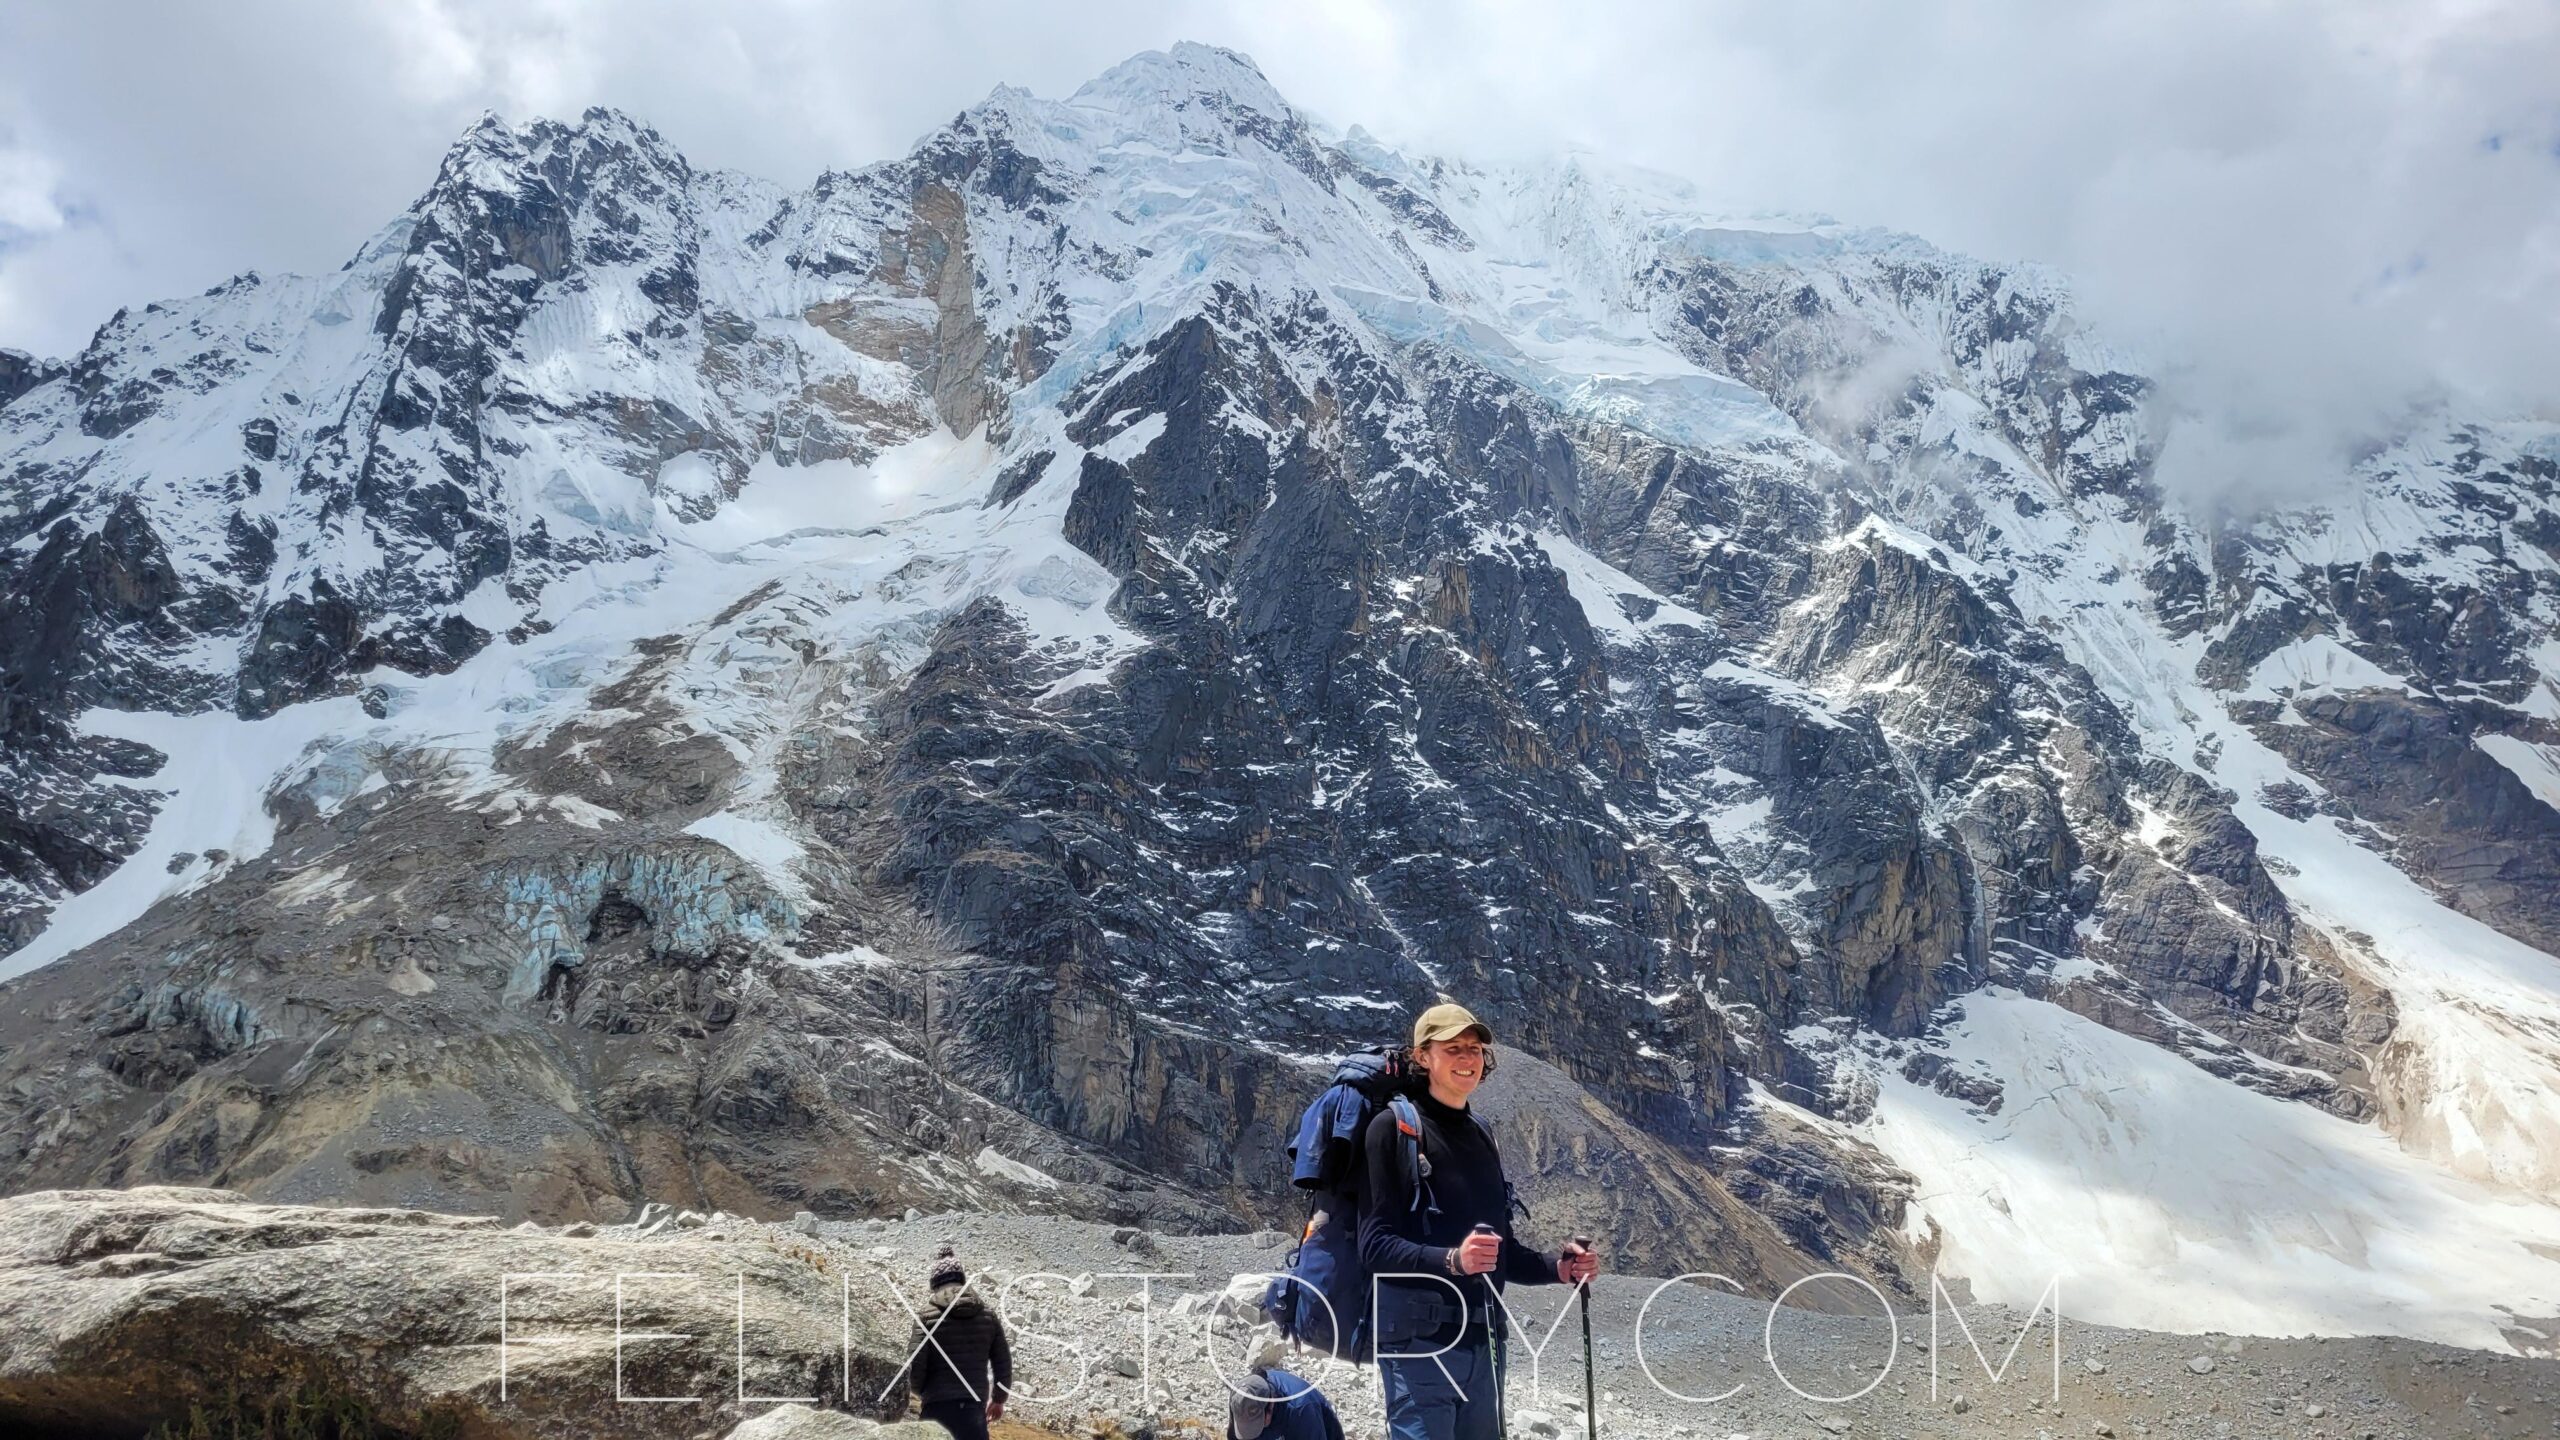
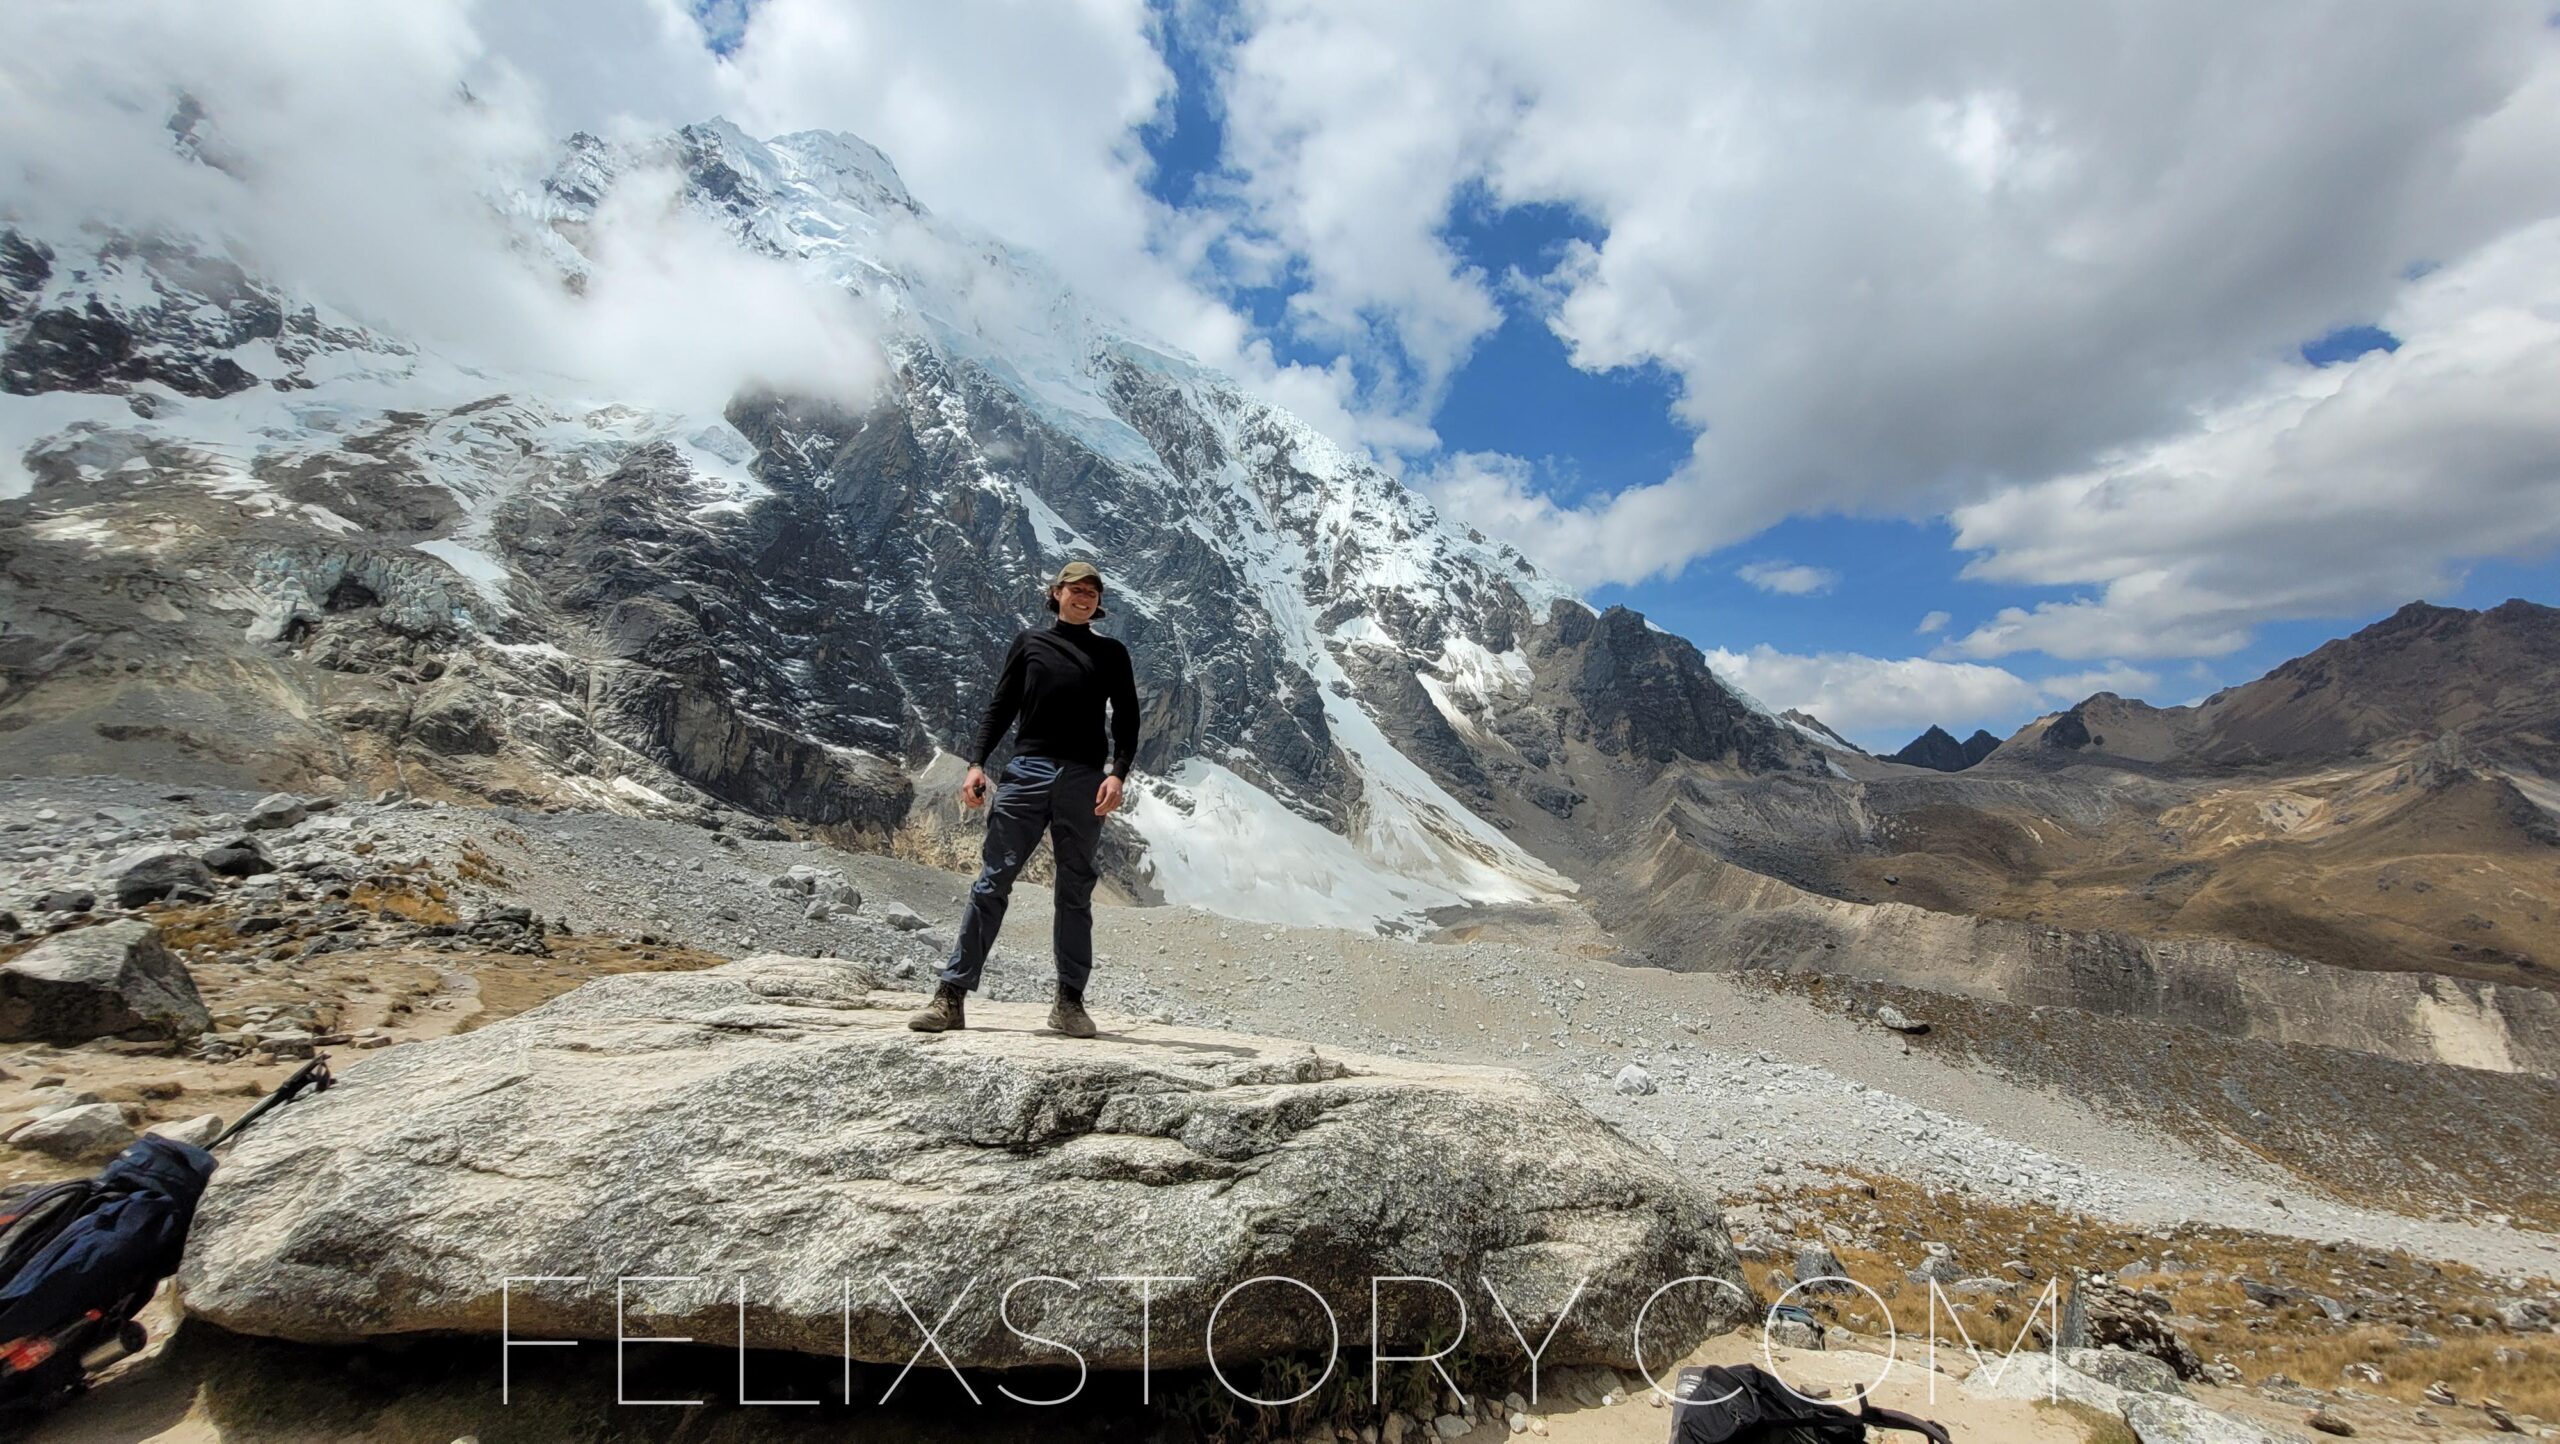
Day 2: Soraypampa to Chaullay / Collpapampa
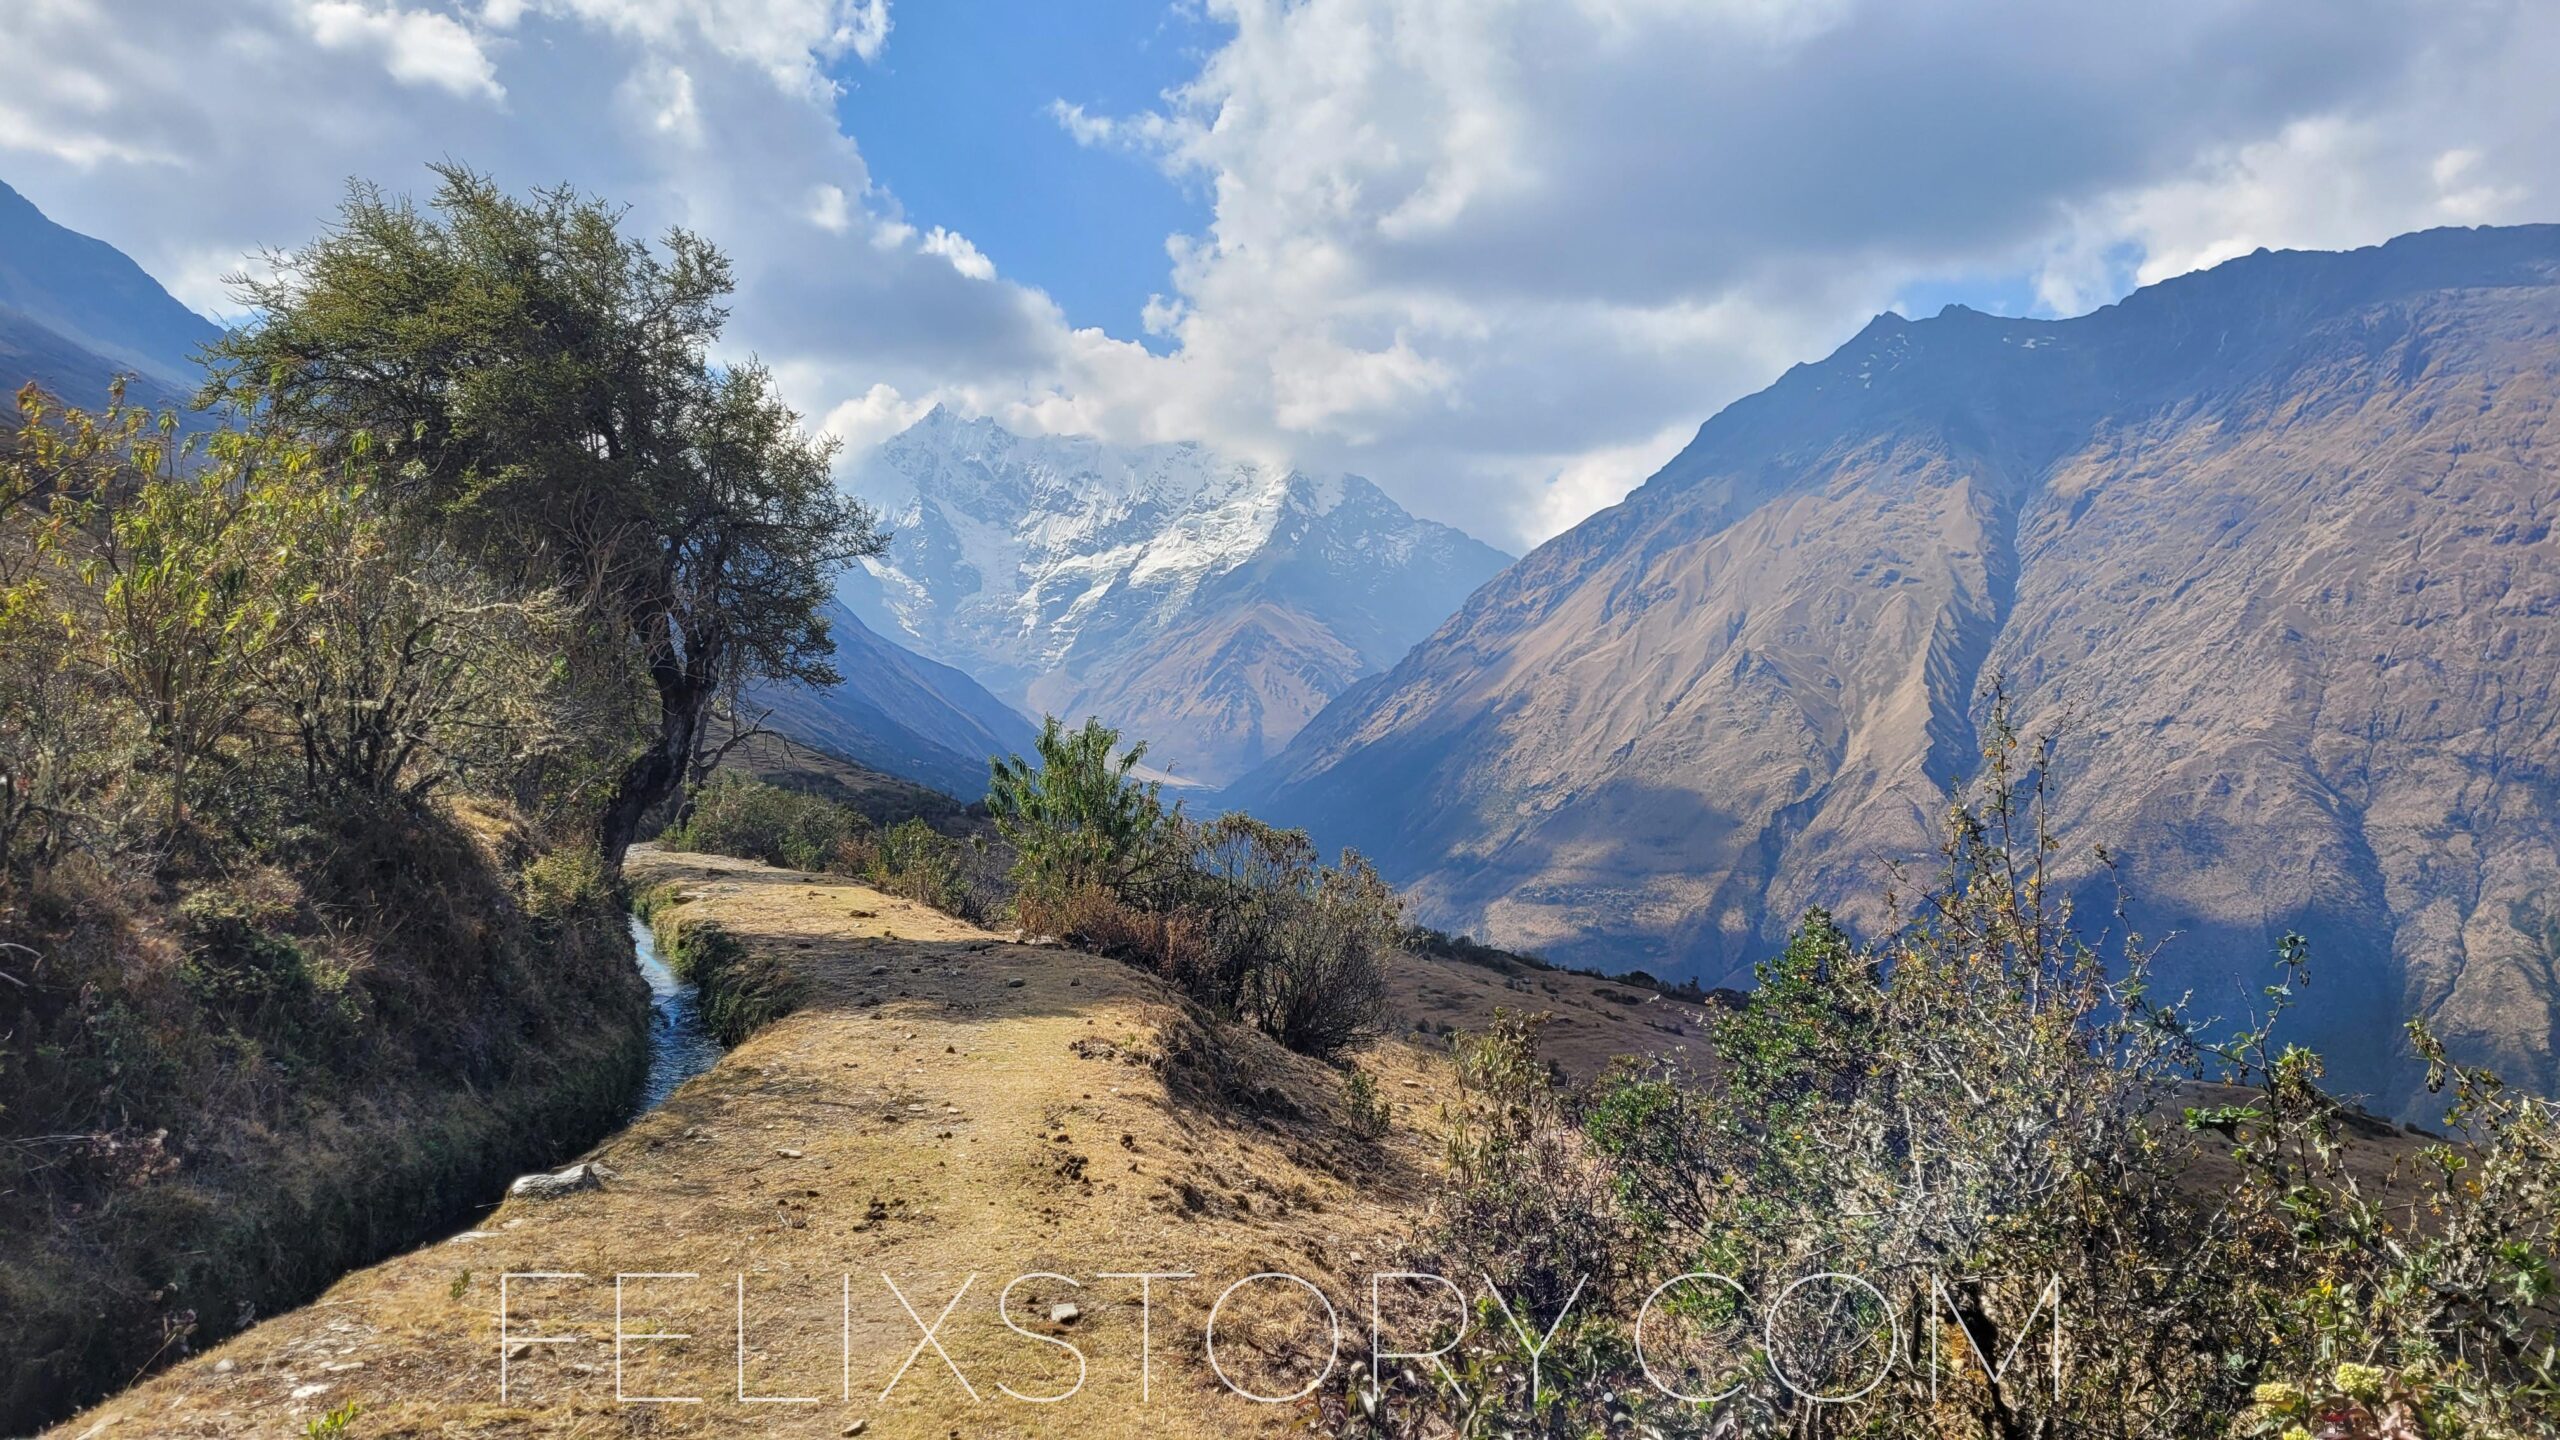
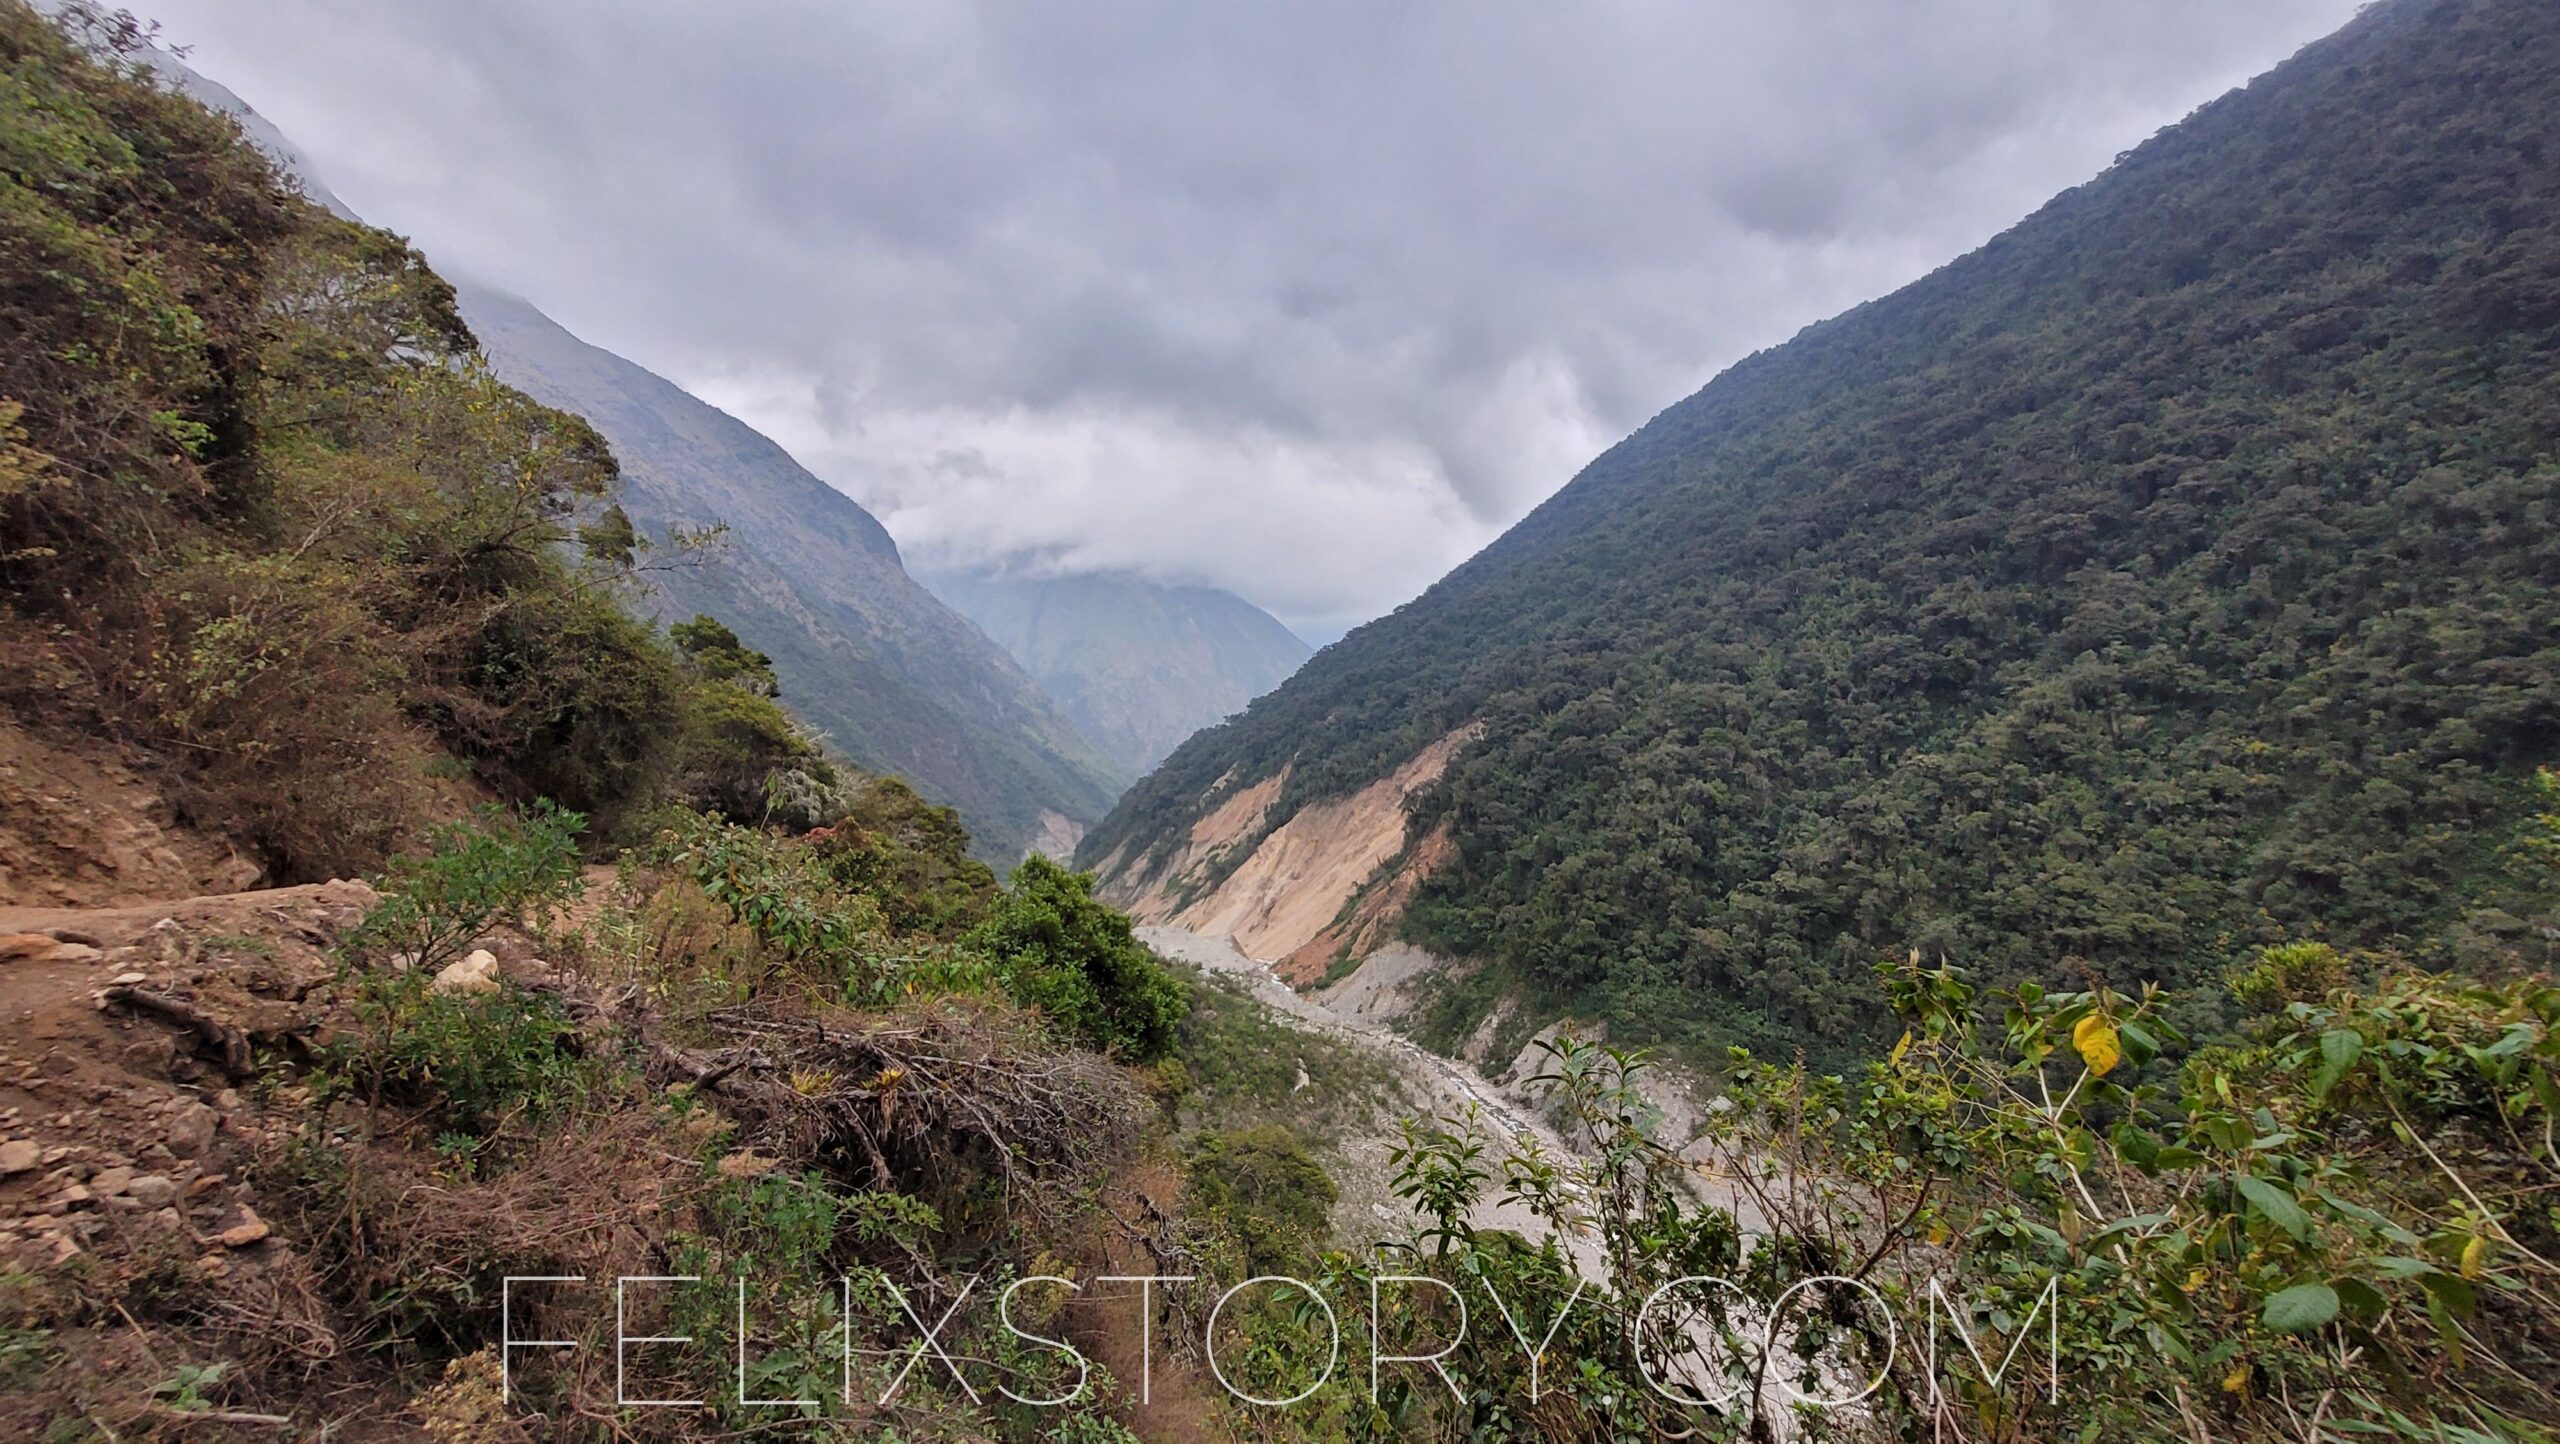
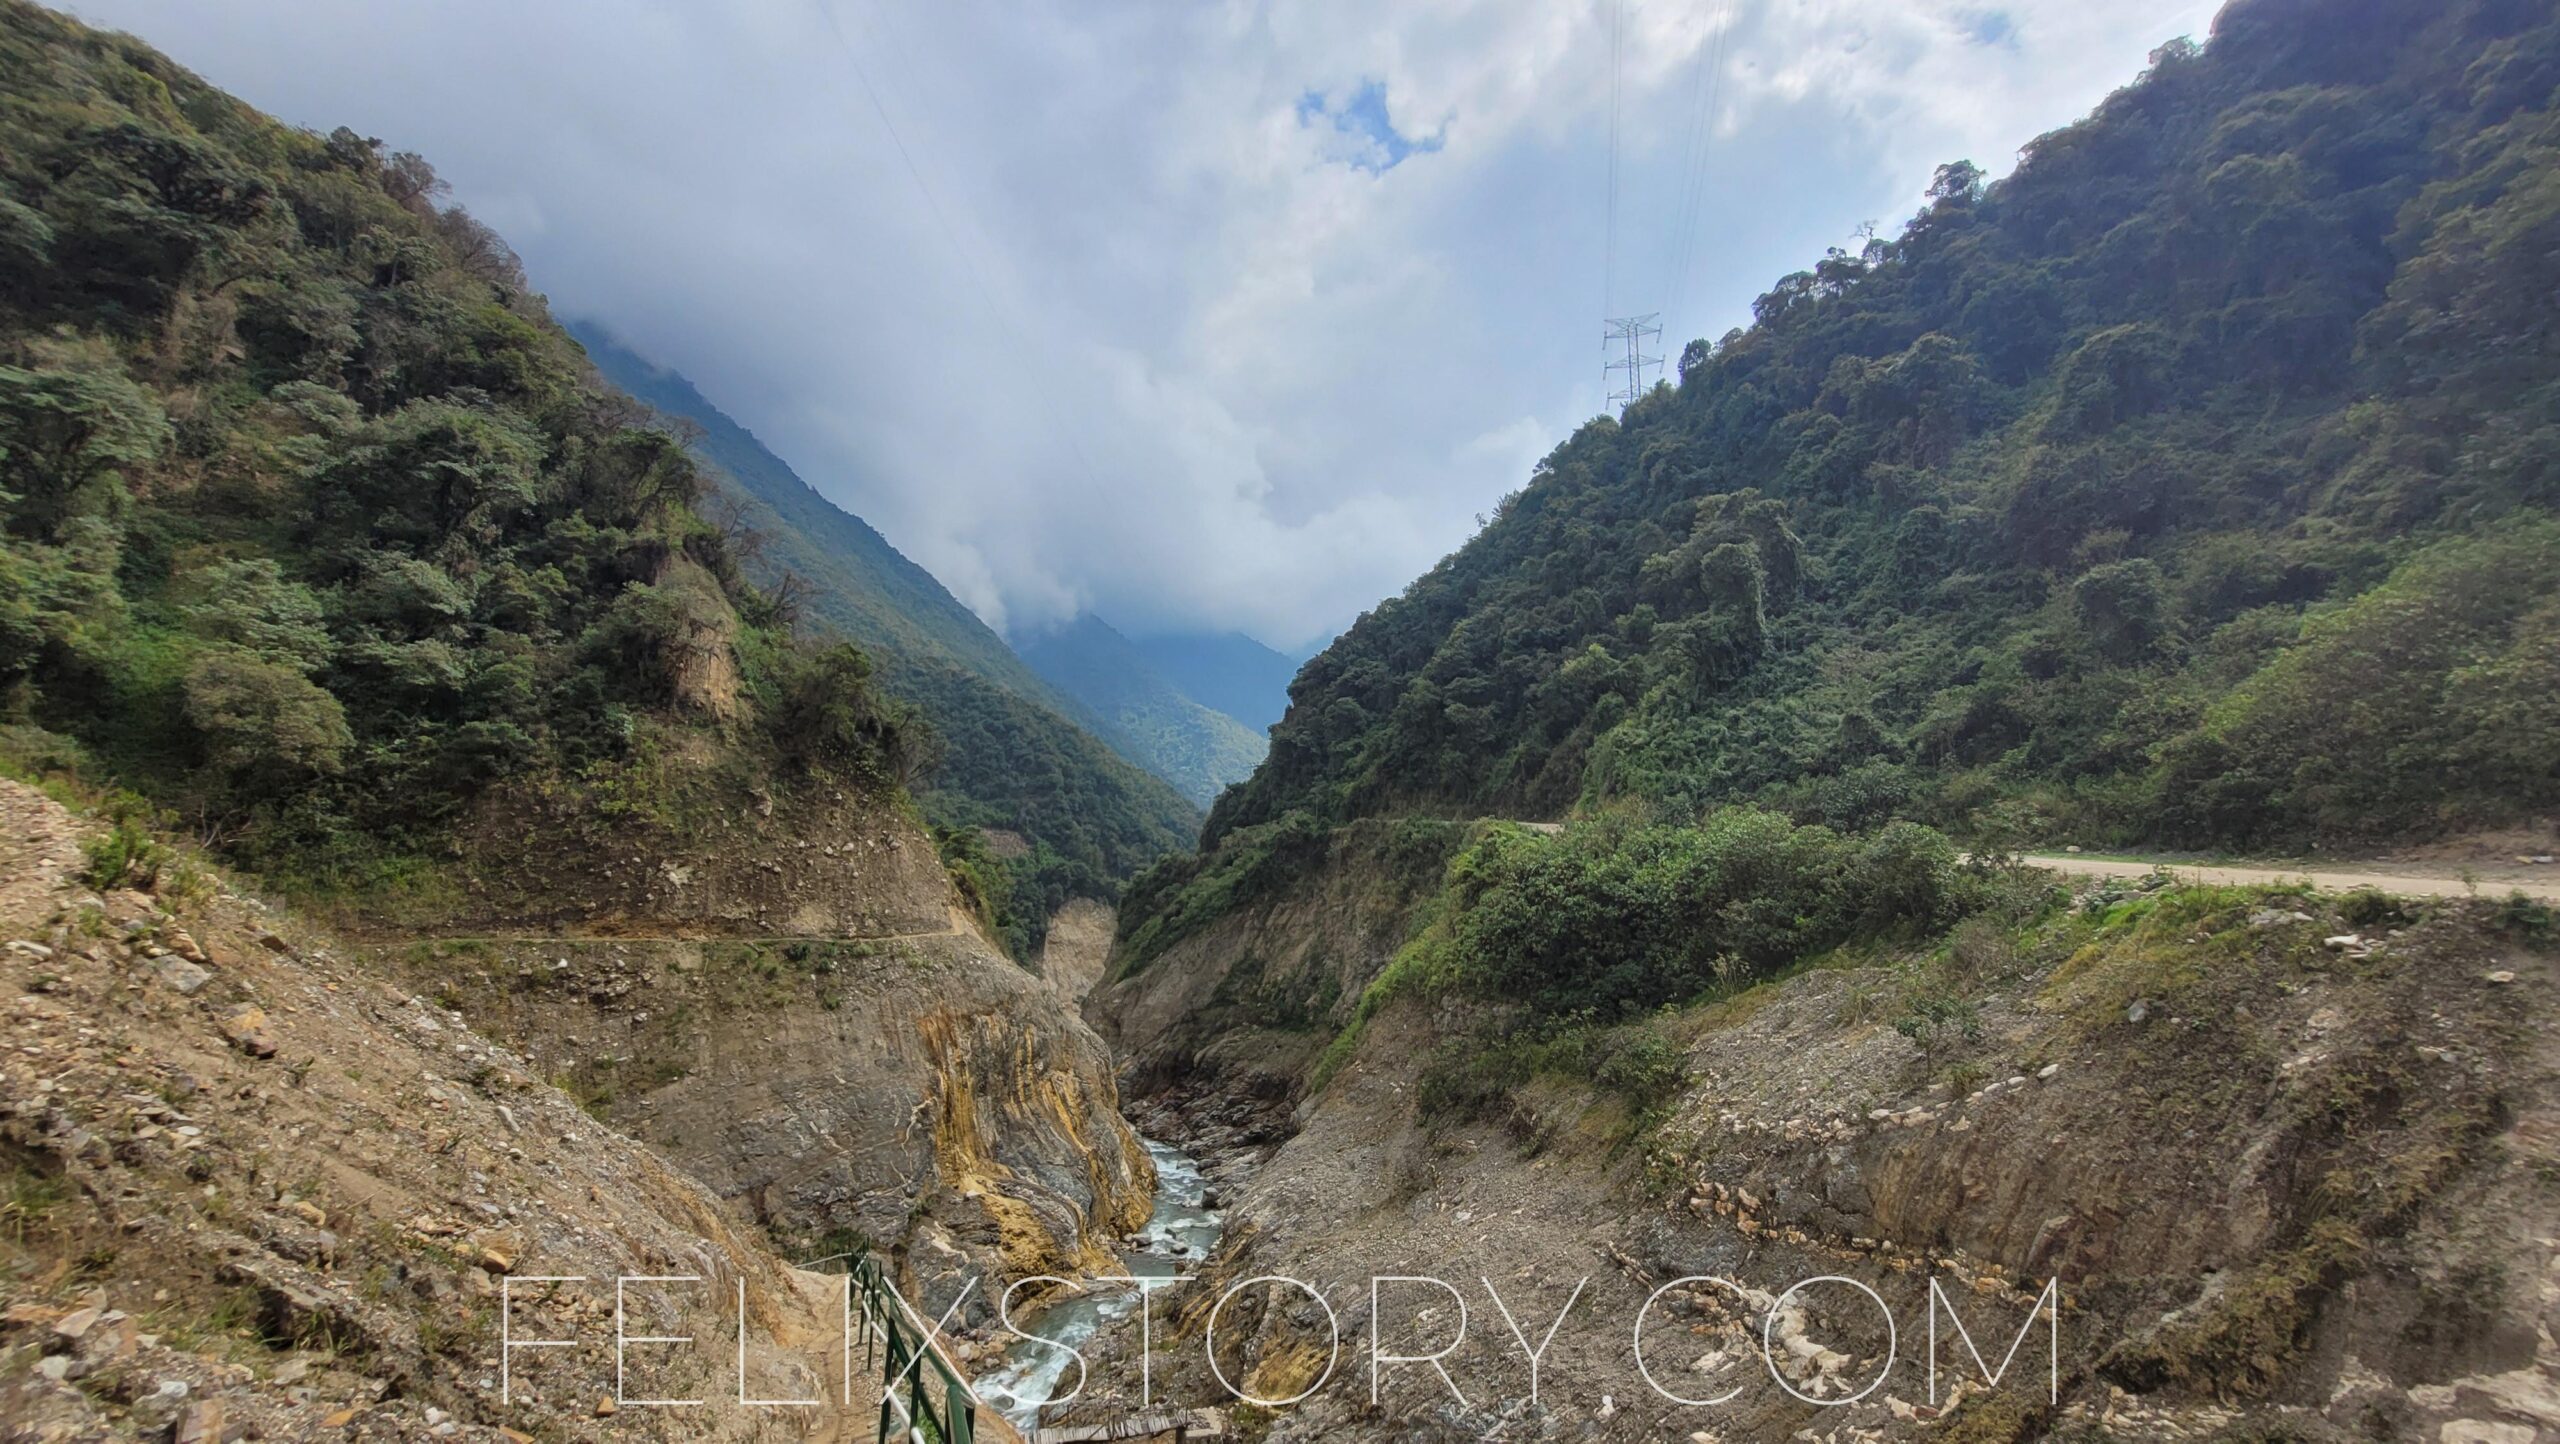
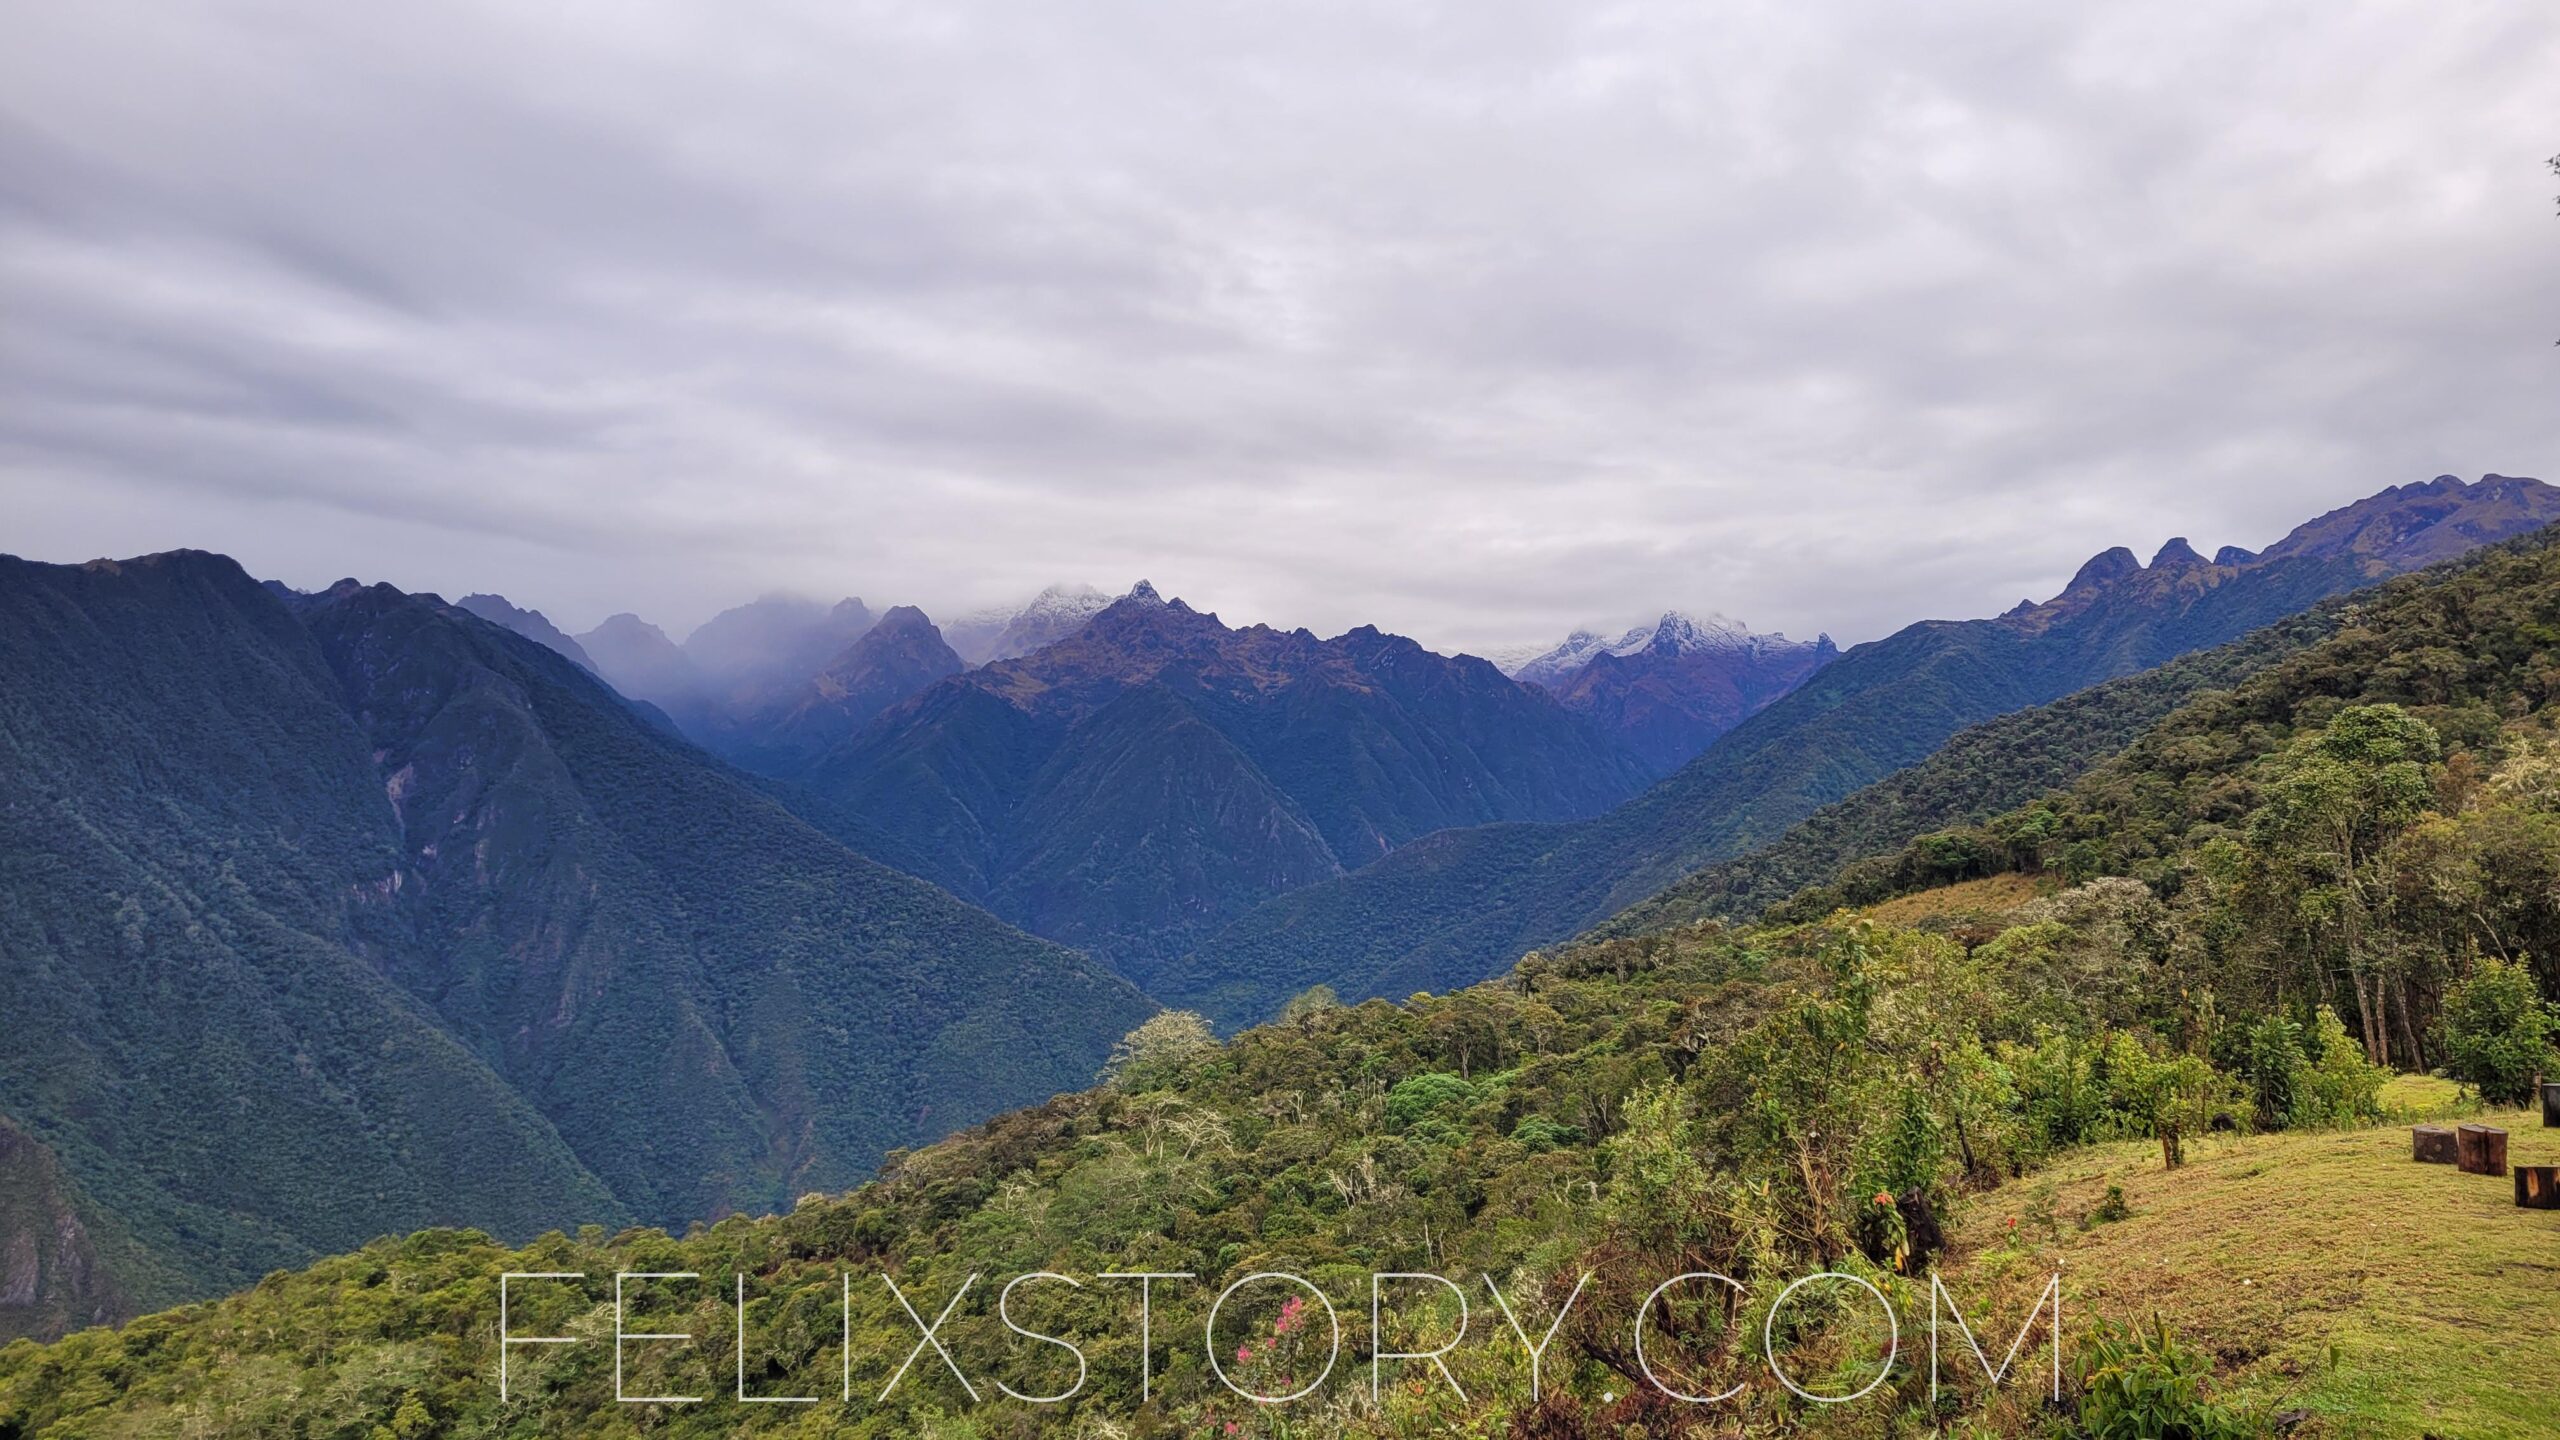
This is the day of your highest altitude. From Soraypampa it goes up right away until you reach the Salkantay pass on a height of 4630 m. Hiking on this altitude is indeed hard, especially when you have a heavy backpack. However, the majority of time you will spend with the descend to Chaullay. You will lose 1740 m in just half a day. From the pass it goes only downhill. Soon you will enter a new microclimate. While on 4630 m there is no vegetation and its quite cold it’s really warm and rather like a rainforest as soon as you surpass the limit of about 3500 m. Some people hike to Chaullay, some walk 2 km extra to the next neighbor village Collpapampa. Which one you choose is up to you, if not today you will pass Collpapampa the day after, it really doesn’t matter.


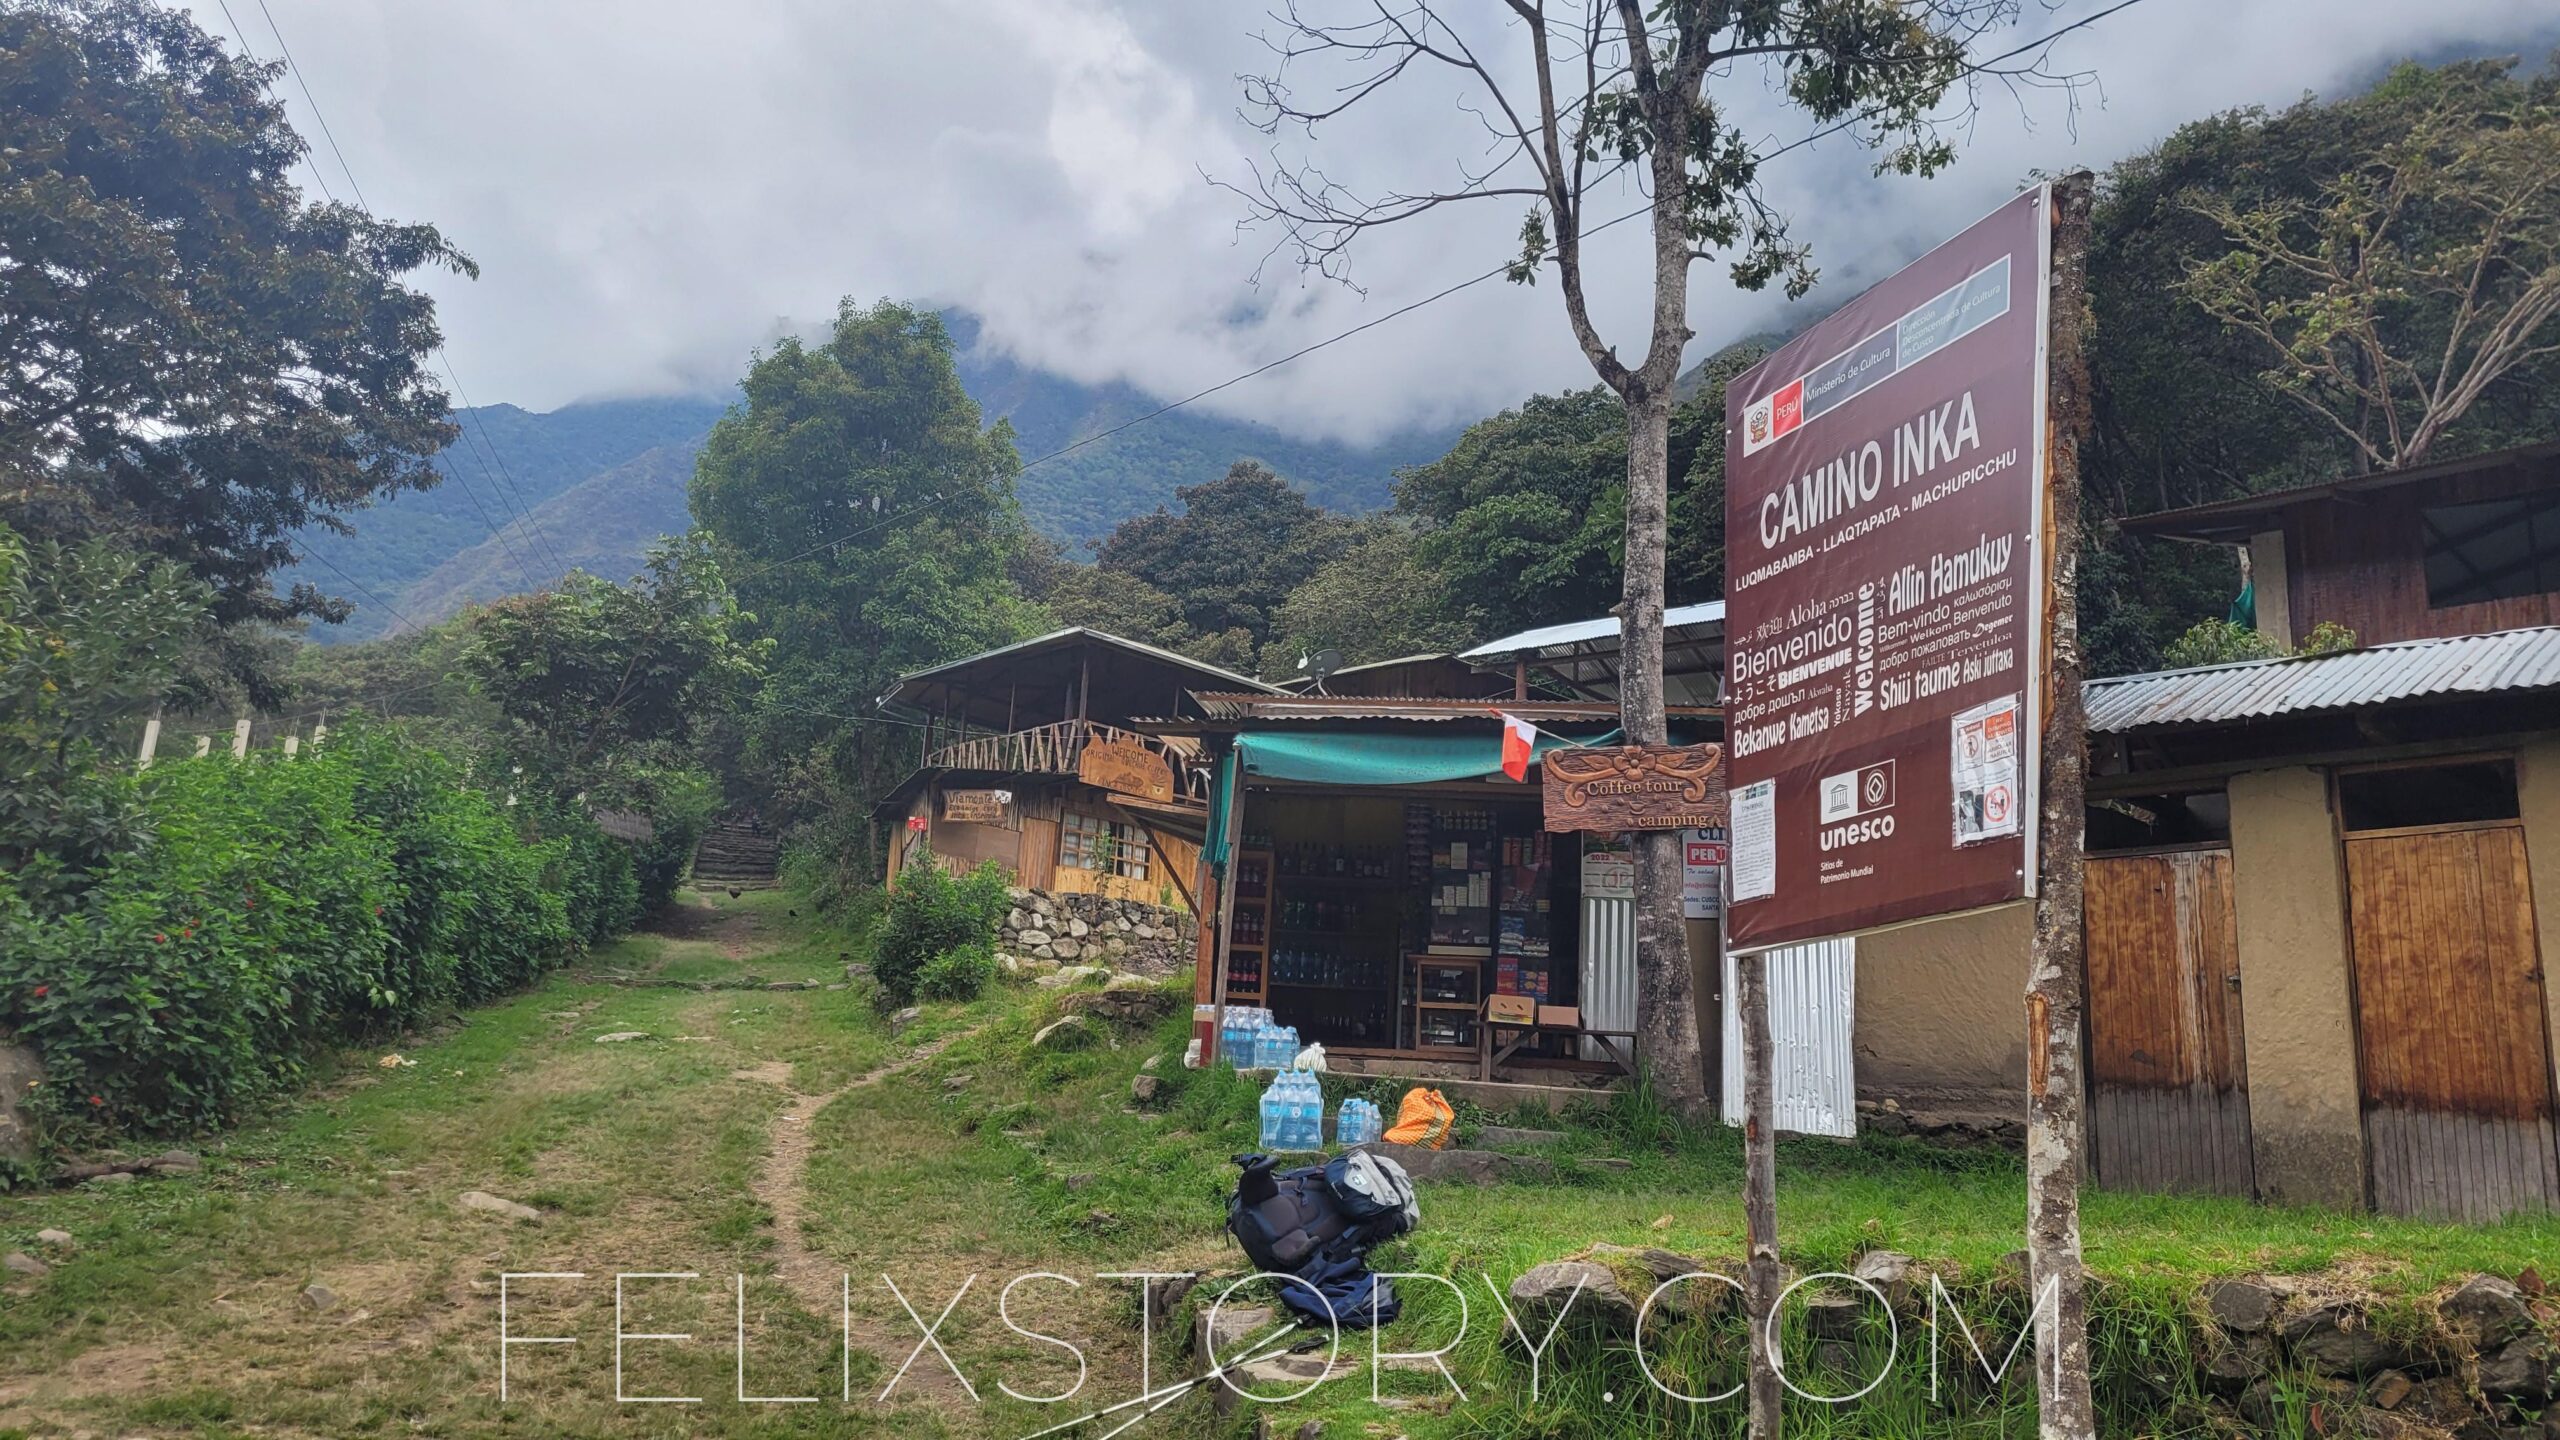
Day 3: Chaullay to Lucmabamba (or Llactapata)
This is the day with the most possible variations. What’s for sure is that you hike to Lucmabamba. Up until there it’s only downhill all the time and you will arrive in Lucmabamba already by midday. Now you have three options:
- Option 1: Stay in Lucmabamba (That’s what all the agency groups are doing)
- Option 2: Keep hiking to Santa Teresa
- Option 3: Keep hiking to Llactapata (depicted on the right)
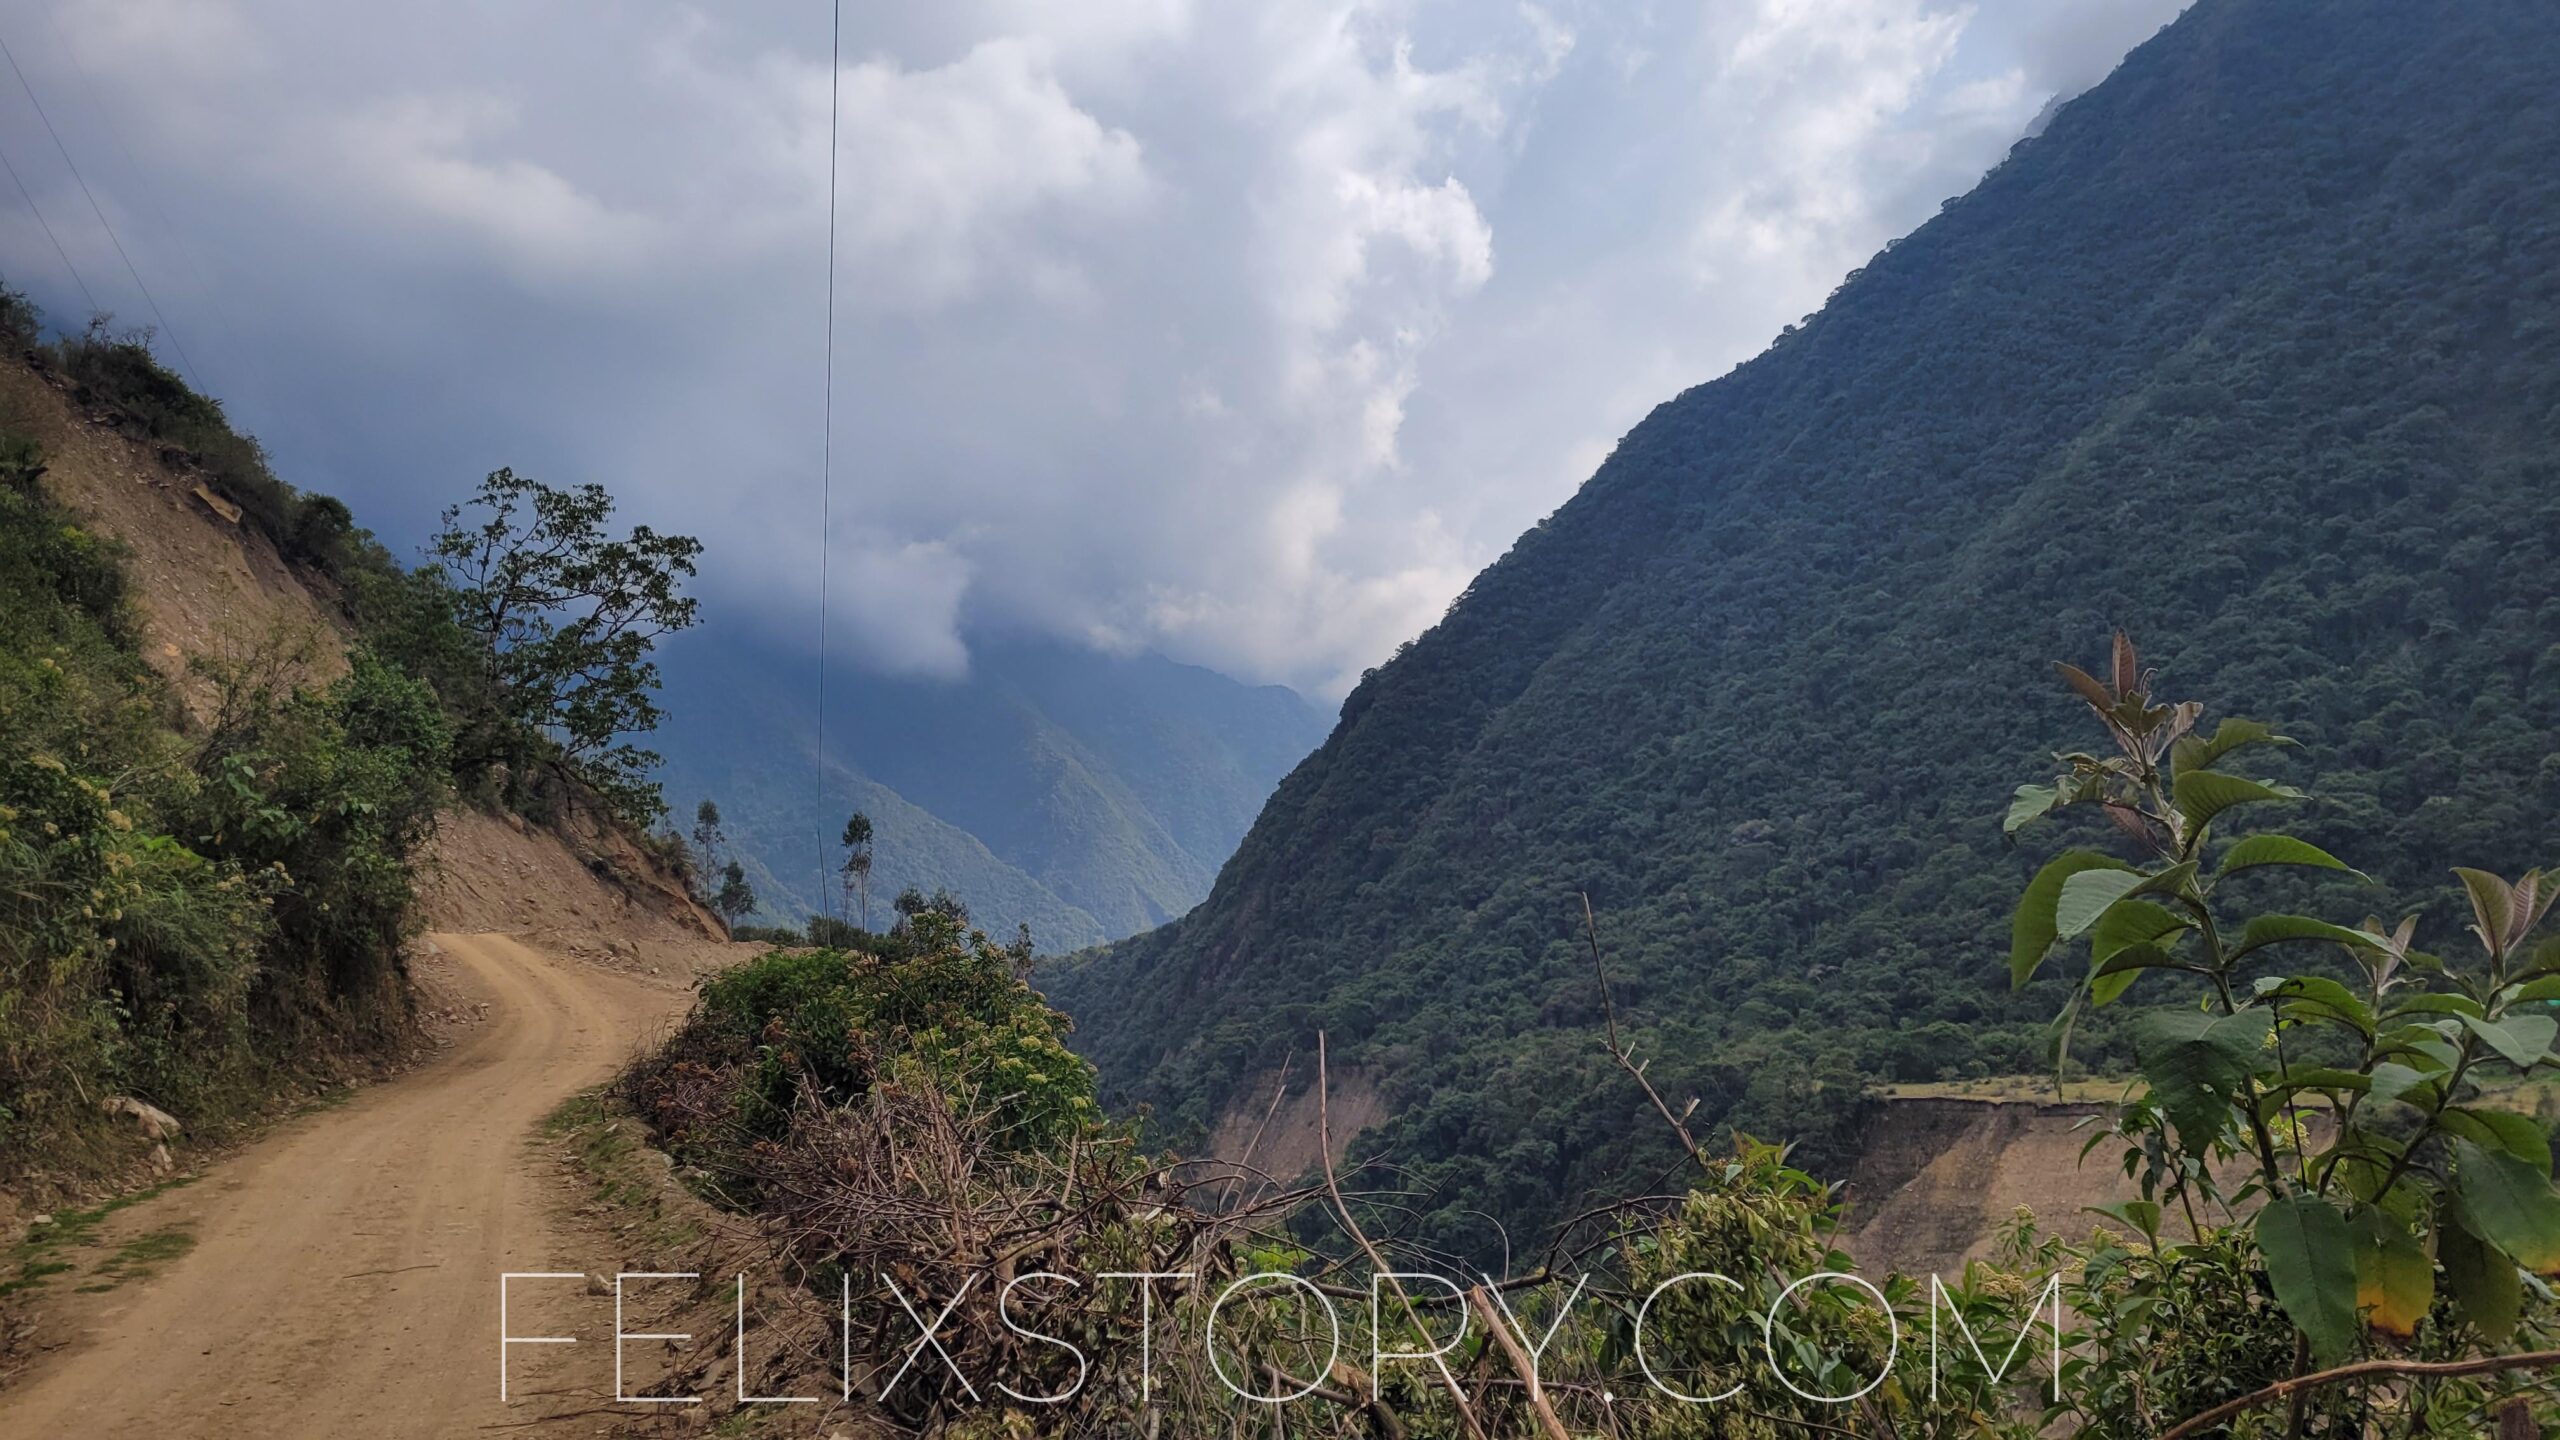
So, there are people who keep hiking downhill to Santa Teresa, because they want to avoid the ascend to Llactapata and want to enjoy the hot springs in Santa Teresa. In my opinion this is the worst option of them all. Firstly, you can find hot springs the day after in Aguas Calientes anyways. Secondly, the hike is absolutely boring, because you hike along a dirt road (there is no path dedicated to hikers) and lastly, you will miss the opportunity to see Machu Picchu from the distance and the overall sight of the landscape that is offered to you in Llactapata.
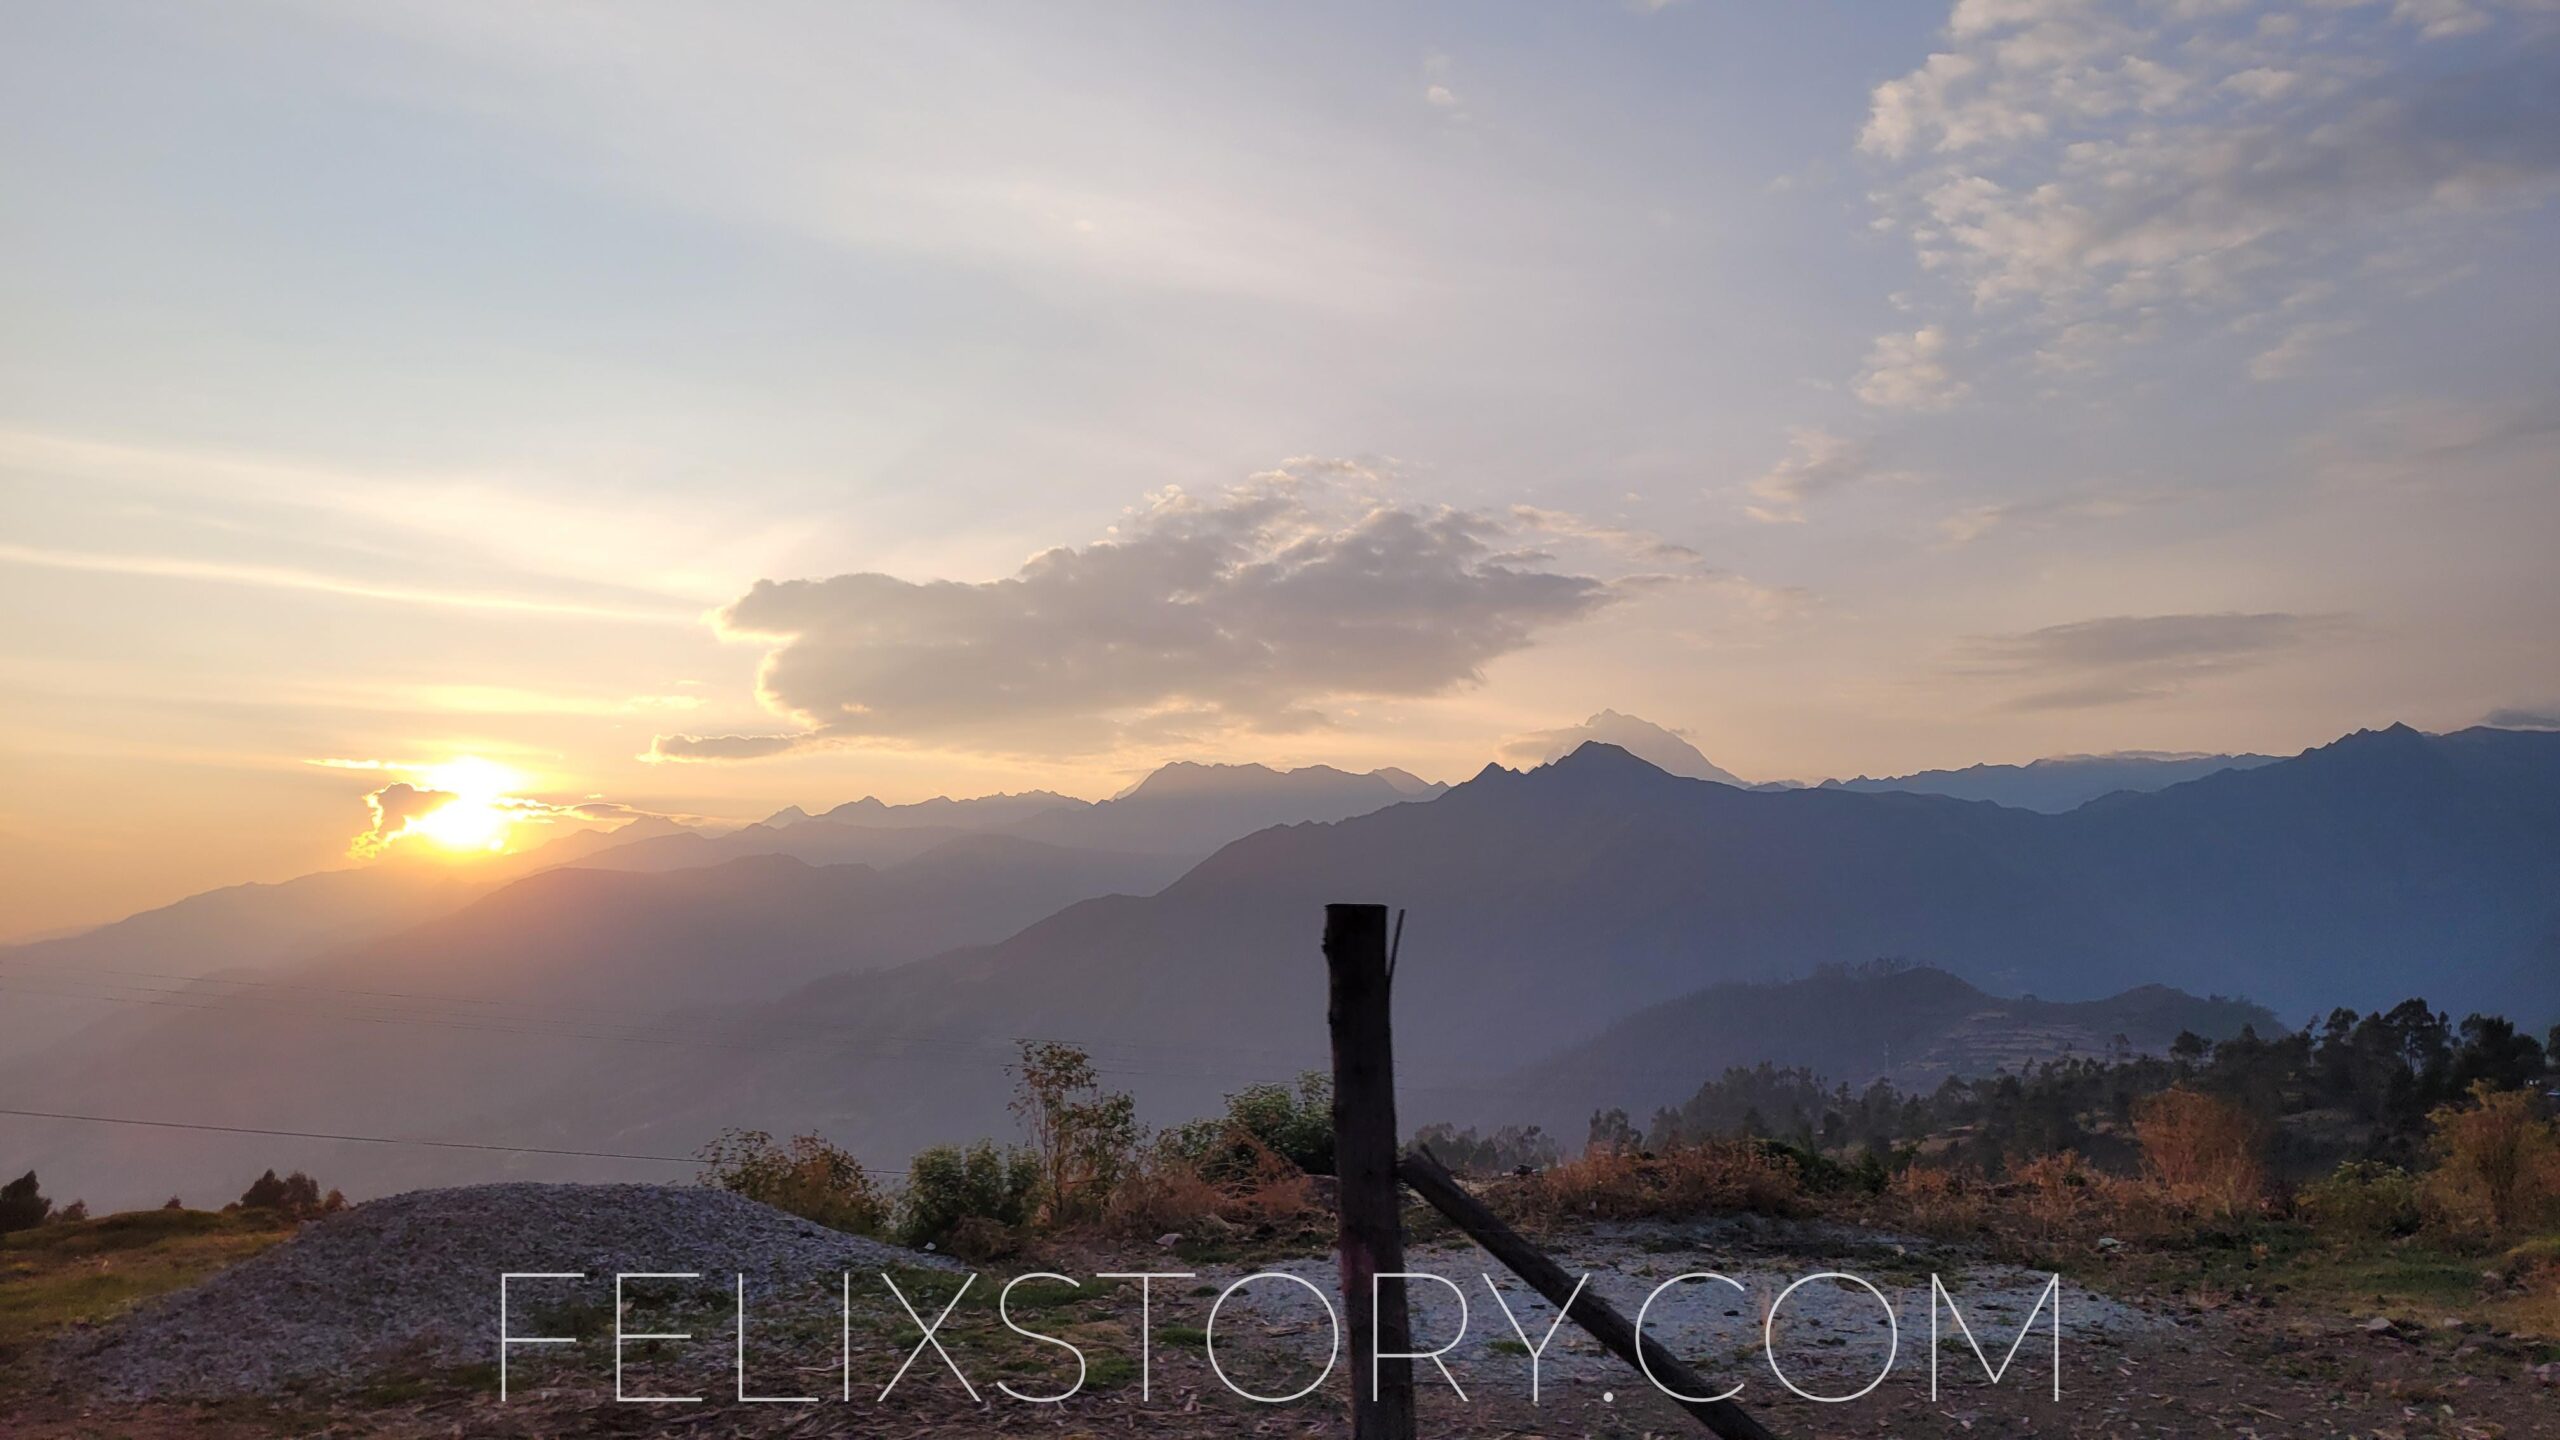
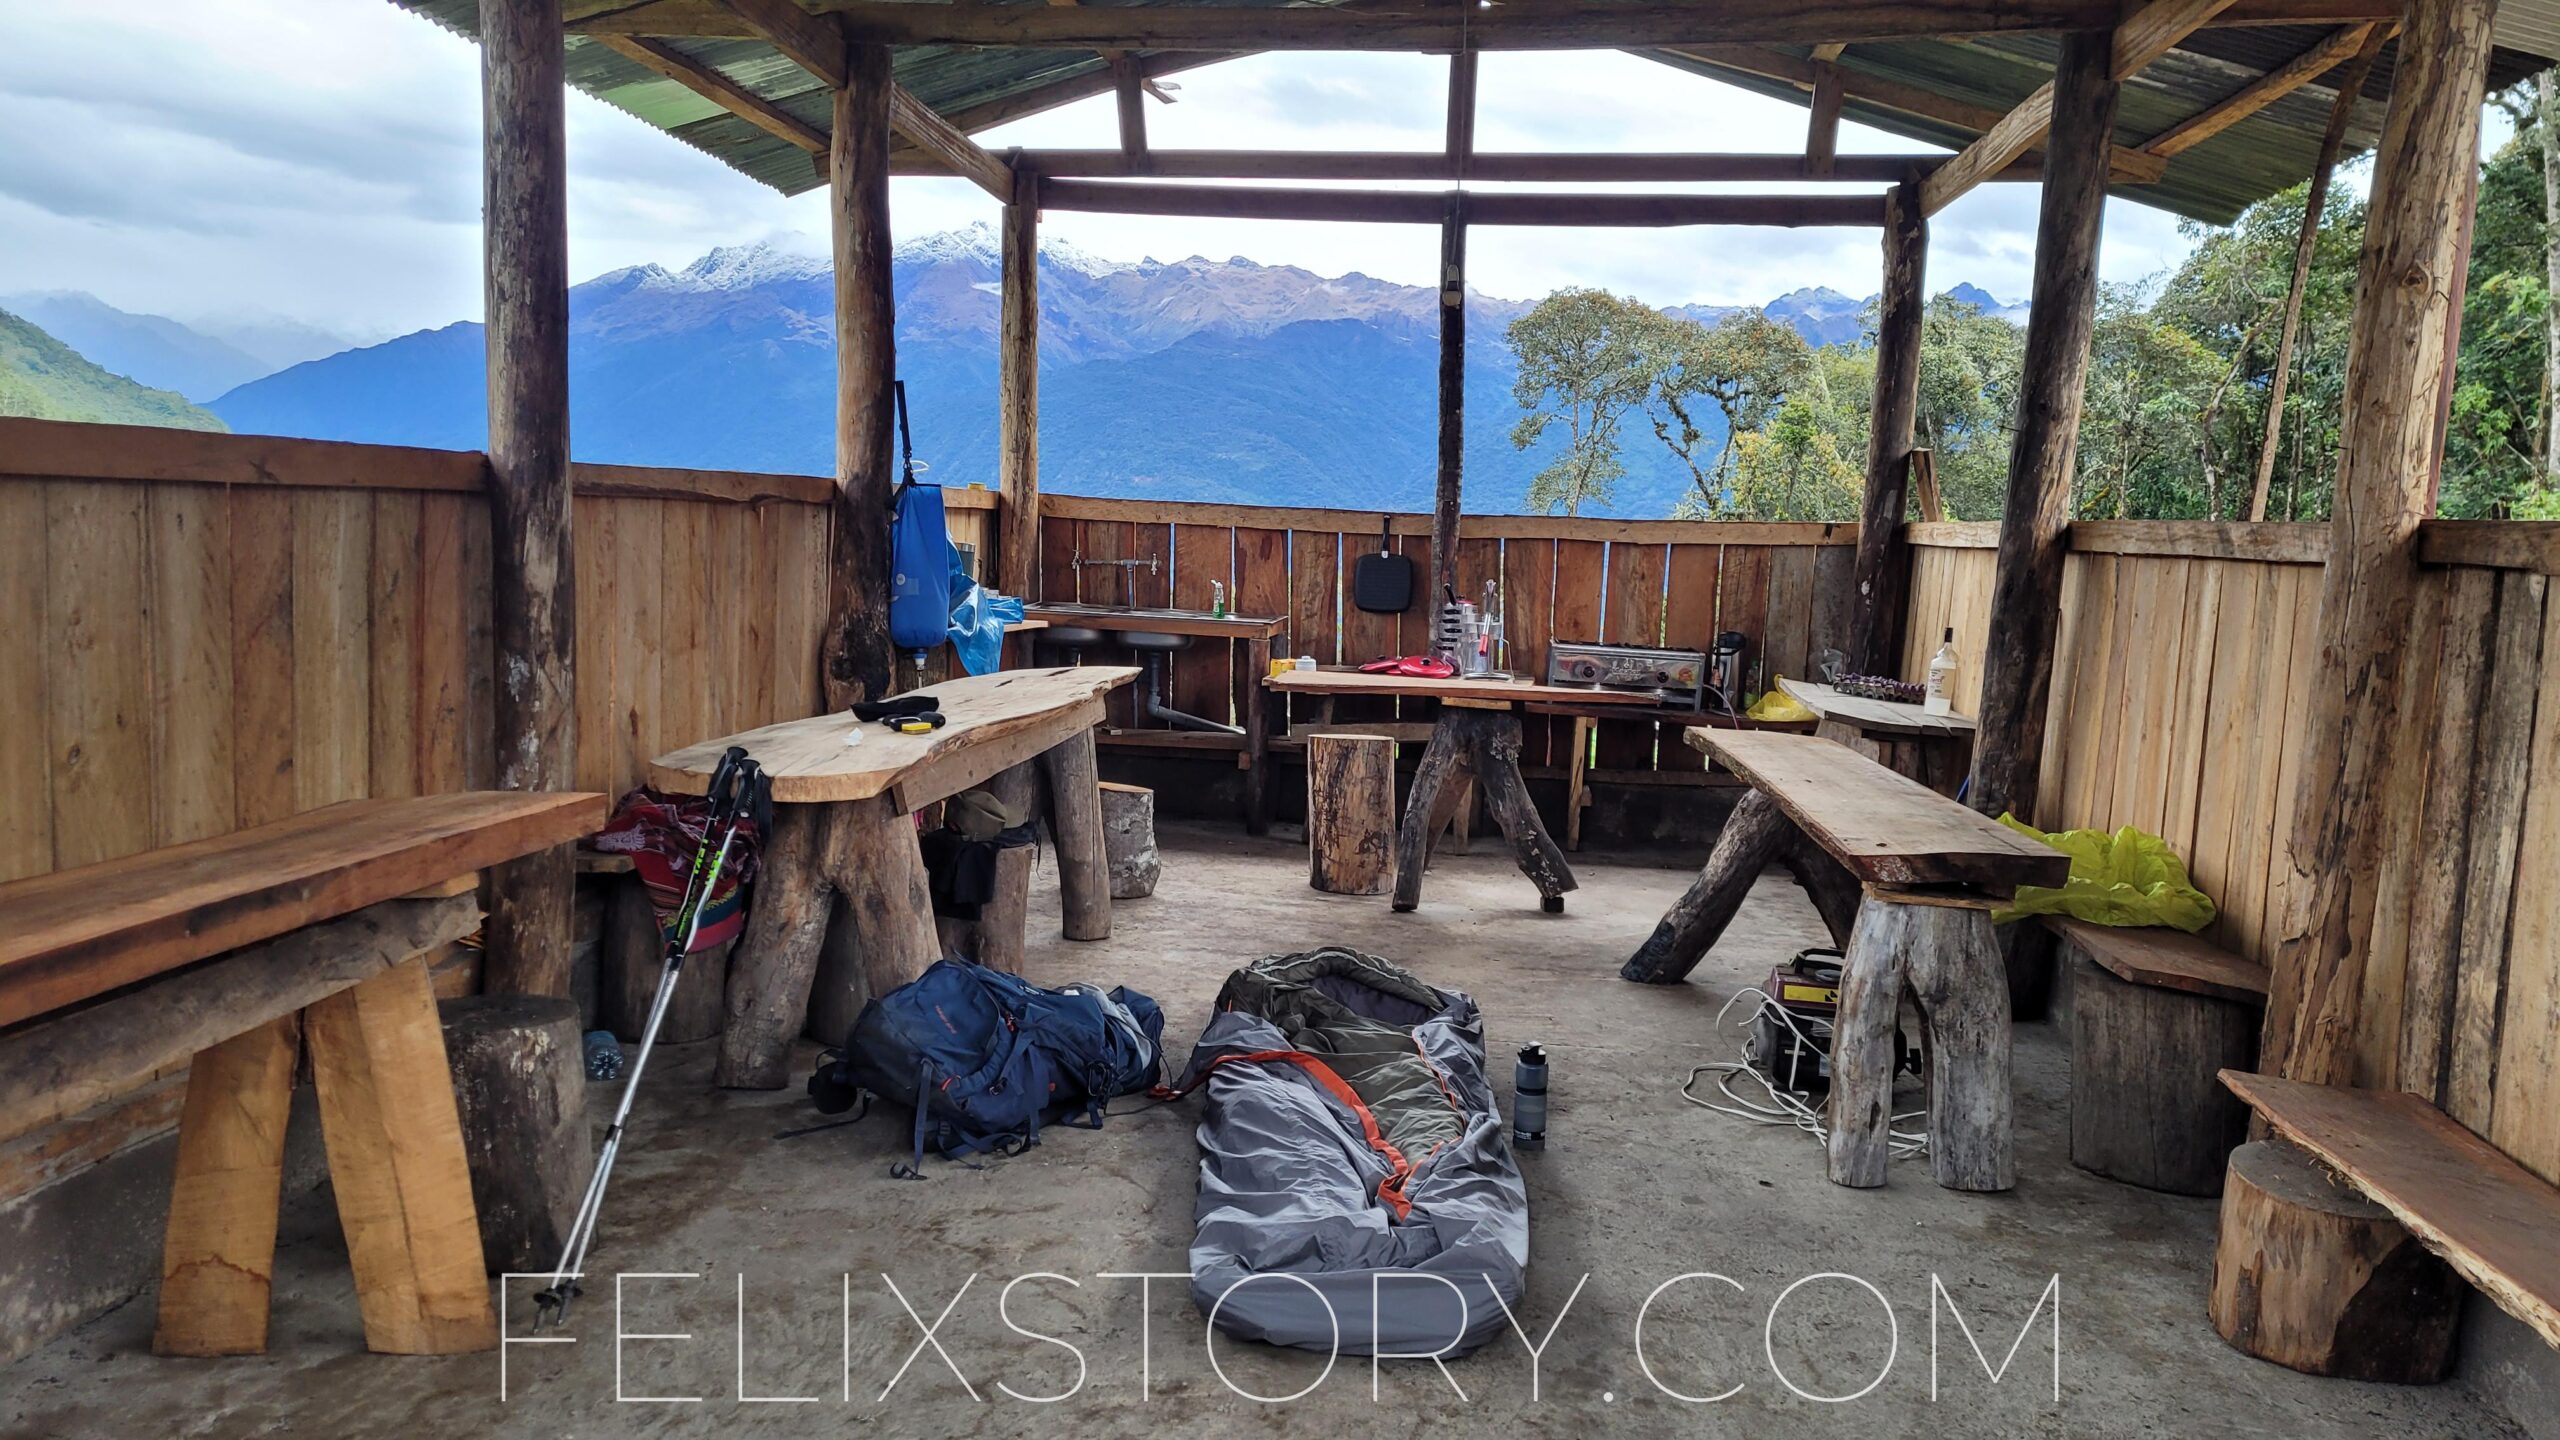
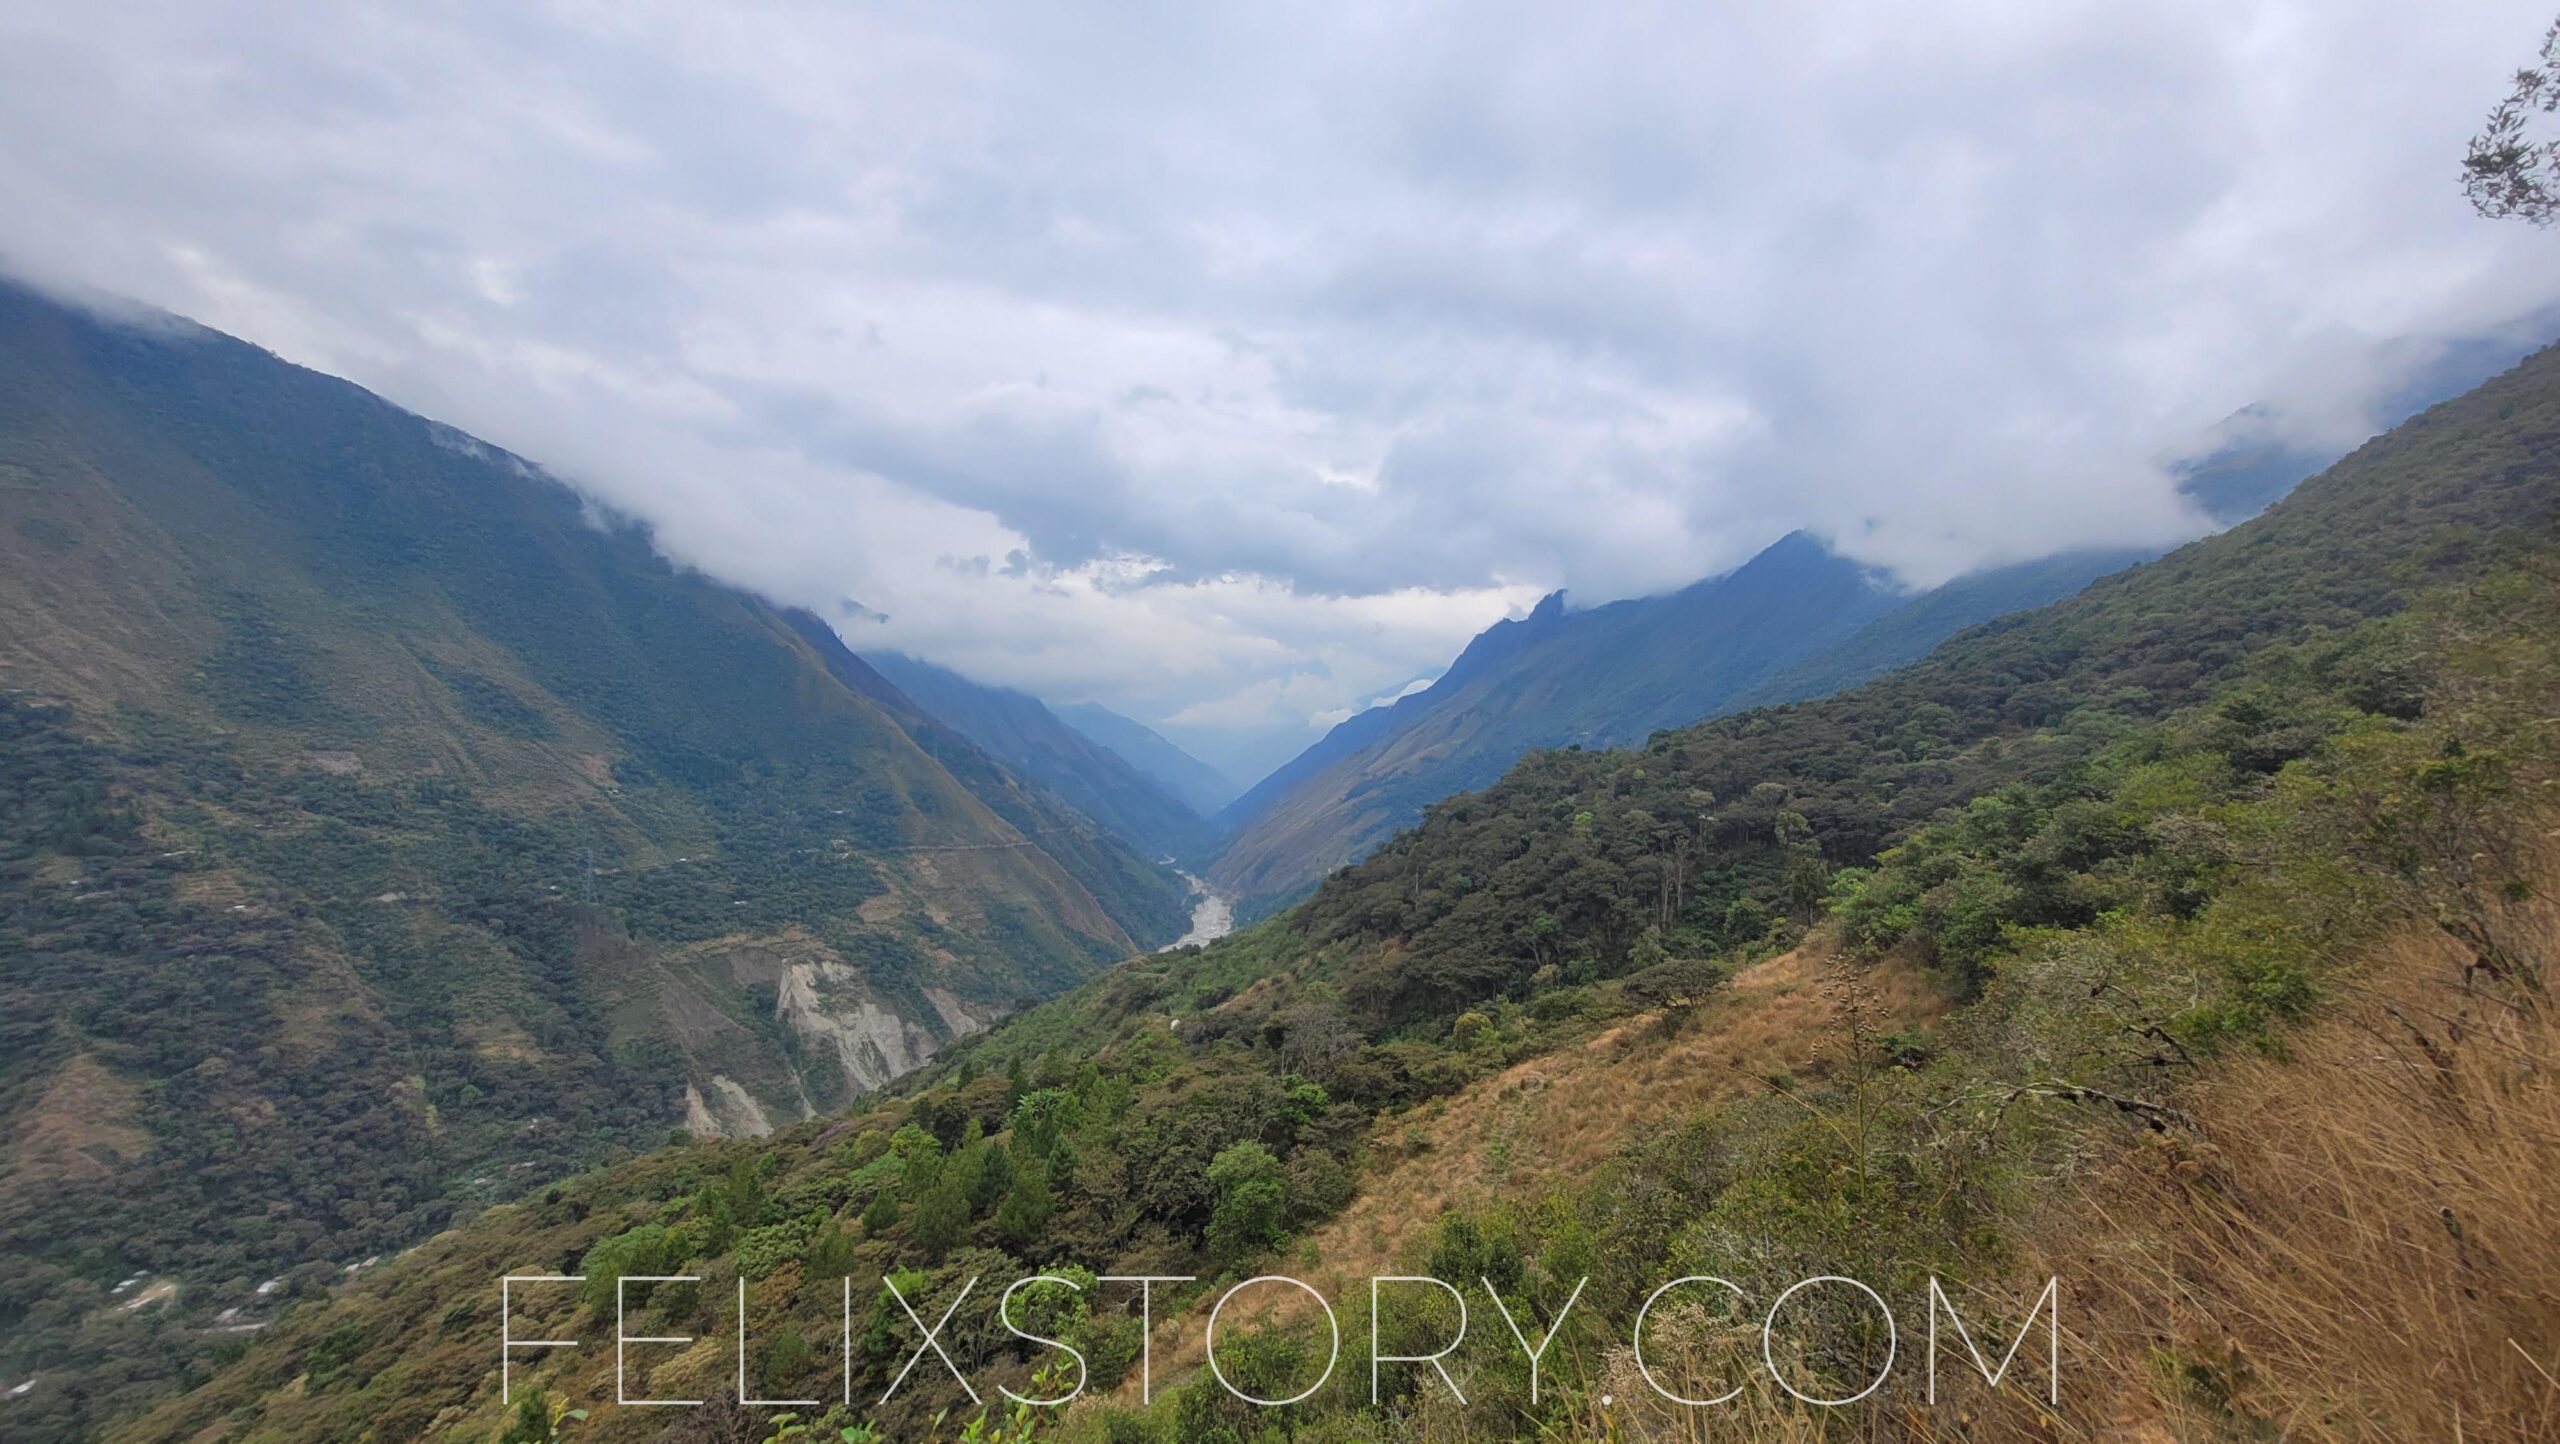
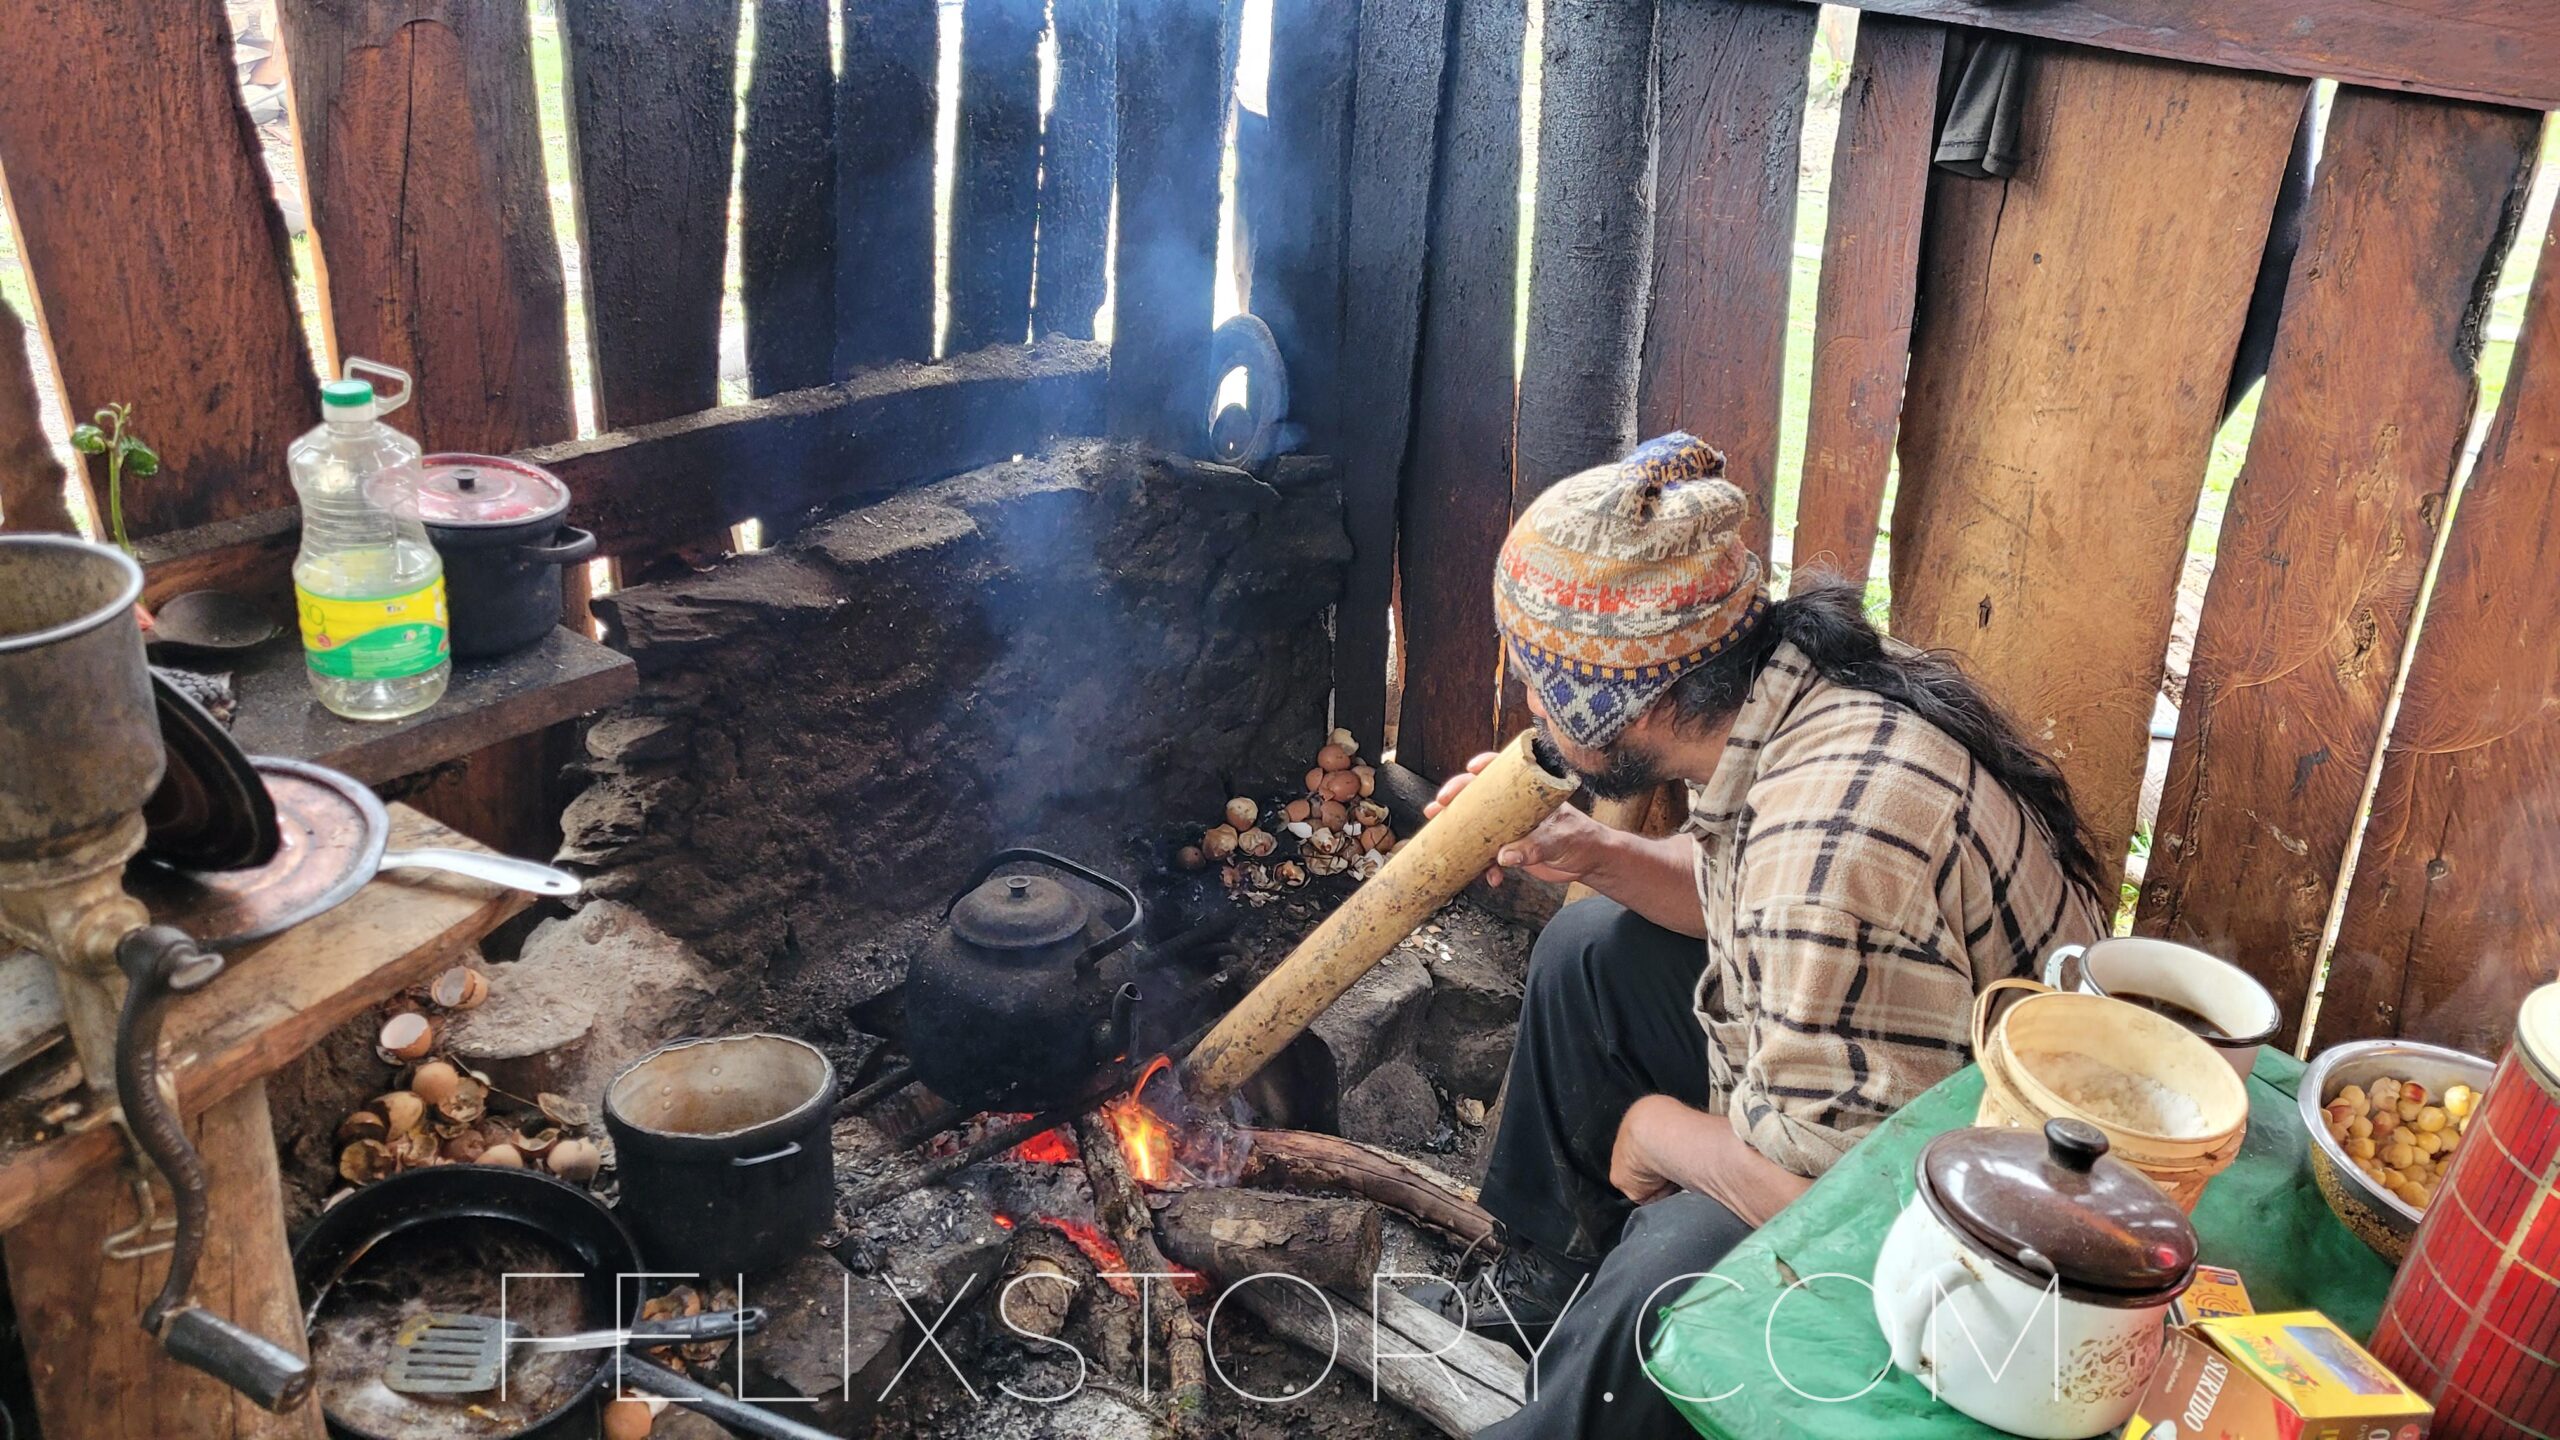
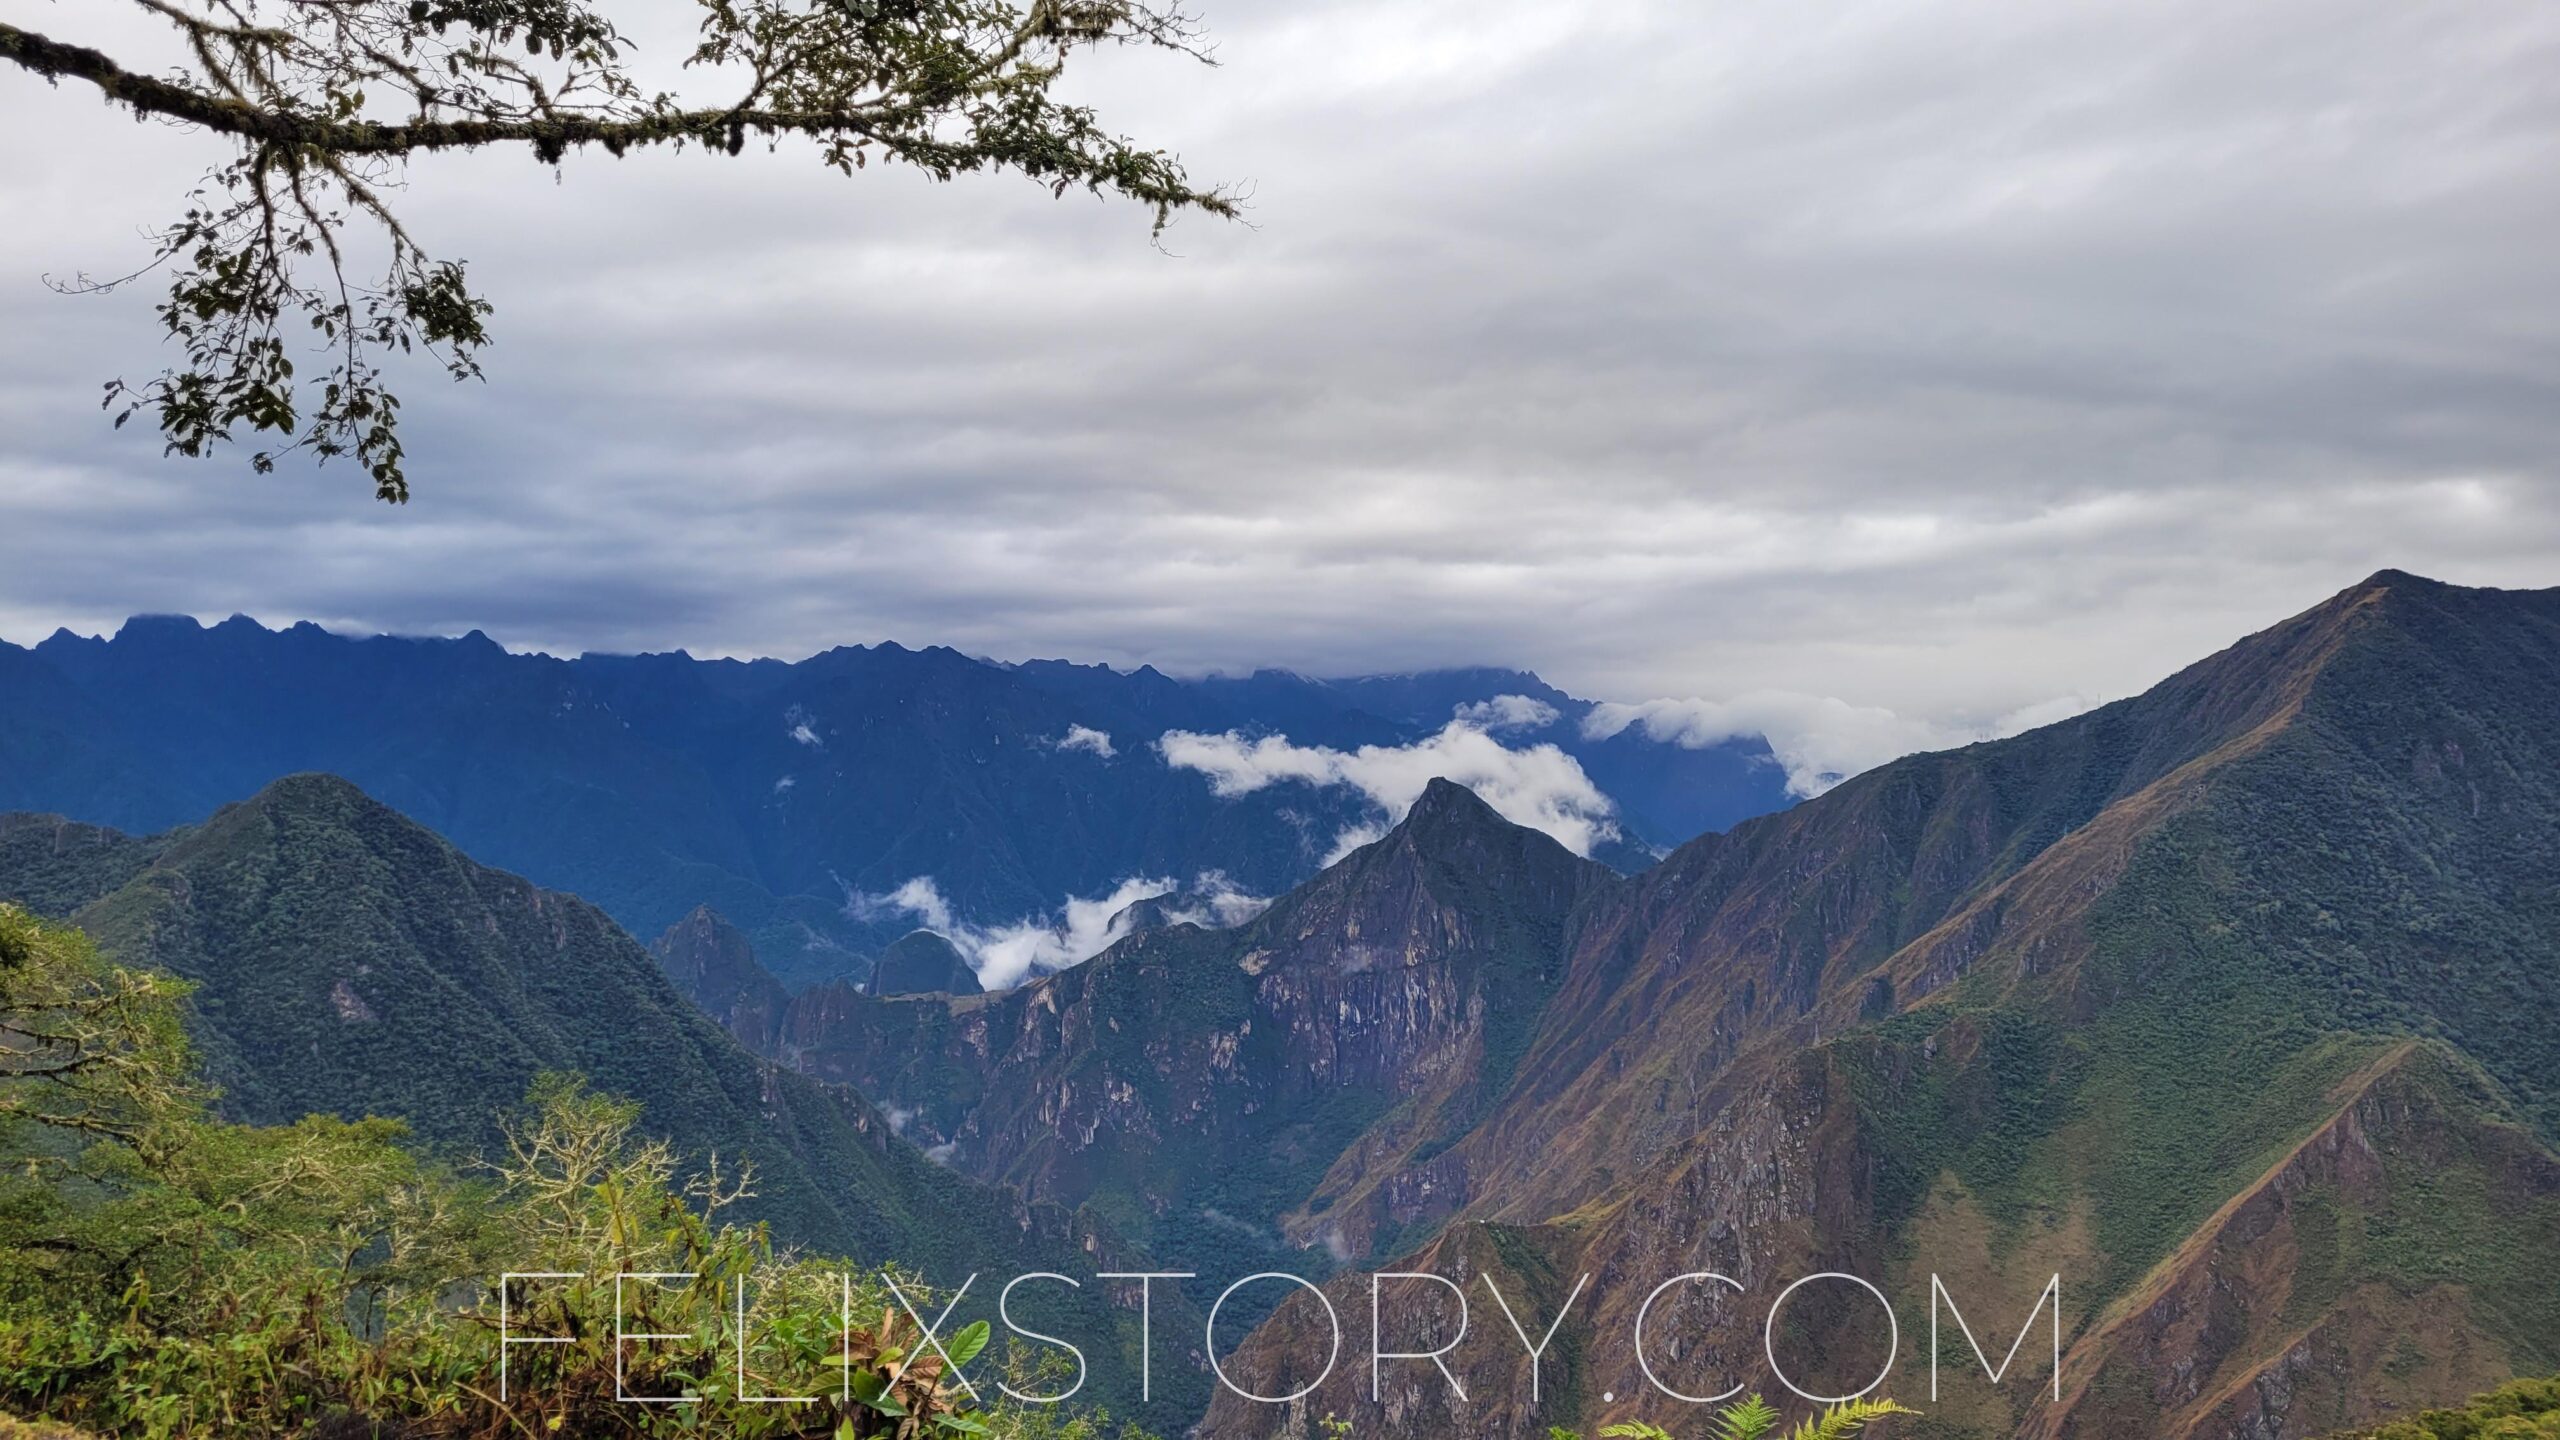
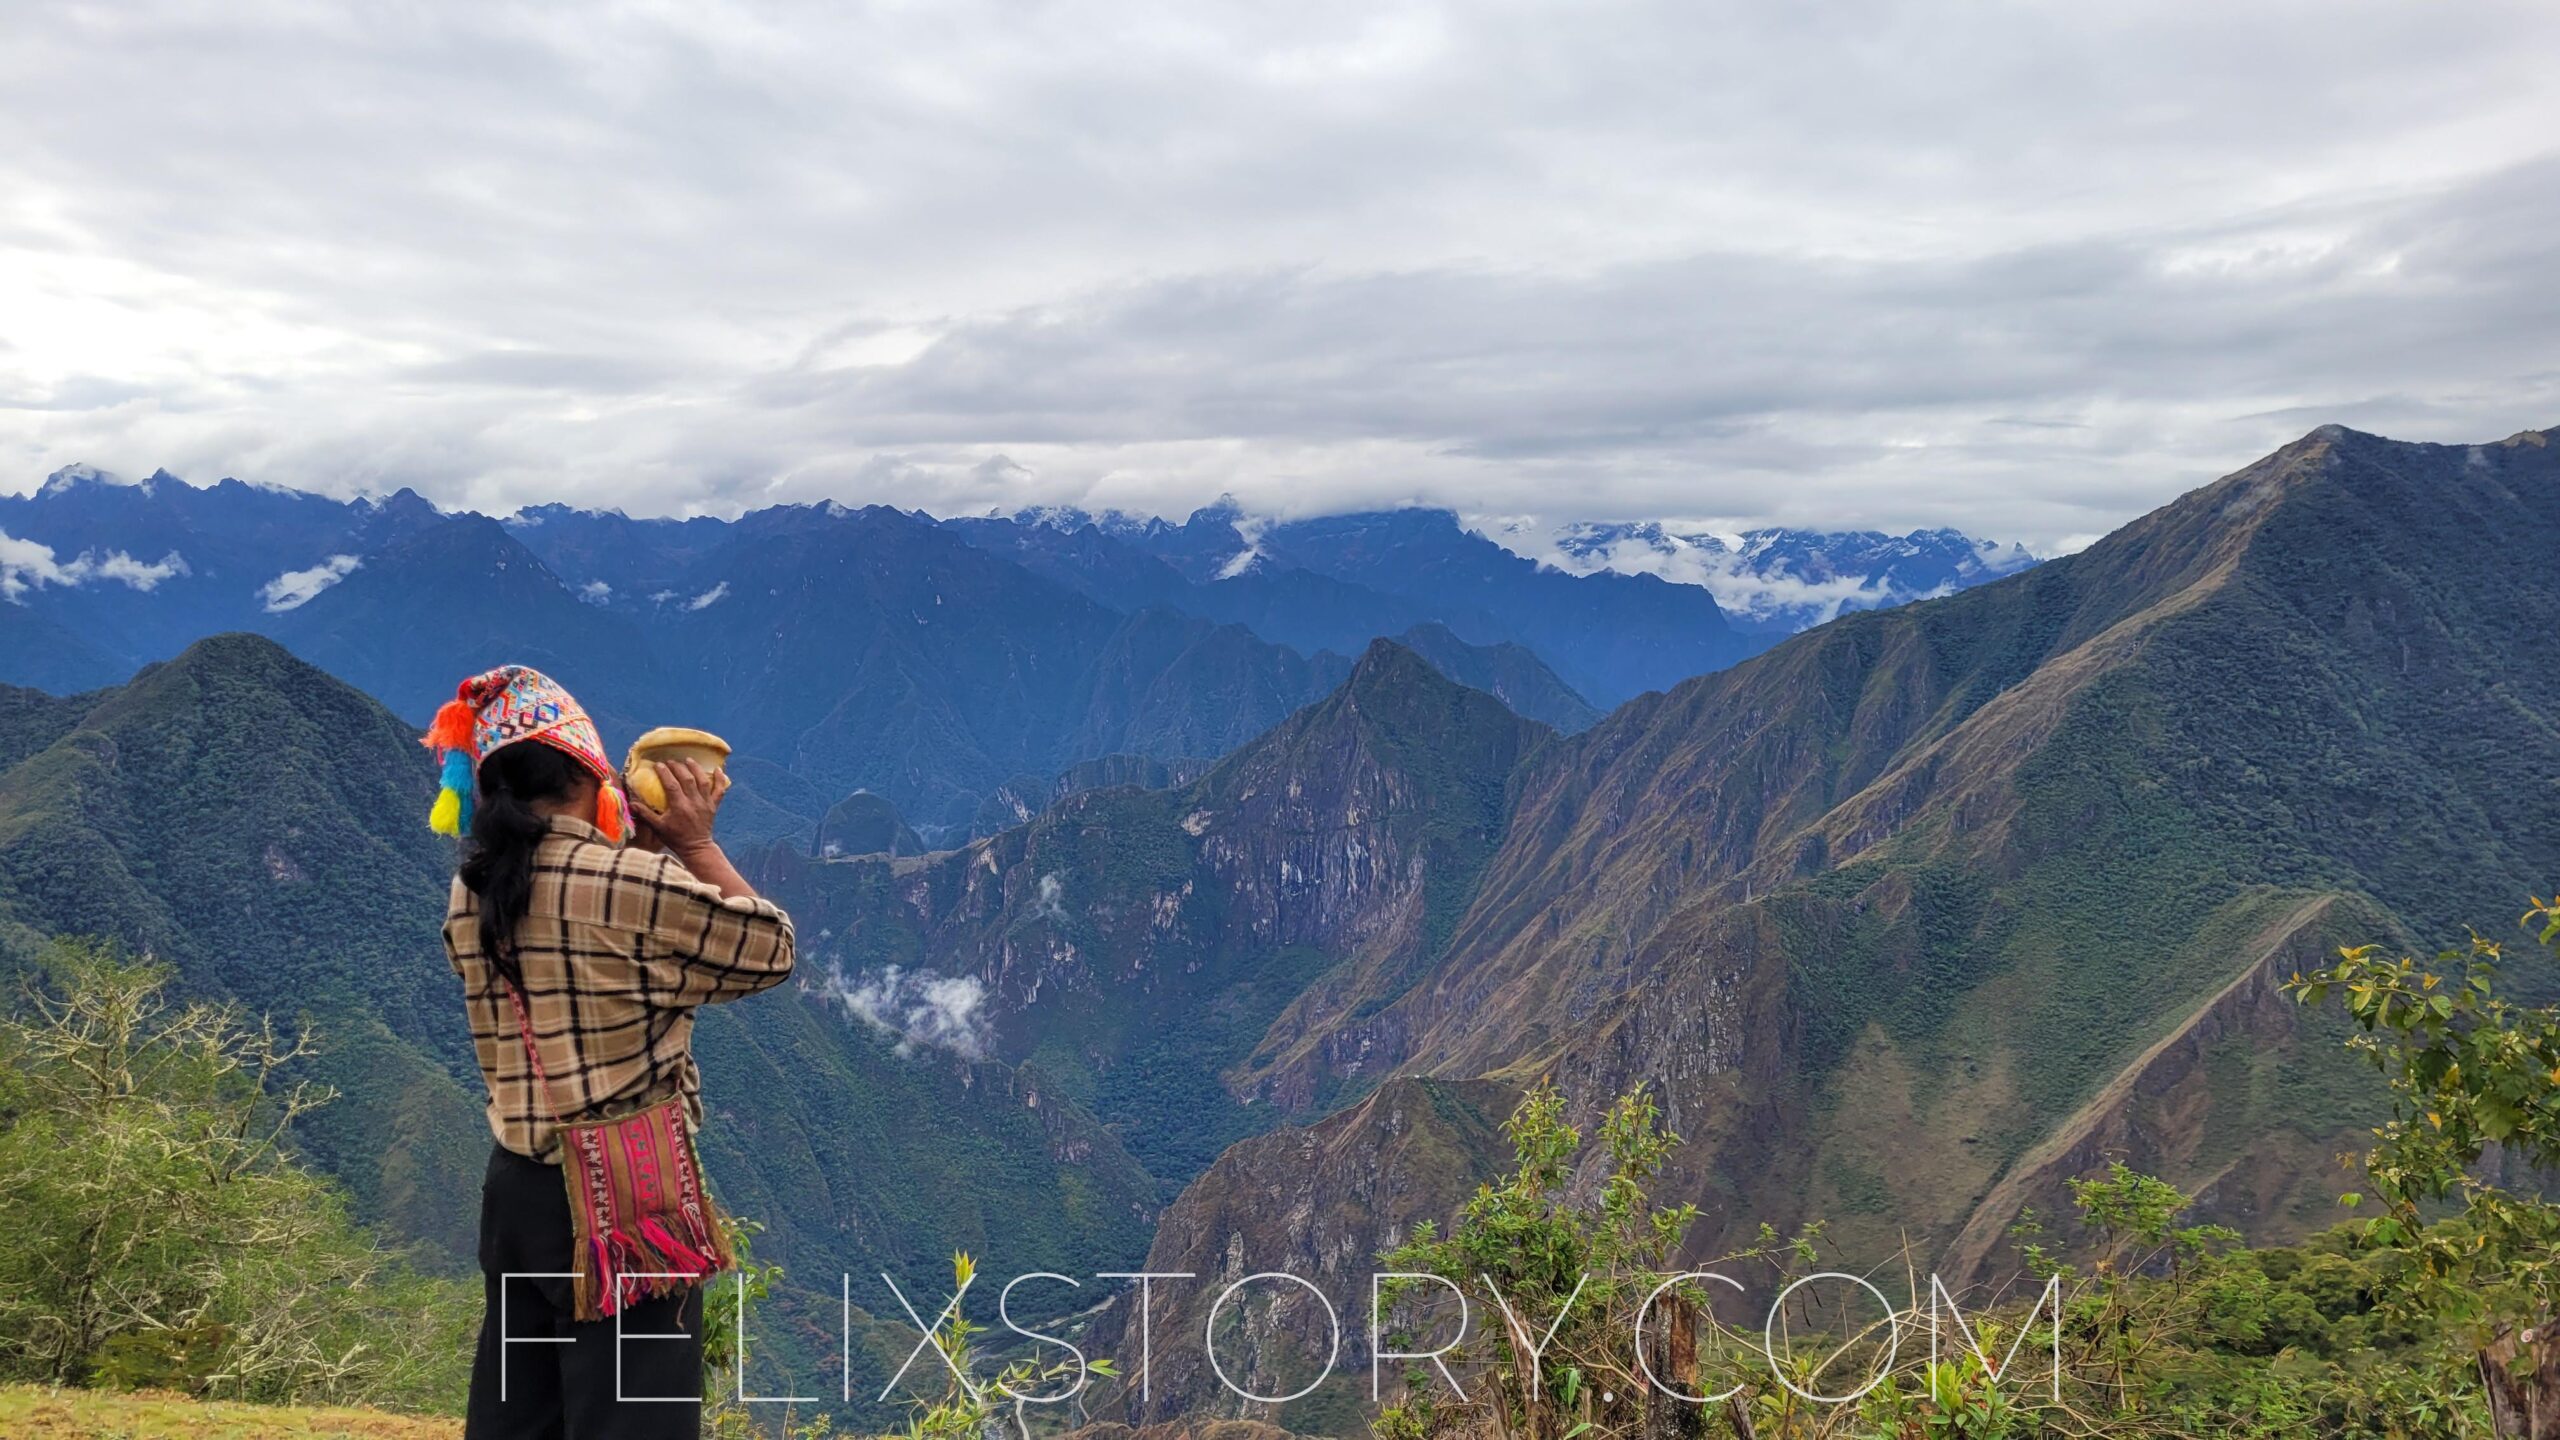
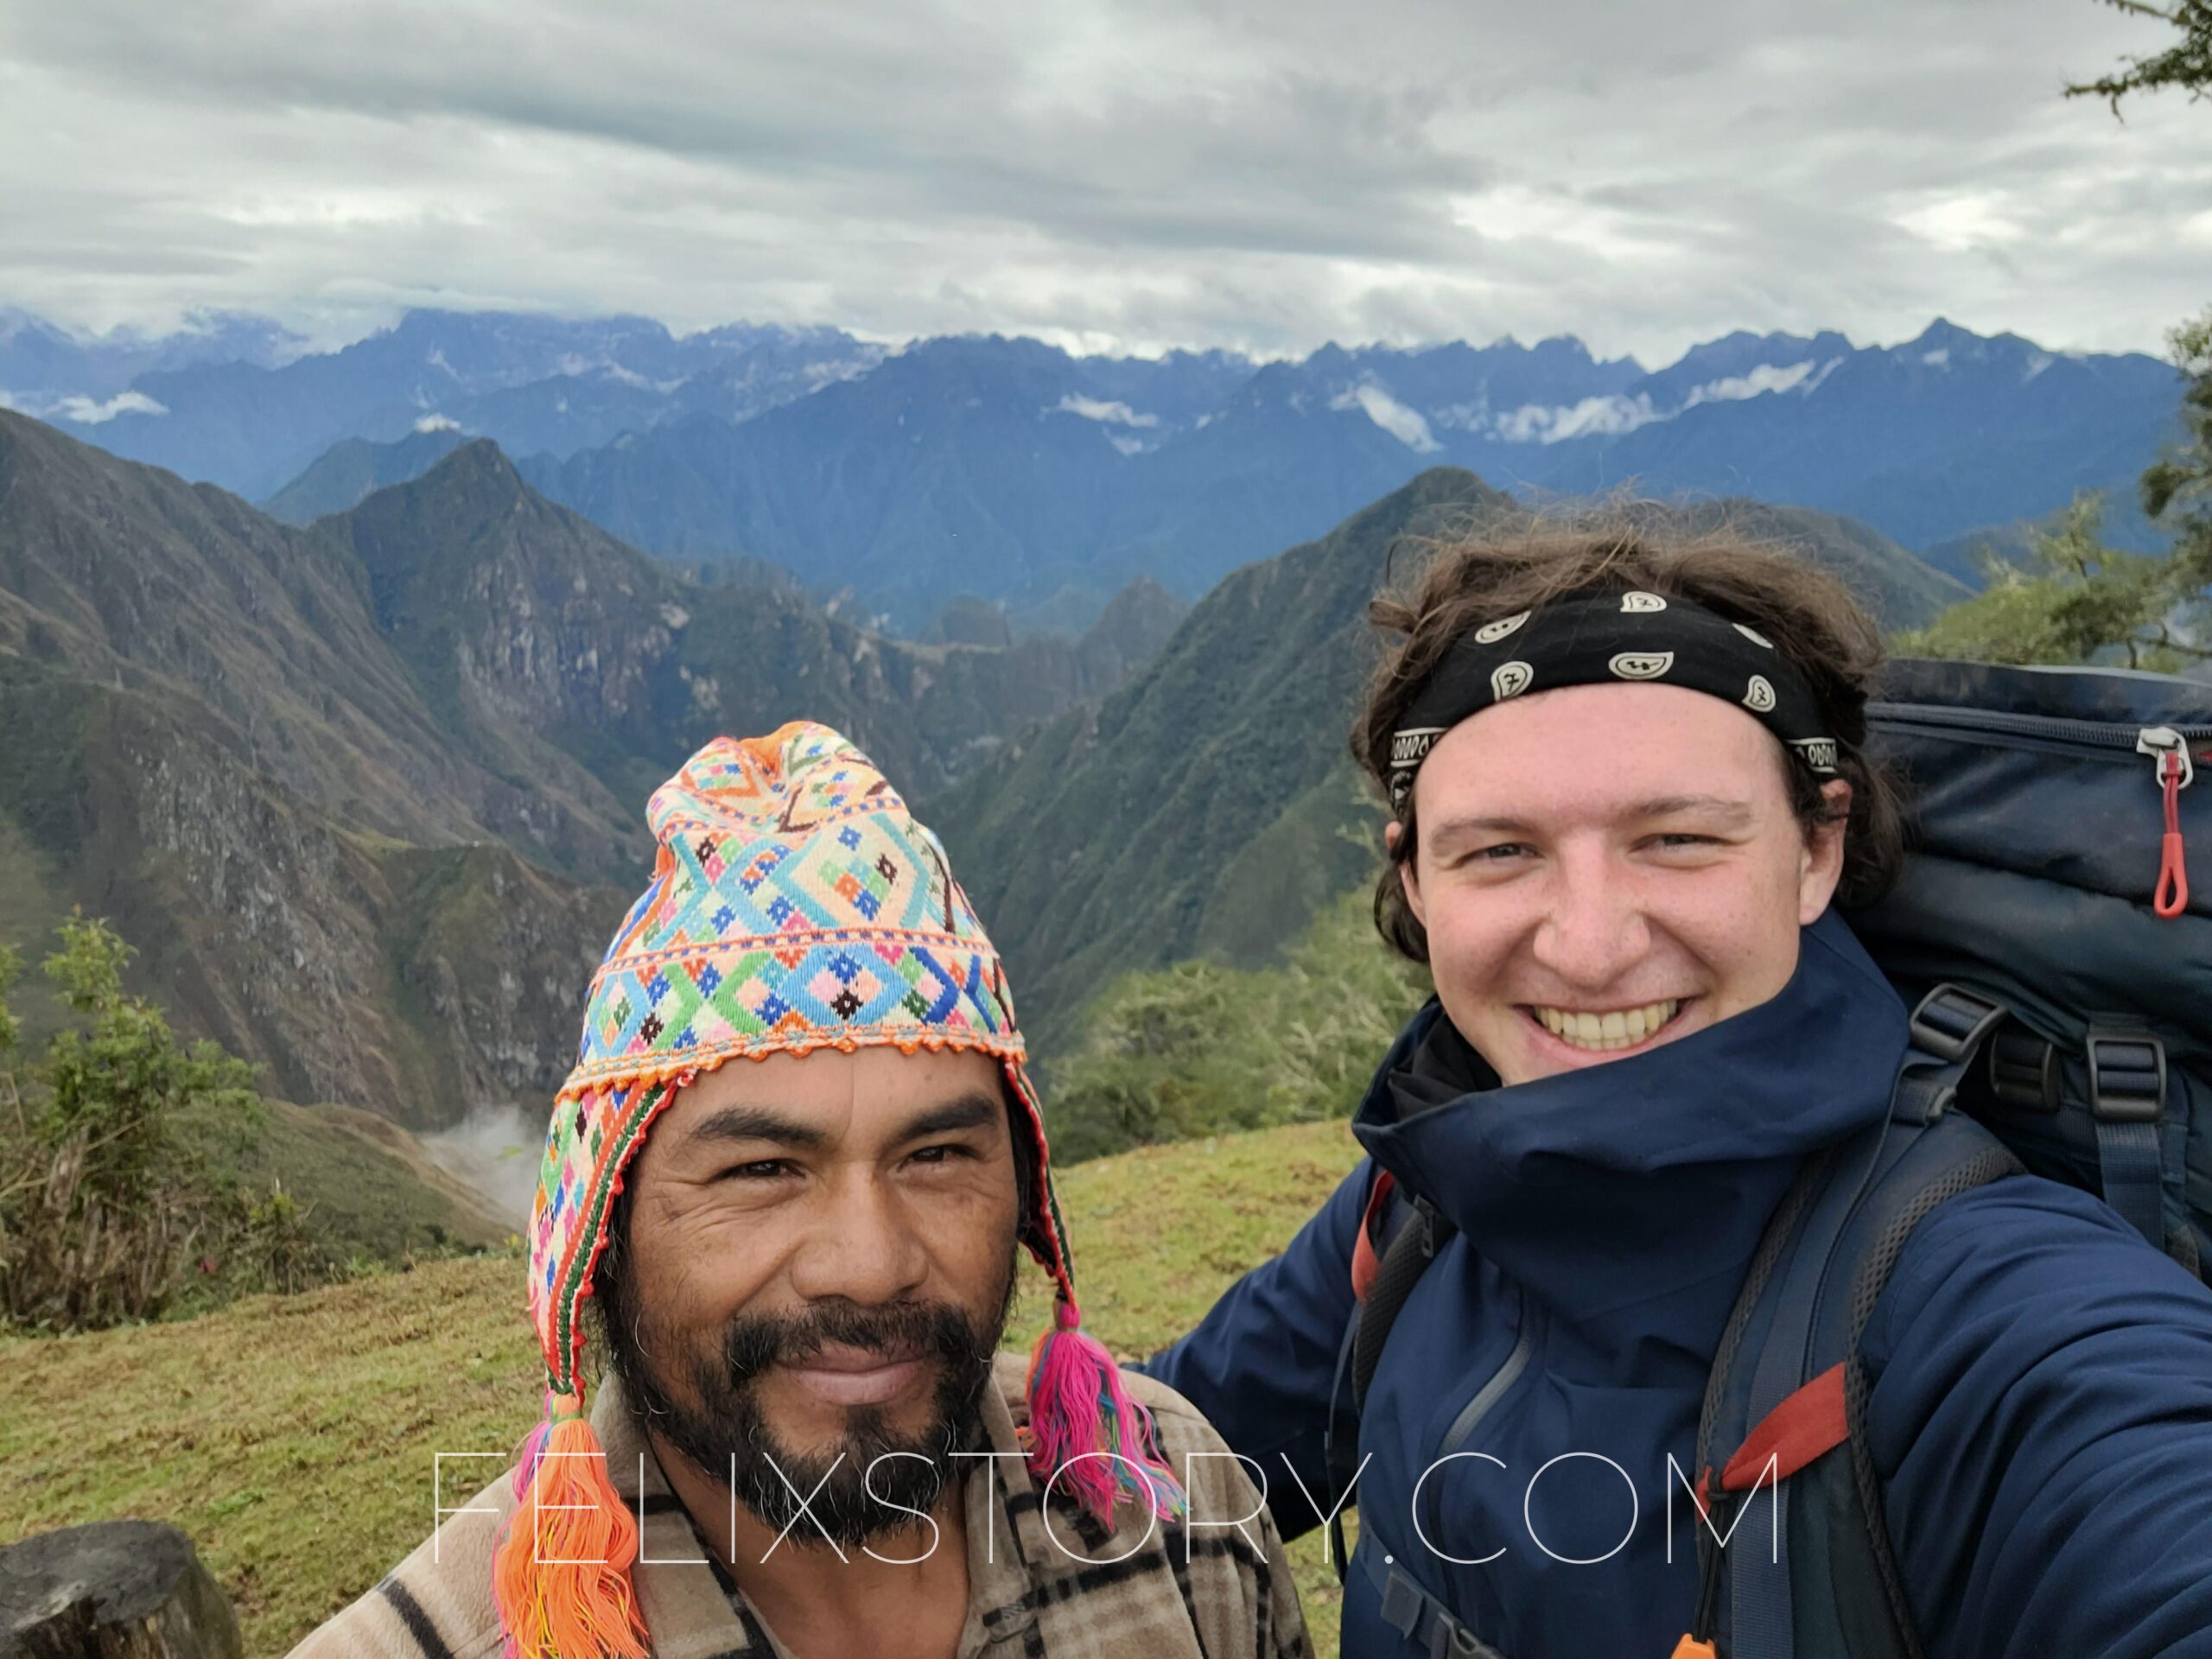
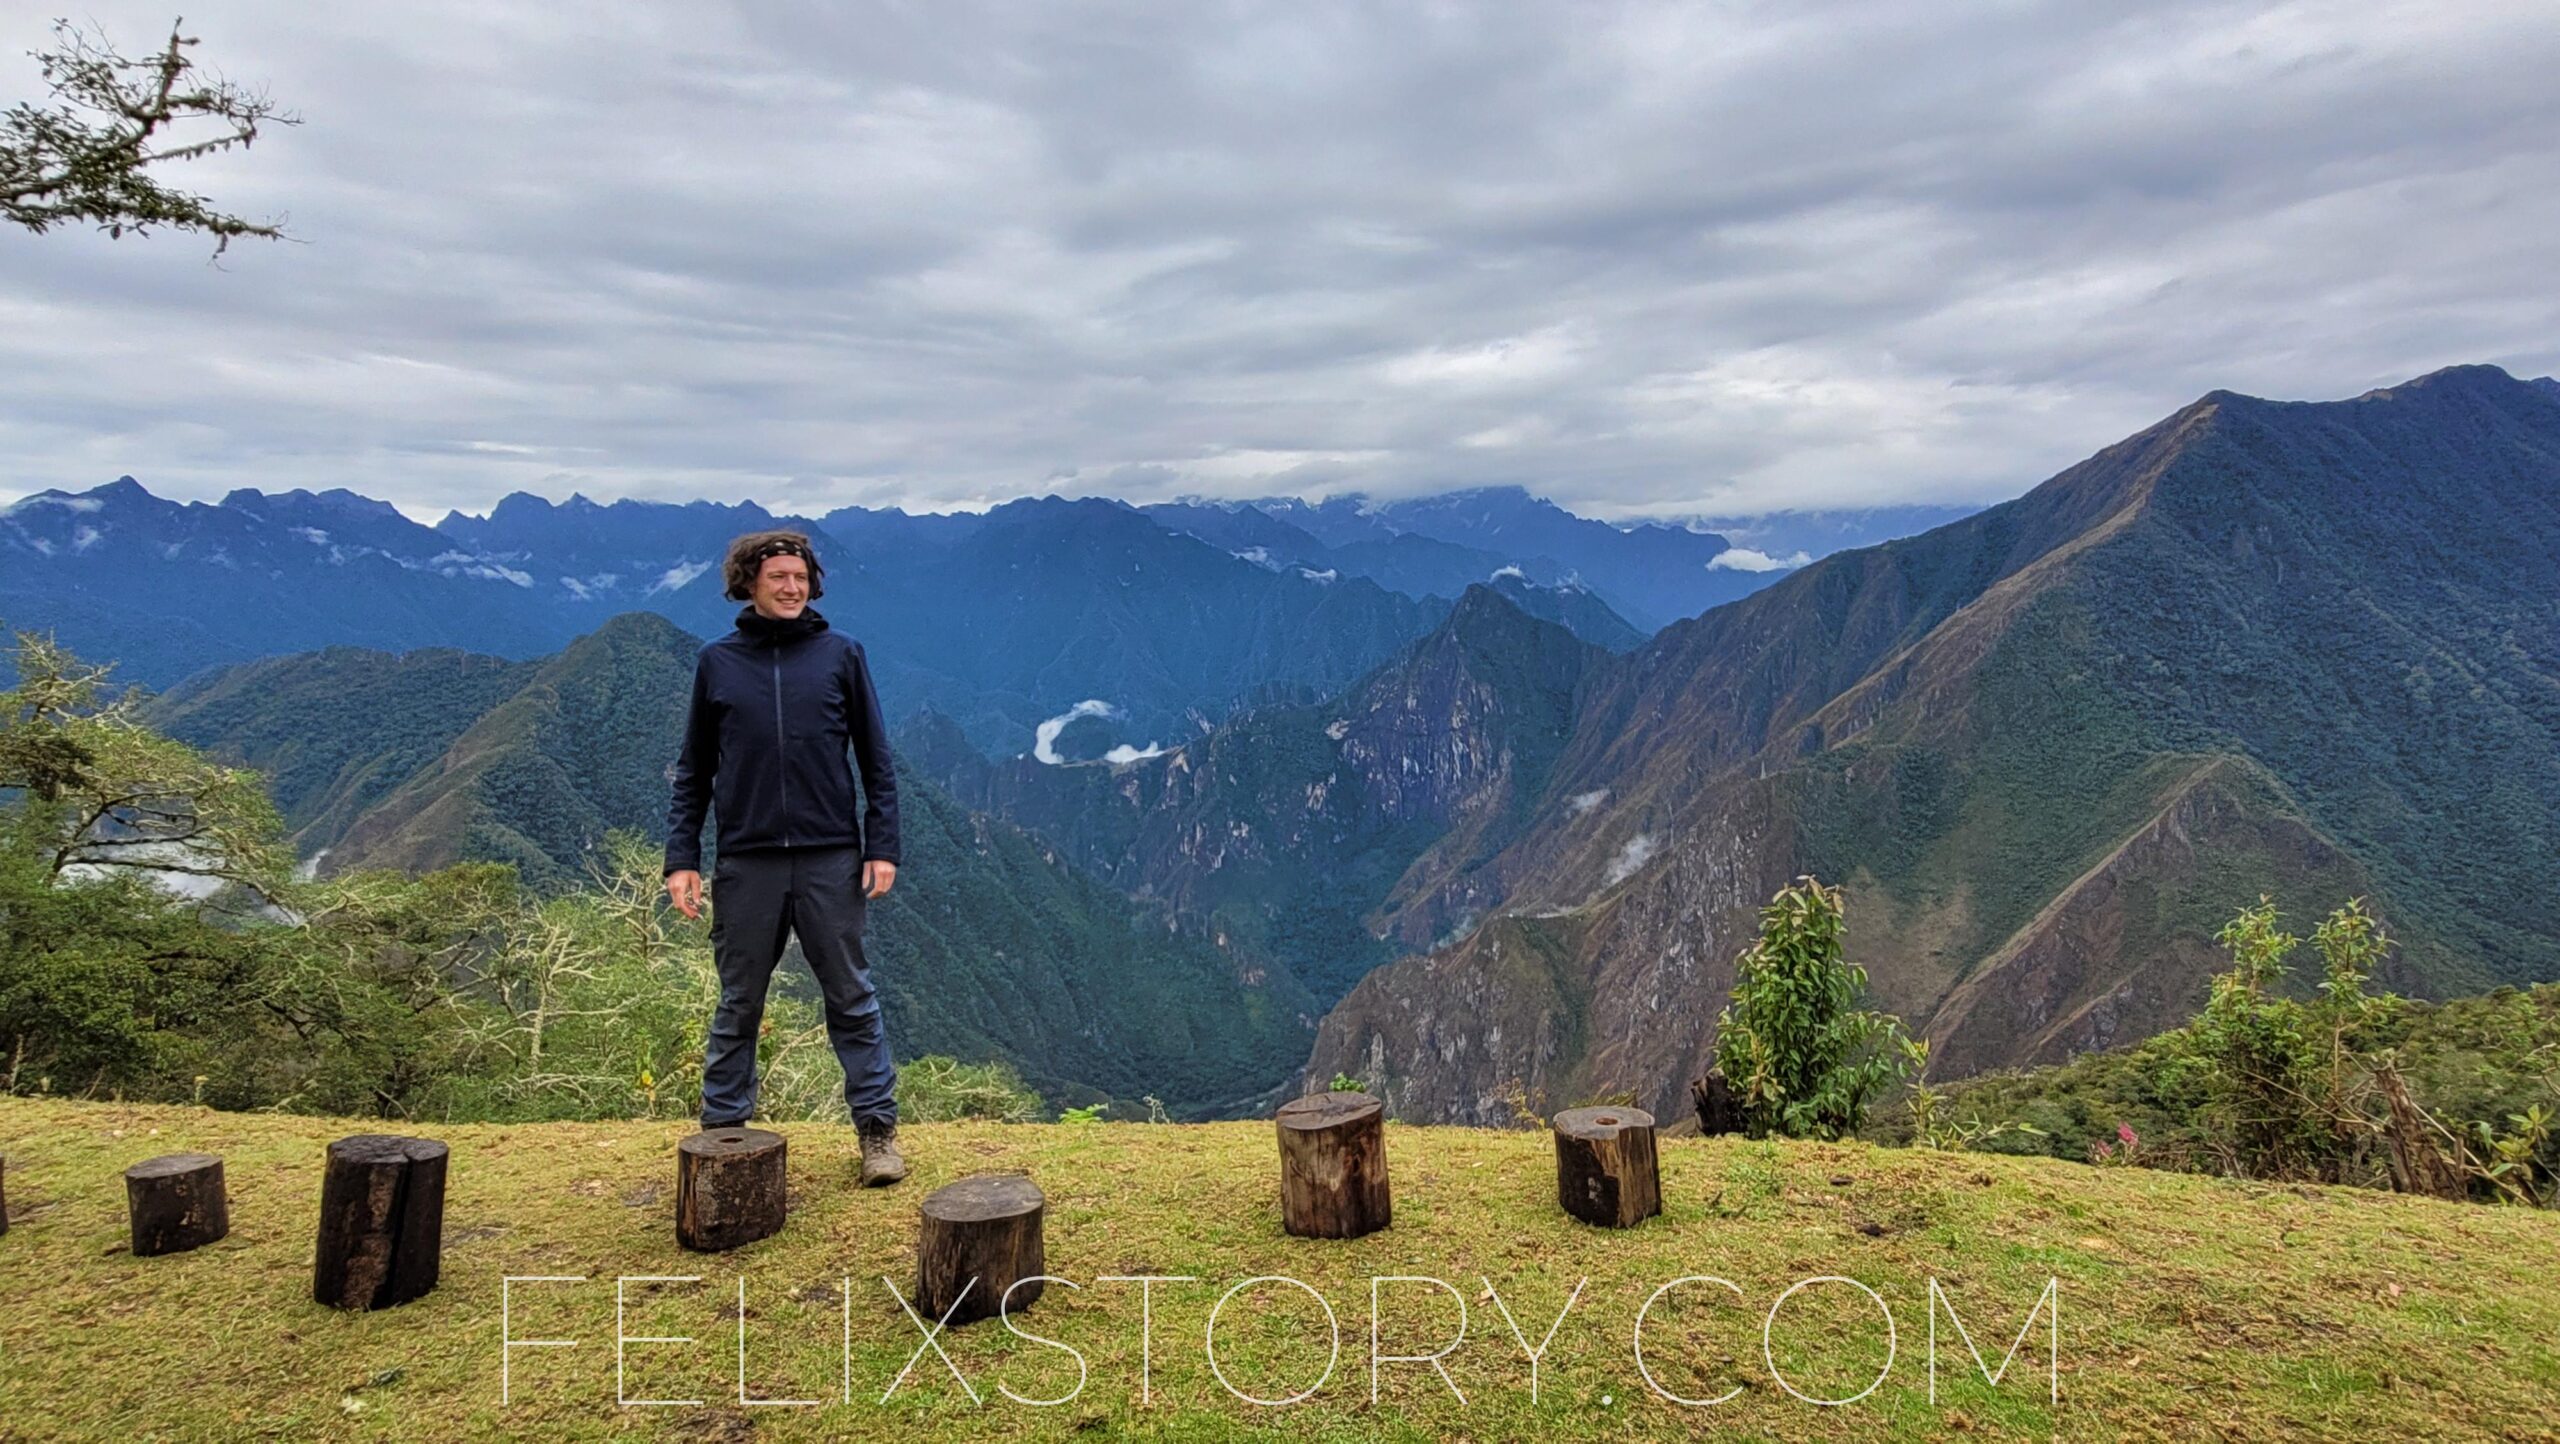
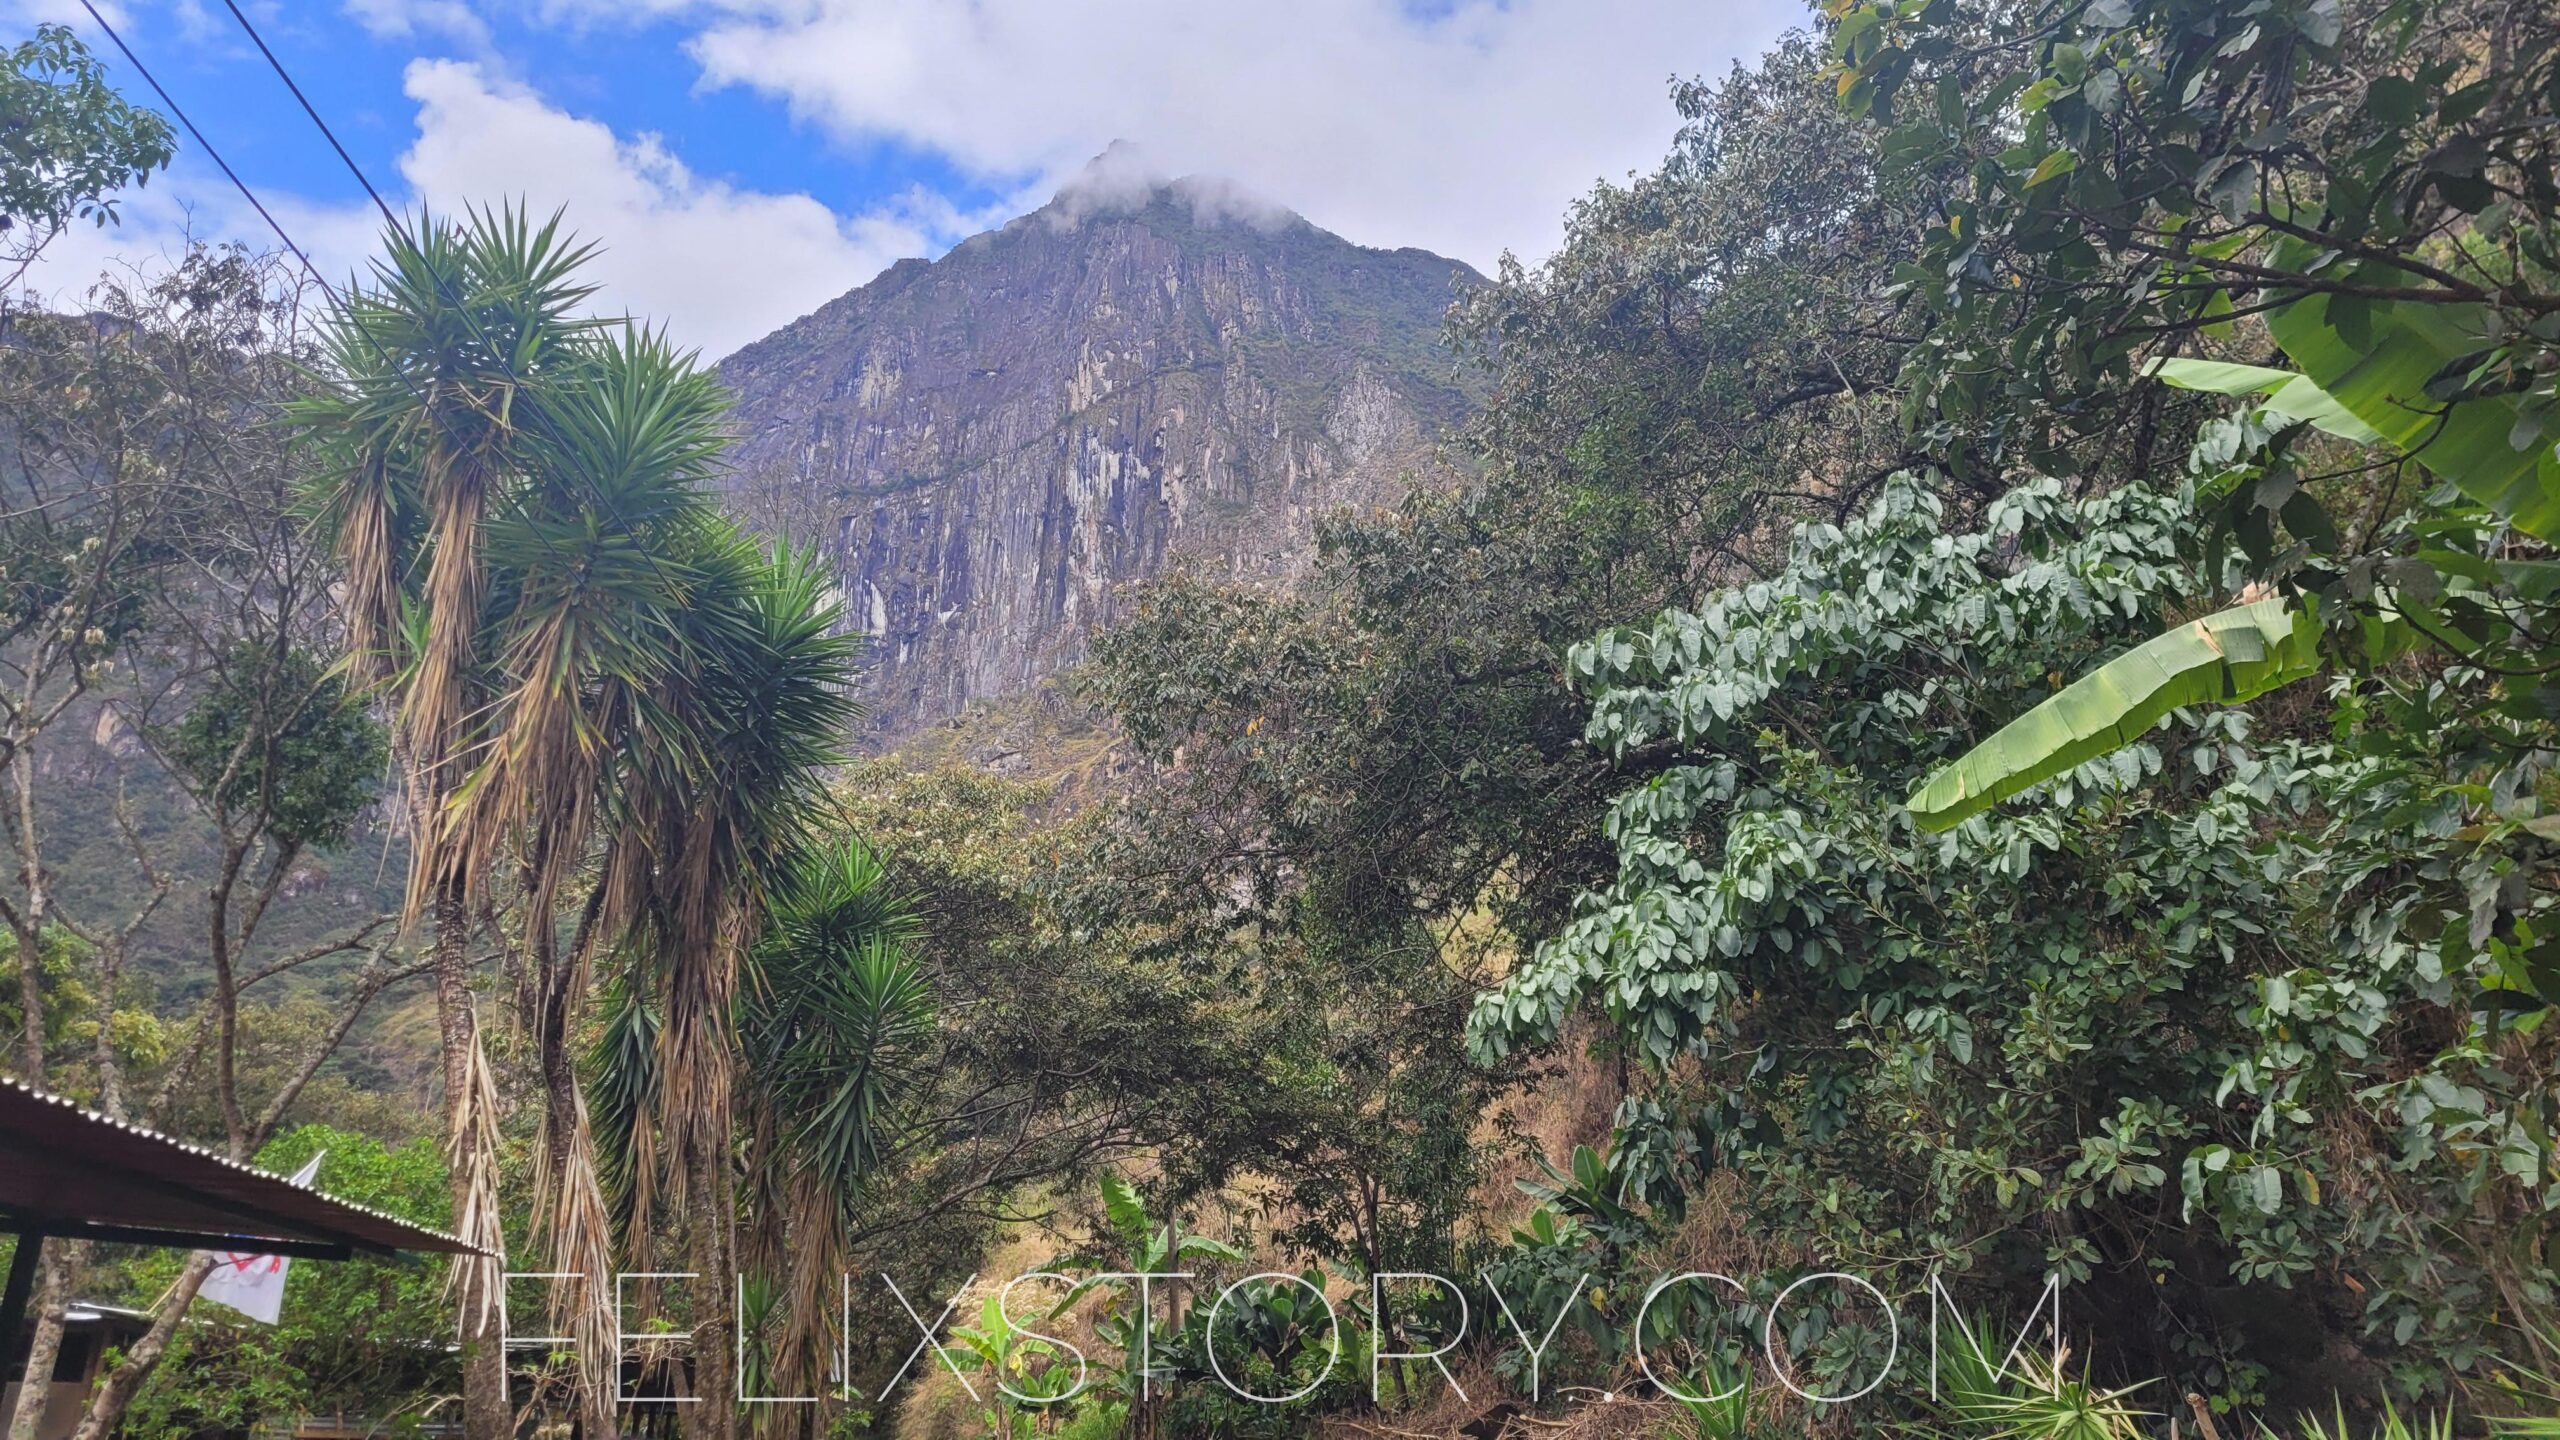
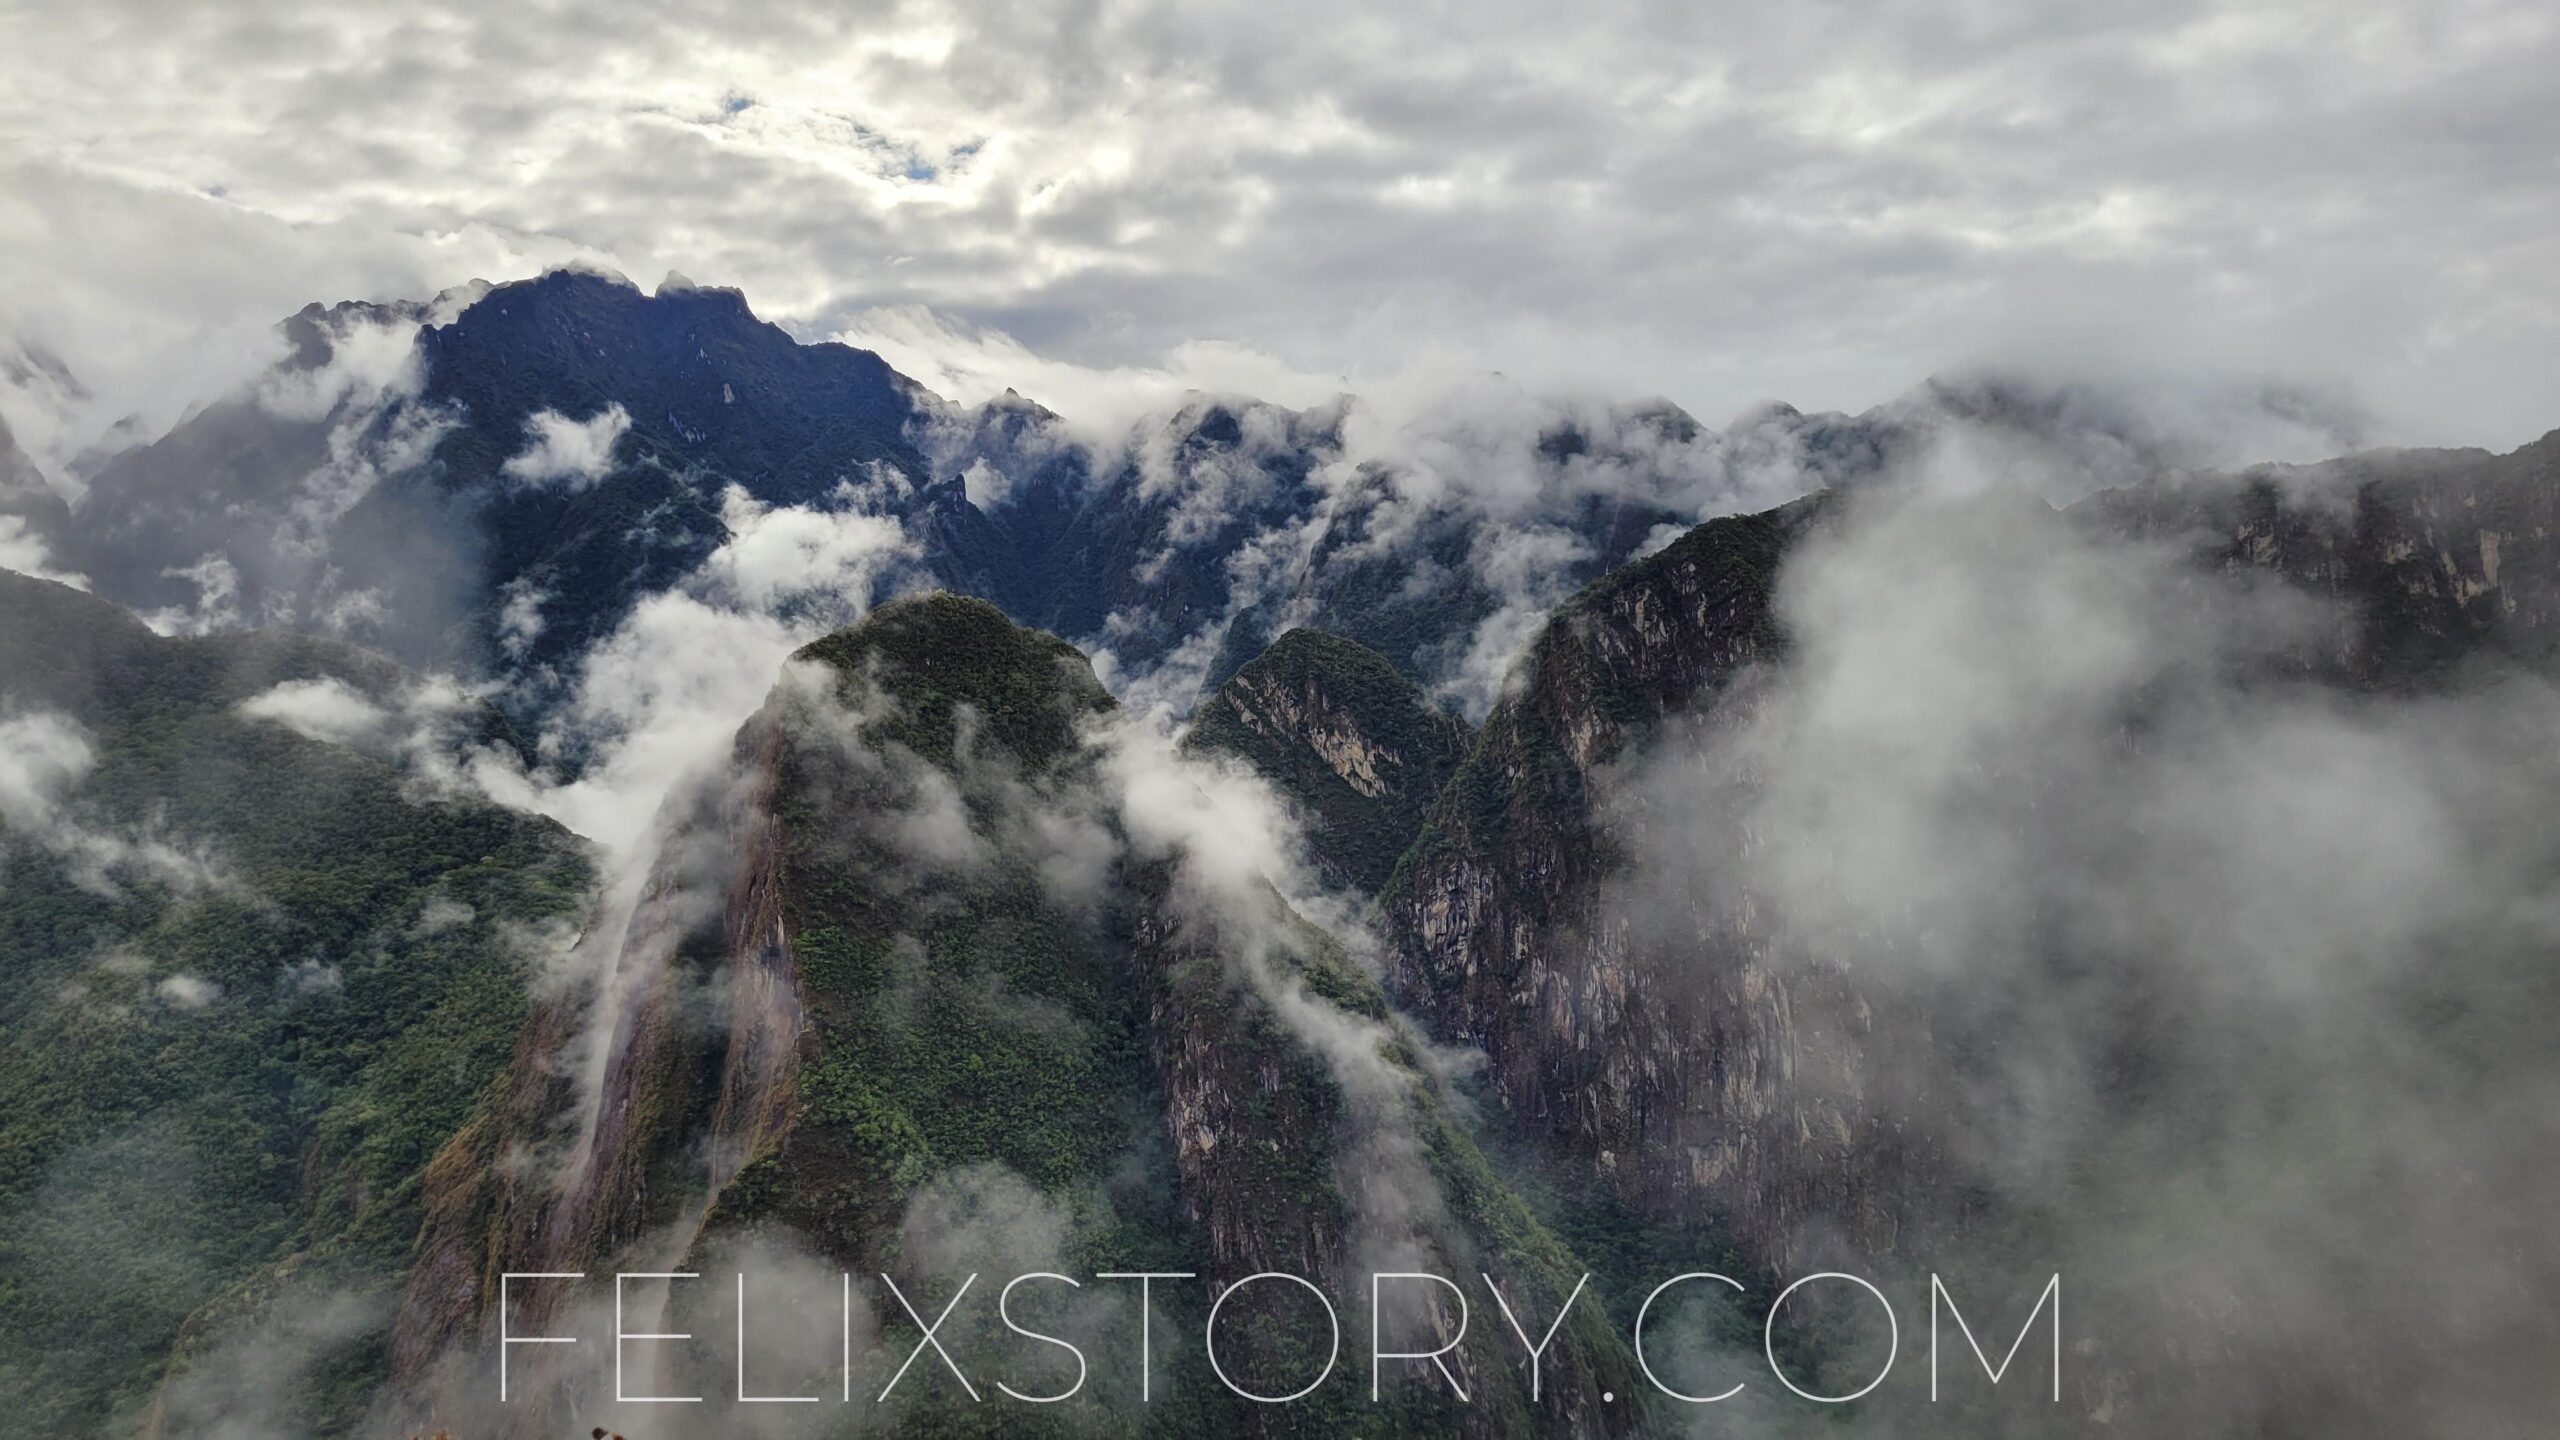
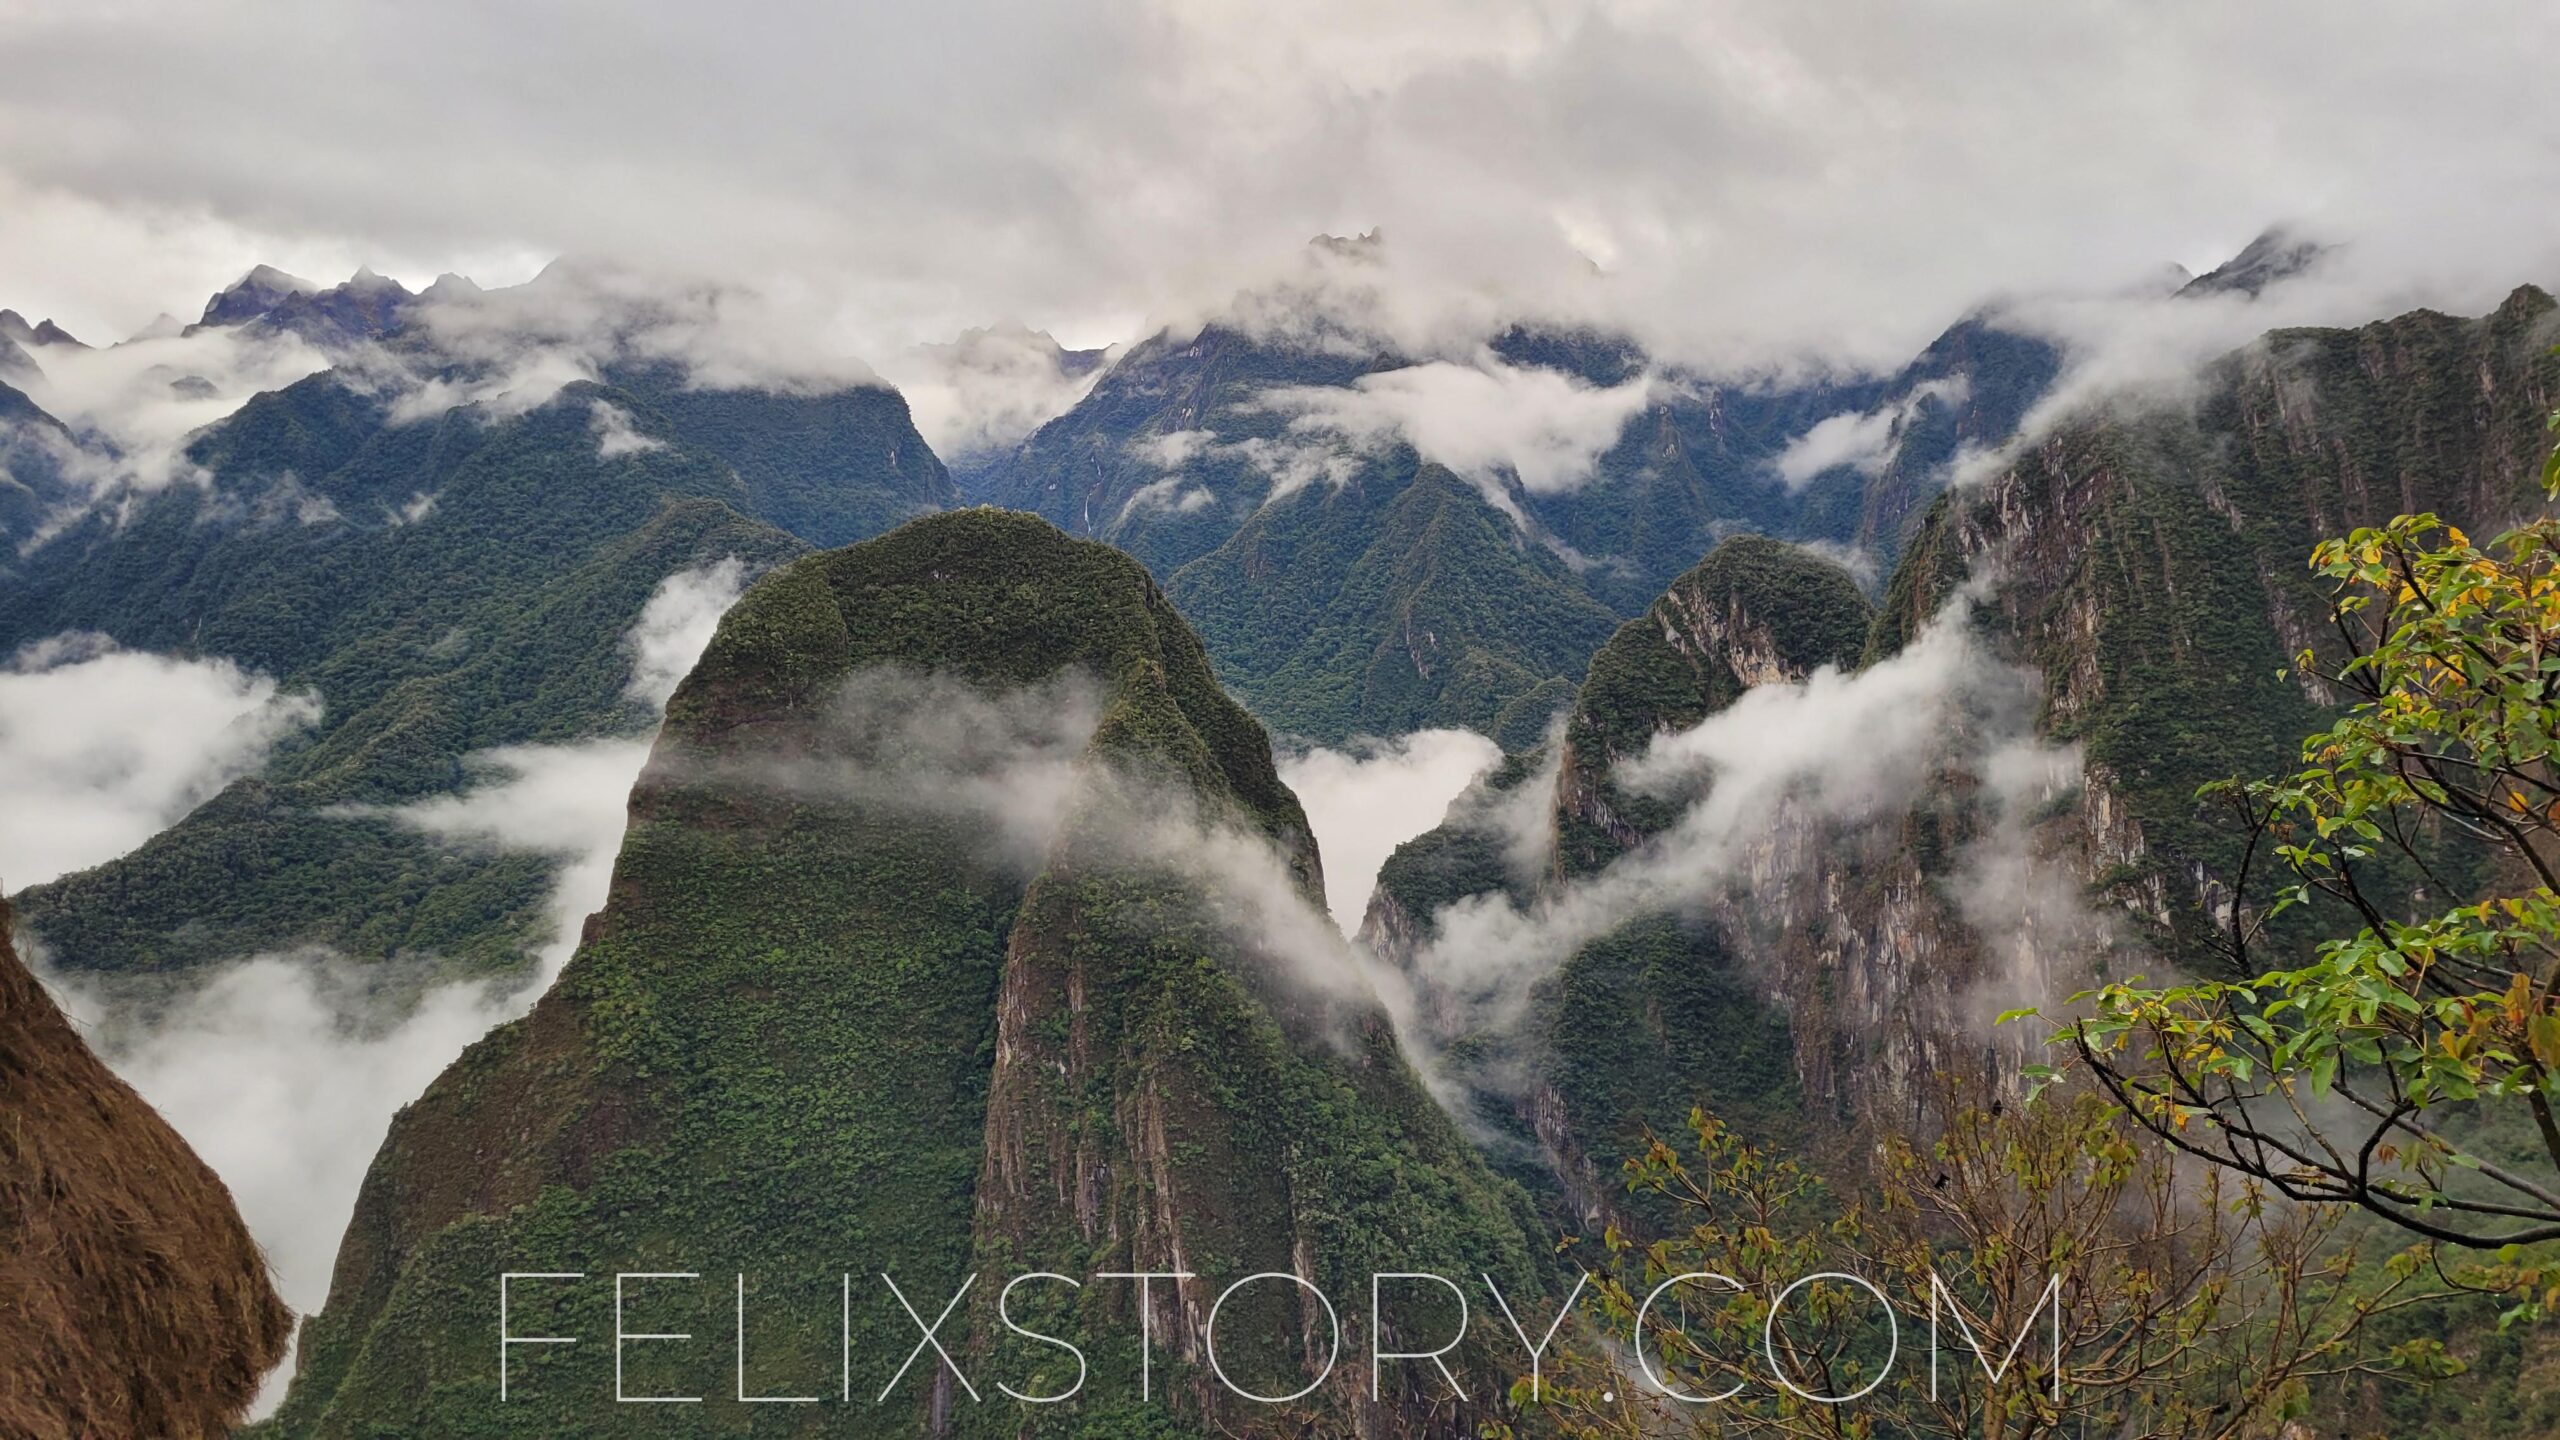
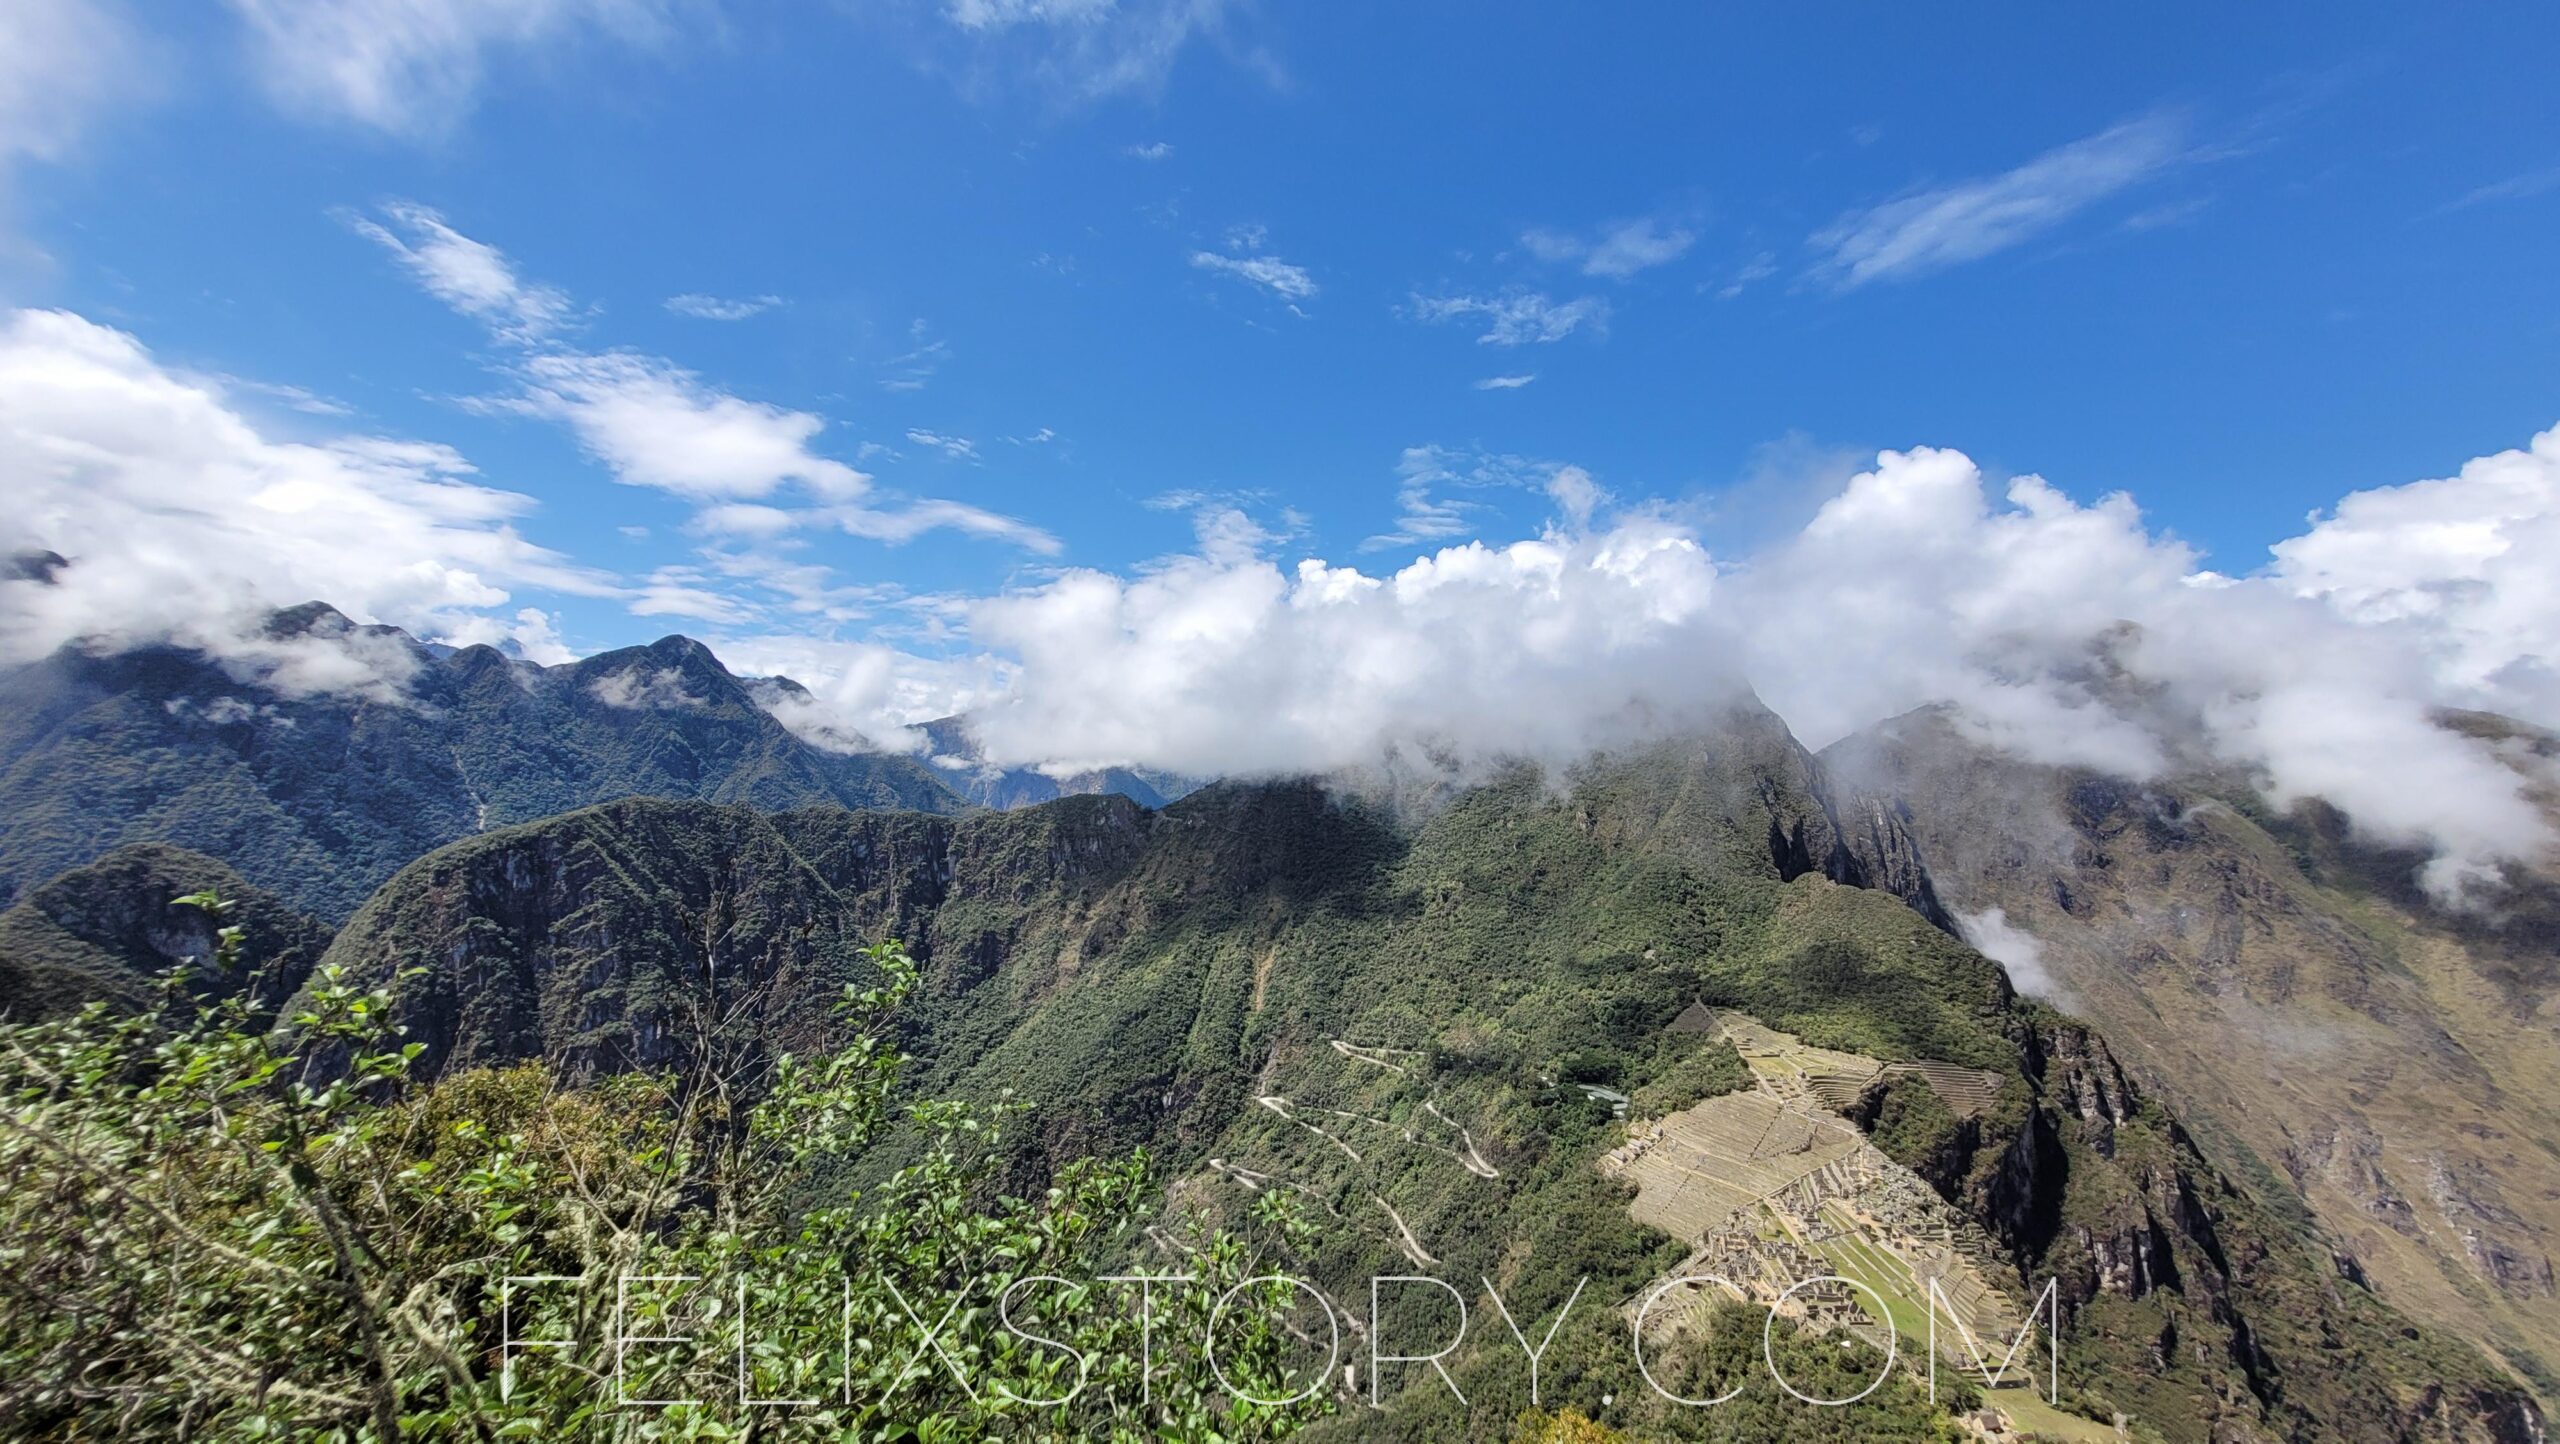
The third option is what I would highly recommend doing. Since you arrive in Lucmabamba so early and it’s just a downhill path you will have time and energy left. And if you do the ascend today, you don’t have to do it the day after, which otherwise is one of the harder days. Hence, you will have a better homogeneity in difficulty over the course of the trek. And there is another good reason to do that. Up on the hill is the Llactapata lodge, that offers cheap accommodation, great food and a fantastic view of Machu Picchu from the distance! Just don’t forget to visit the guy in the “Mesa Peta Observatory” which is basically just a little farm on the top of the hill, right before you reach Llactapata. This farm is owned by a very sympathetic guy who lives there for over 30 years. The view from there is absolutely stunning and if you ask him, he will surely blow the gigantic seashell he has. That’s where I took the thumbnail picture of this post! Just turn left once you reach the highest point of the path, there are some signs too.


Day 4: Lucmabamba / Llactapata / Santa Teresa to Aguas Calientes
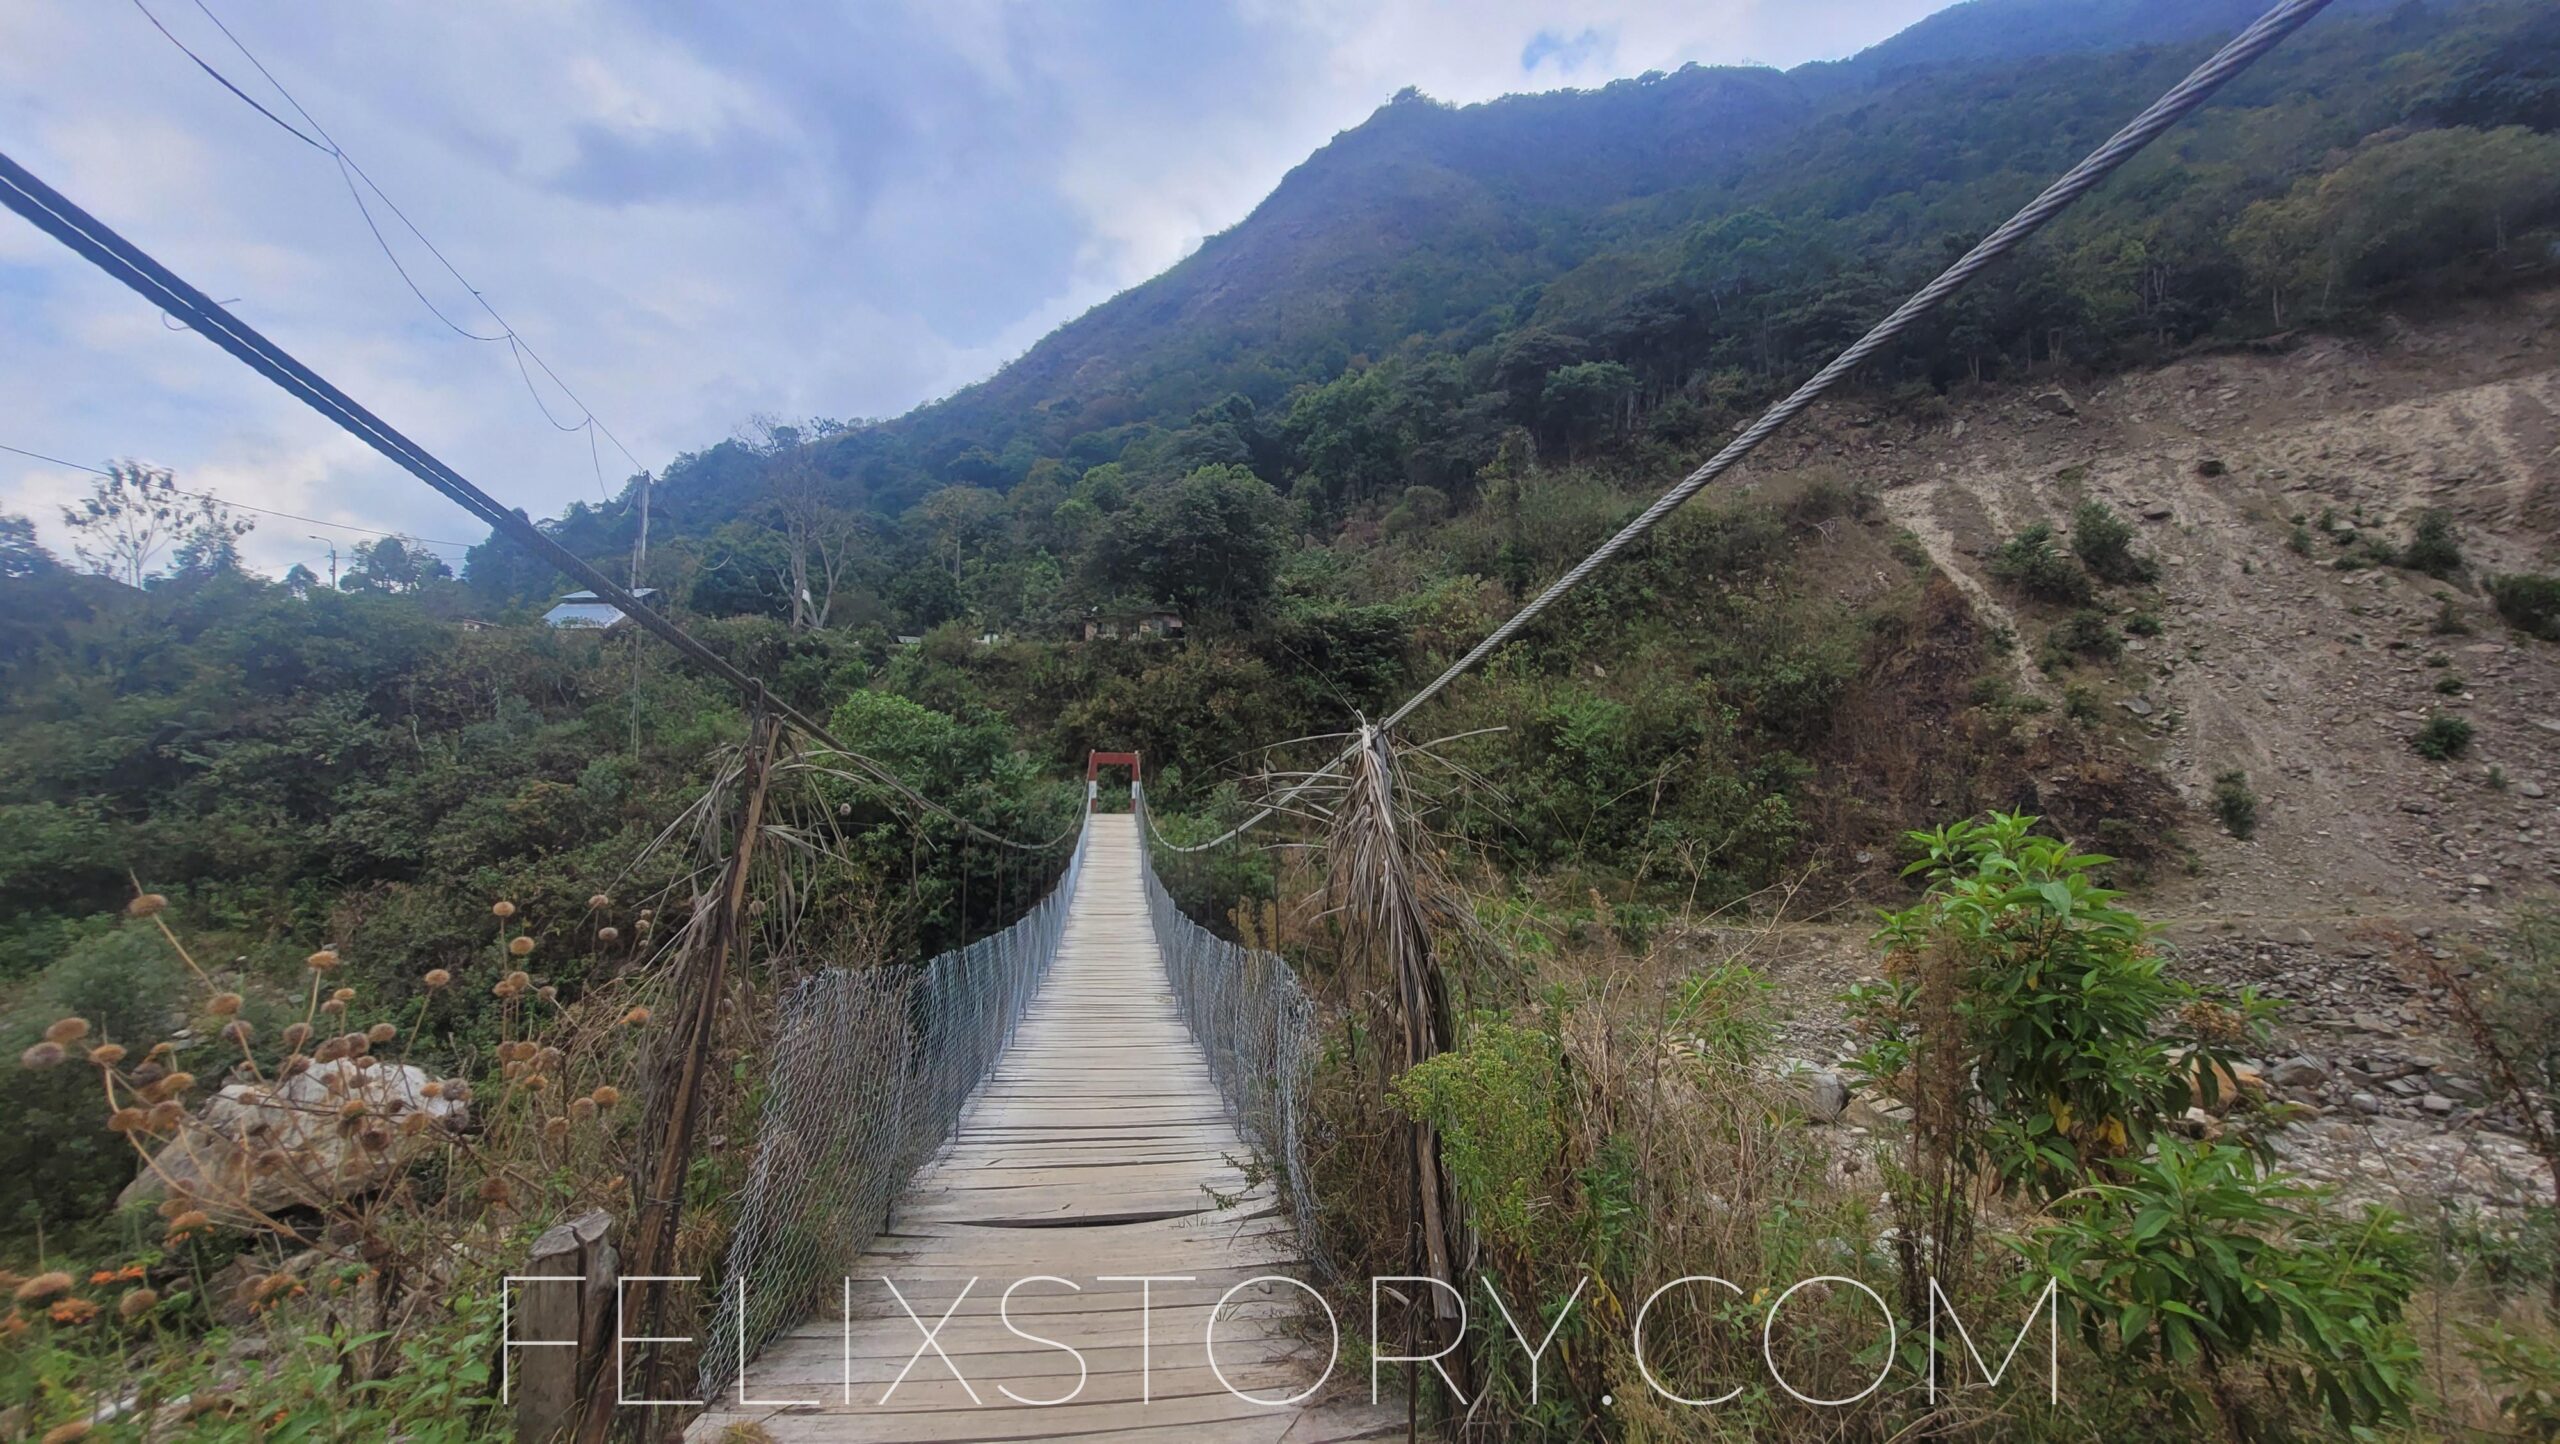
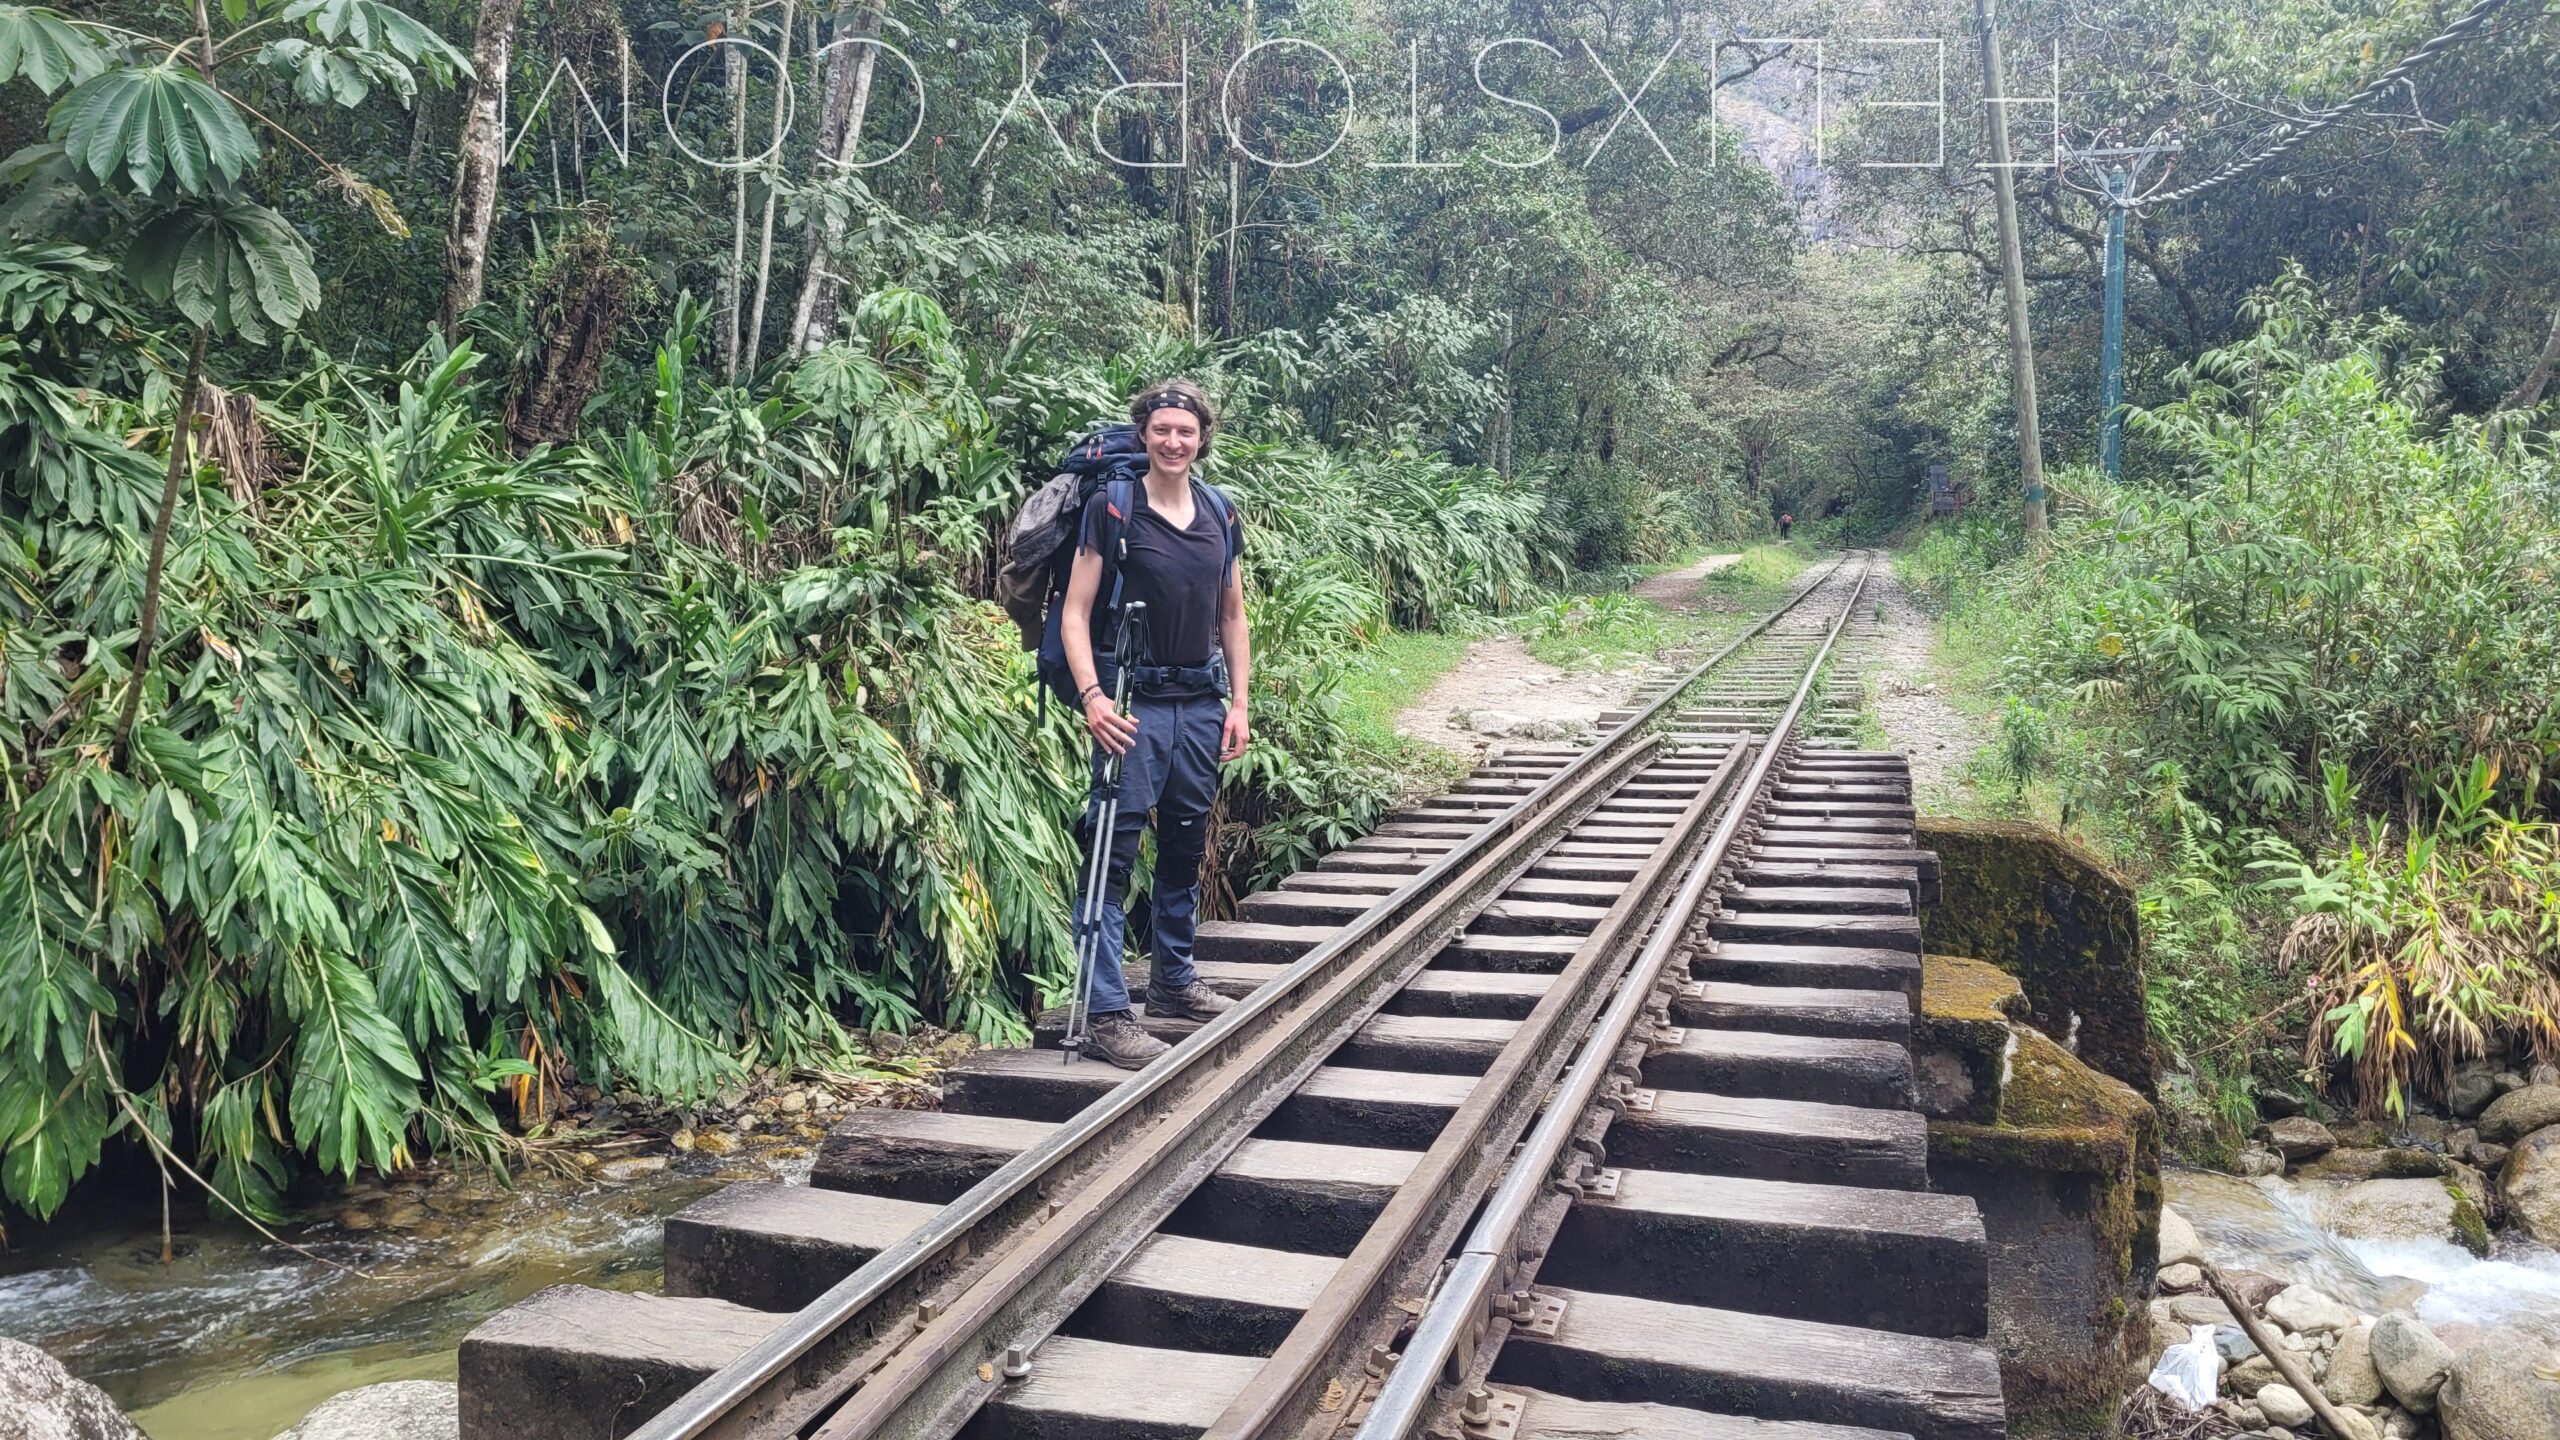
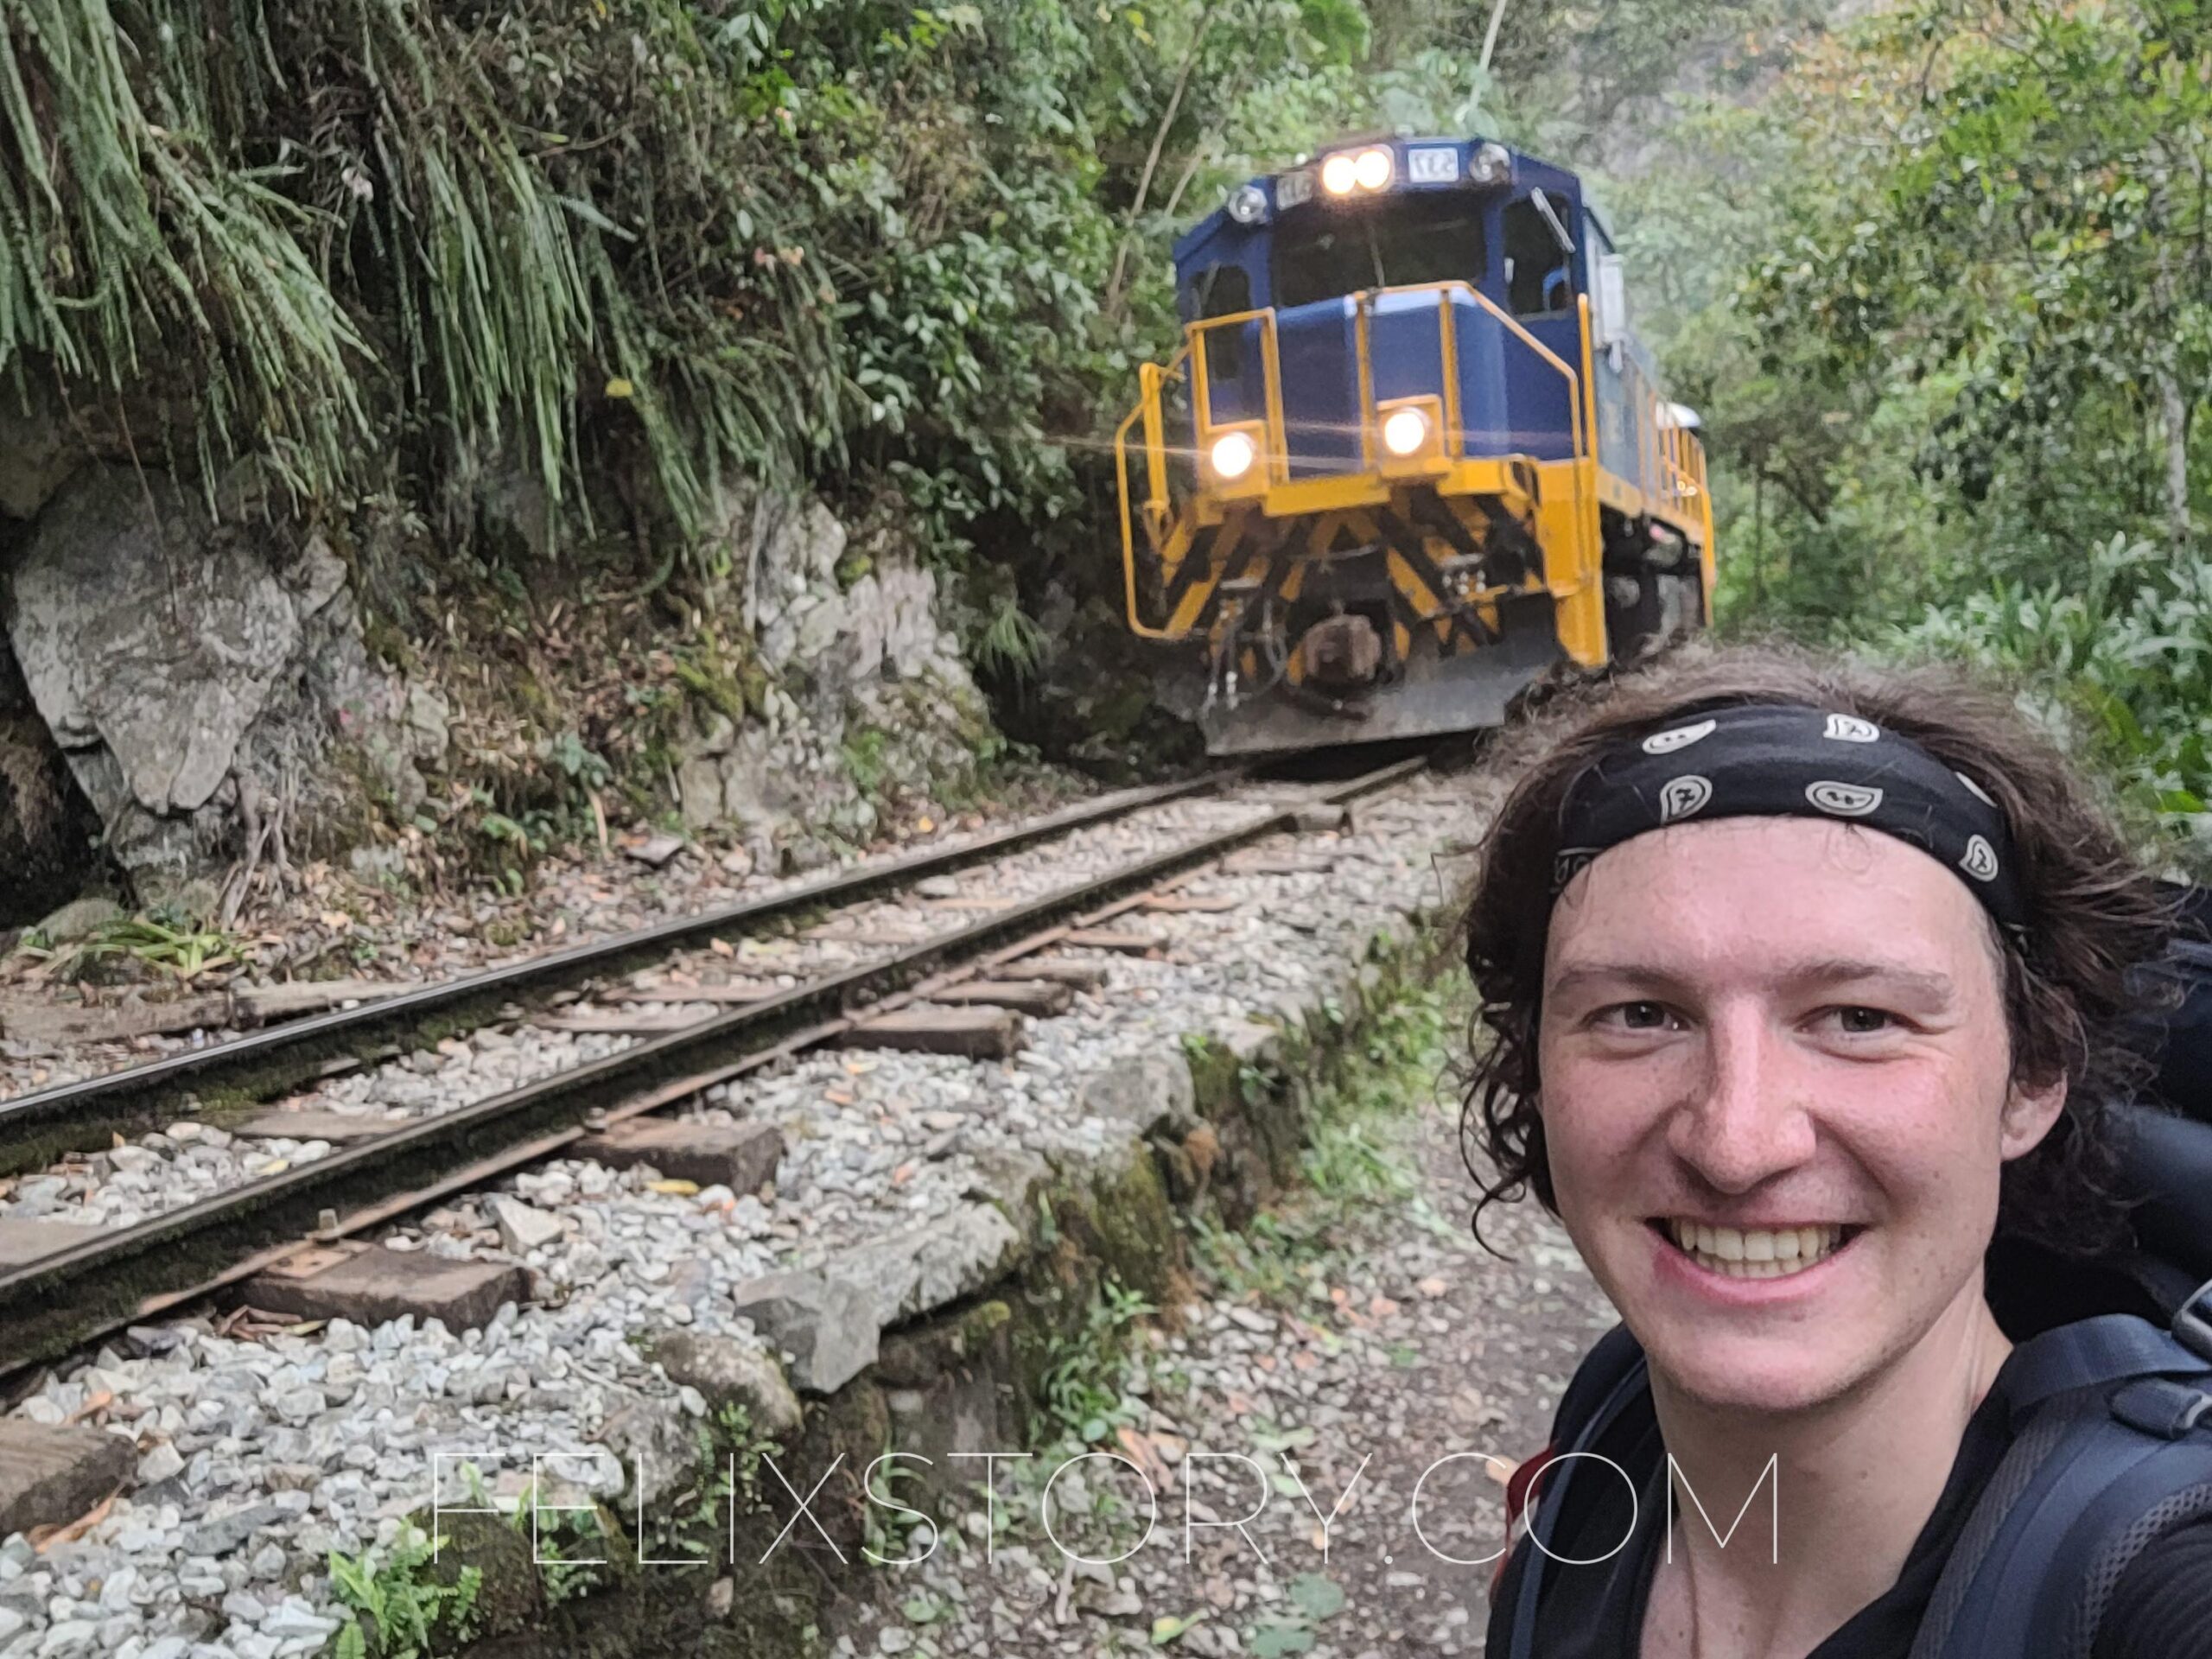
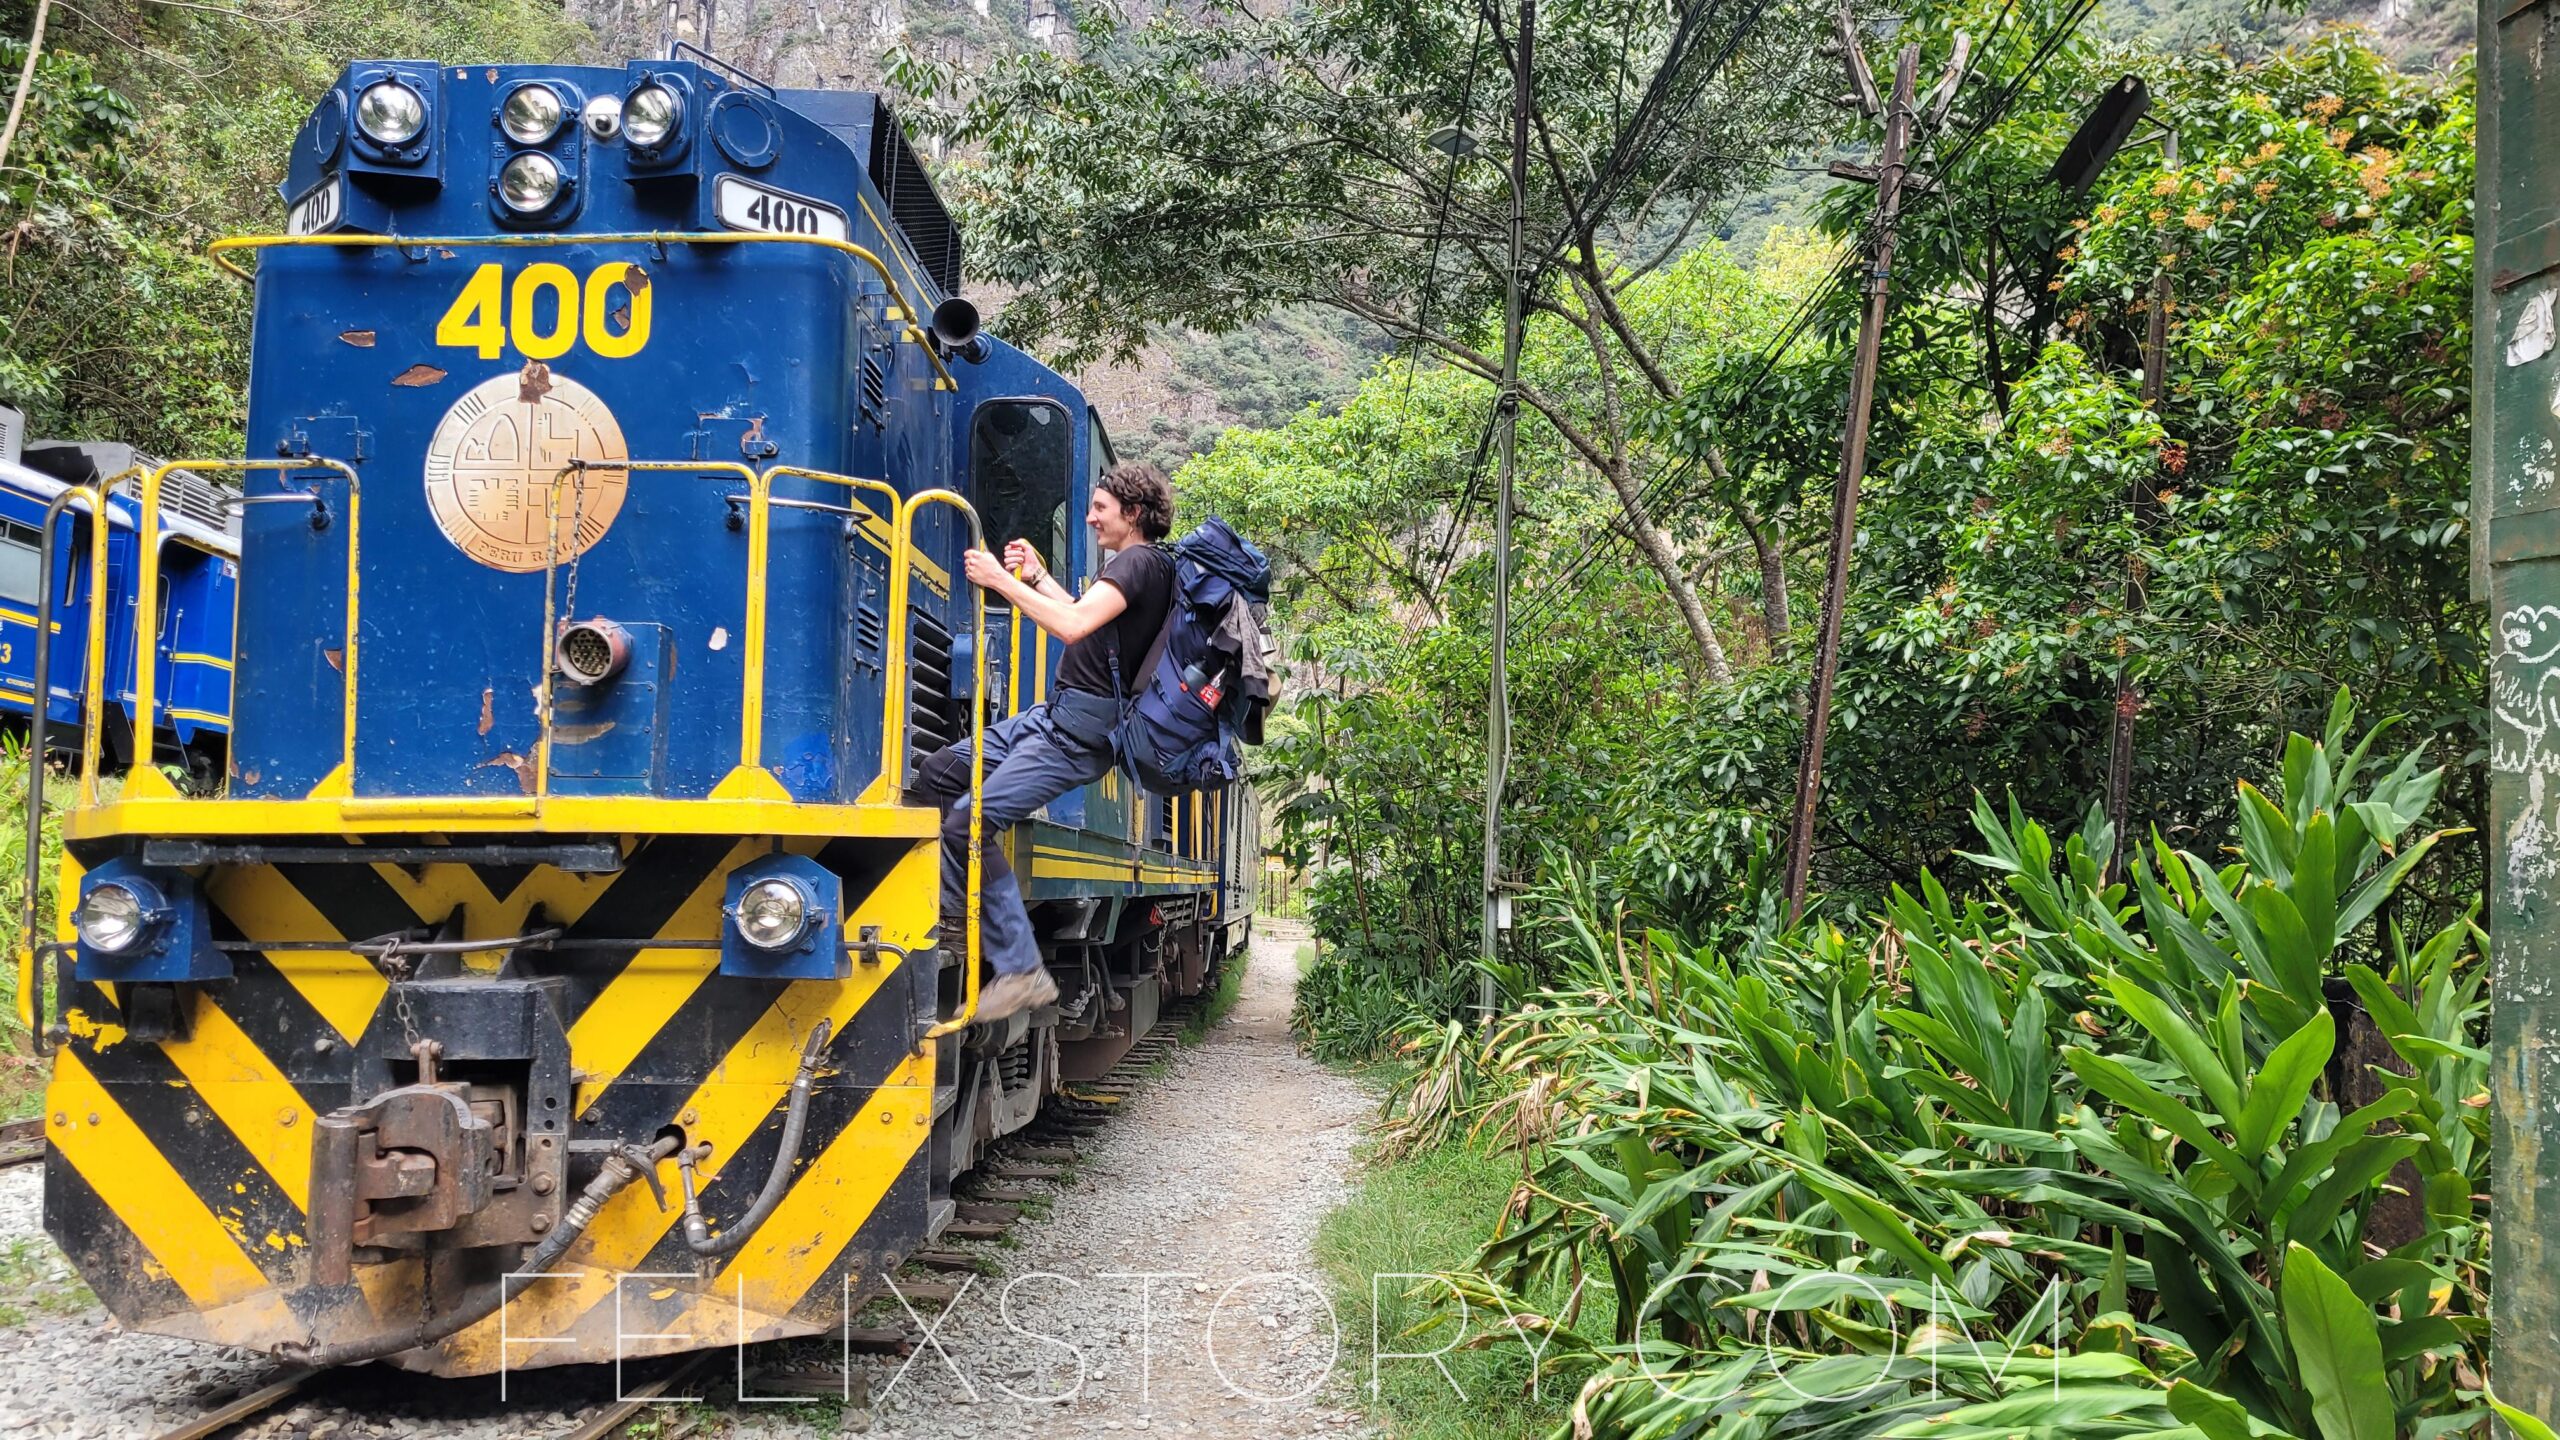
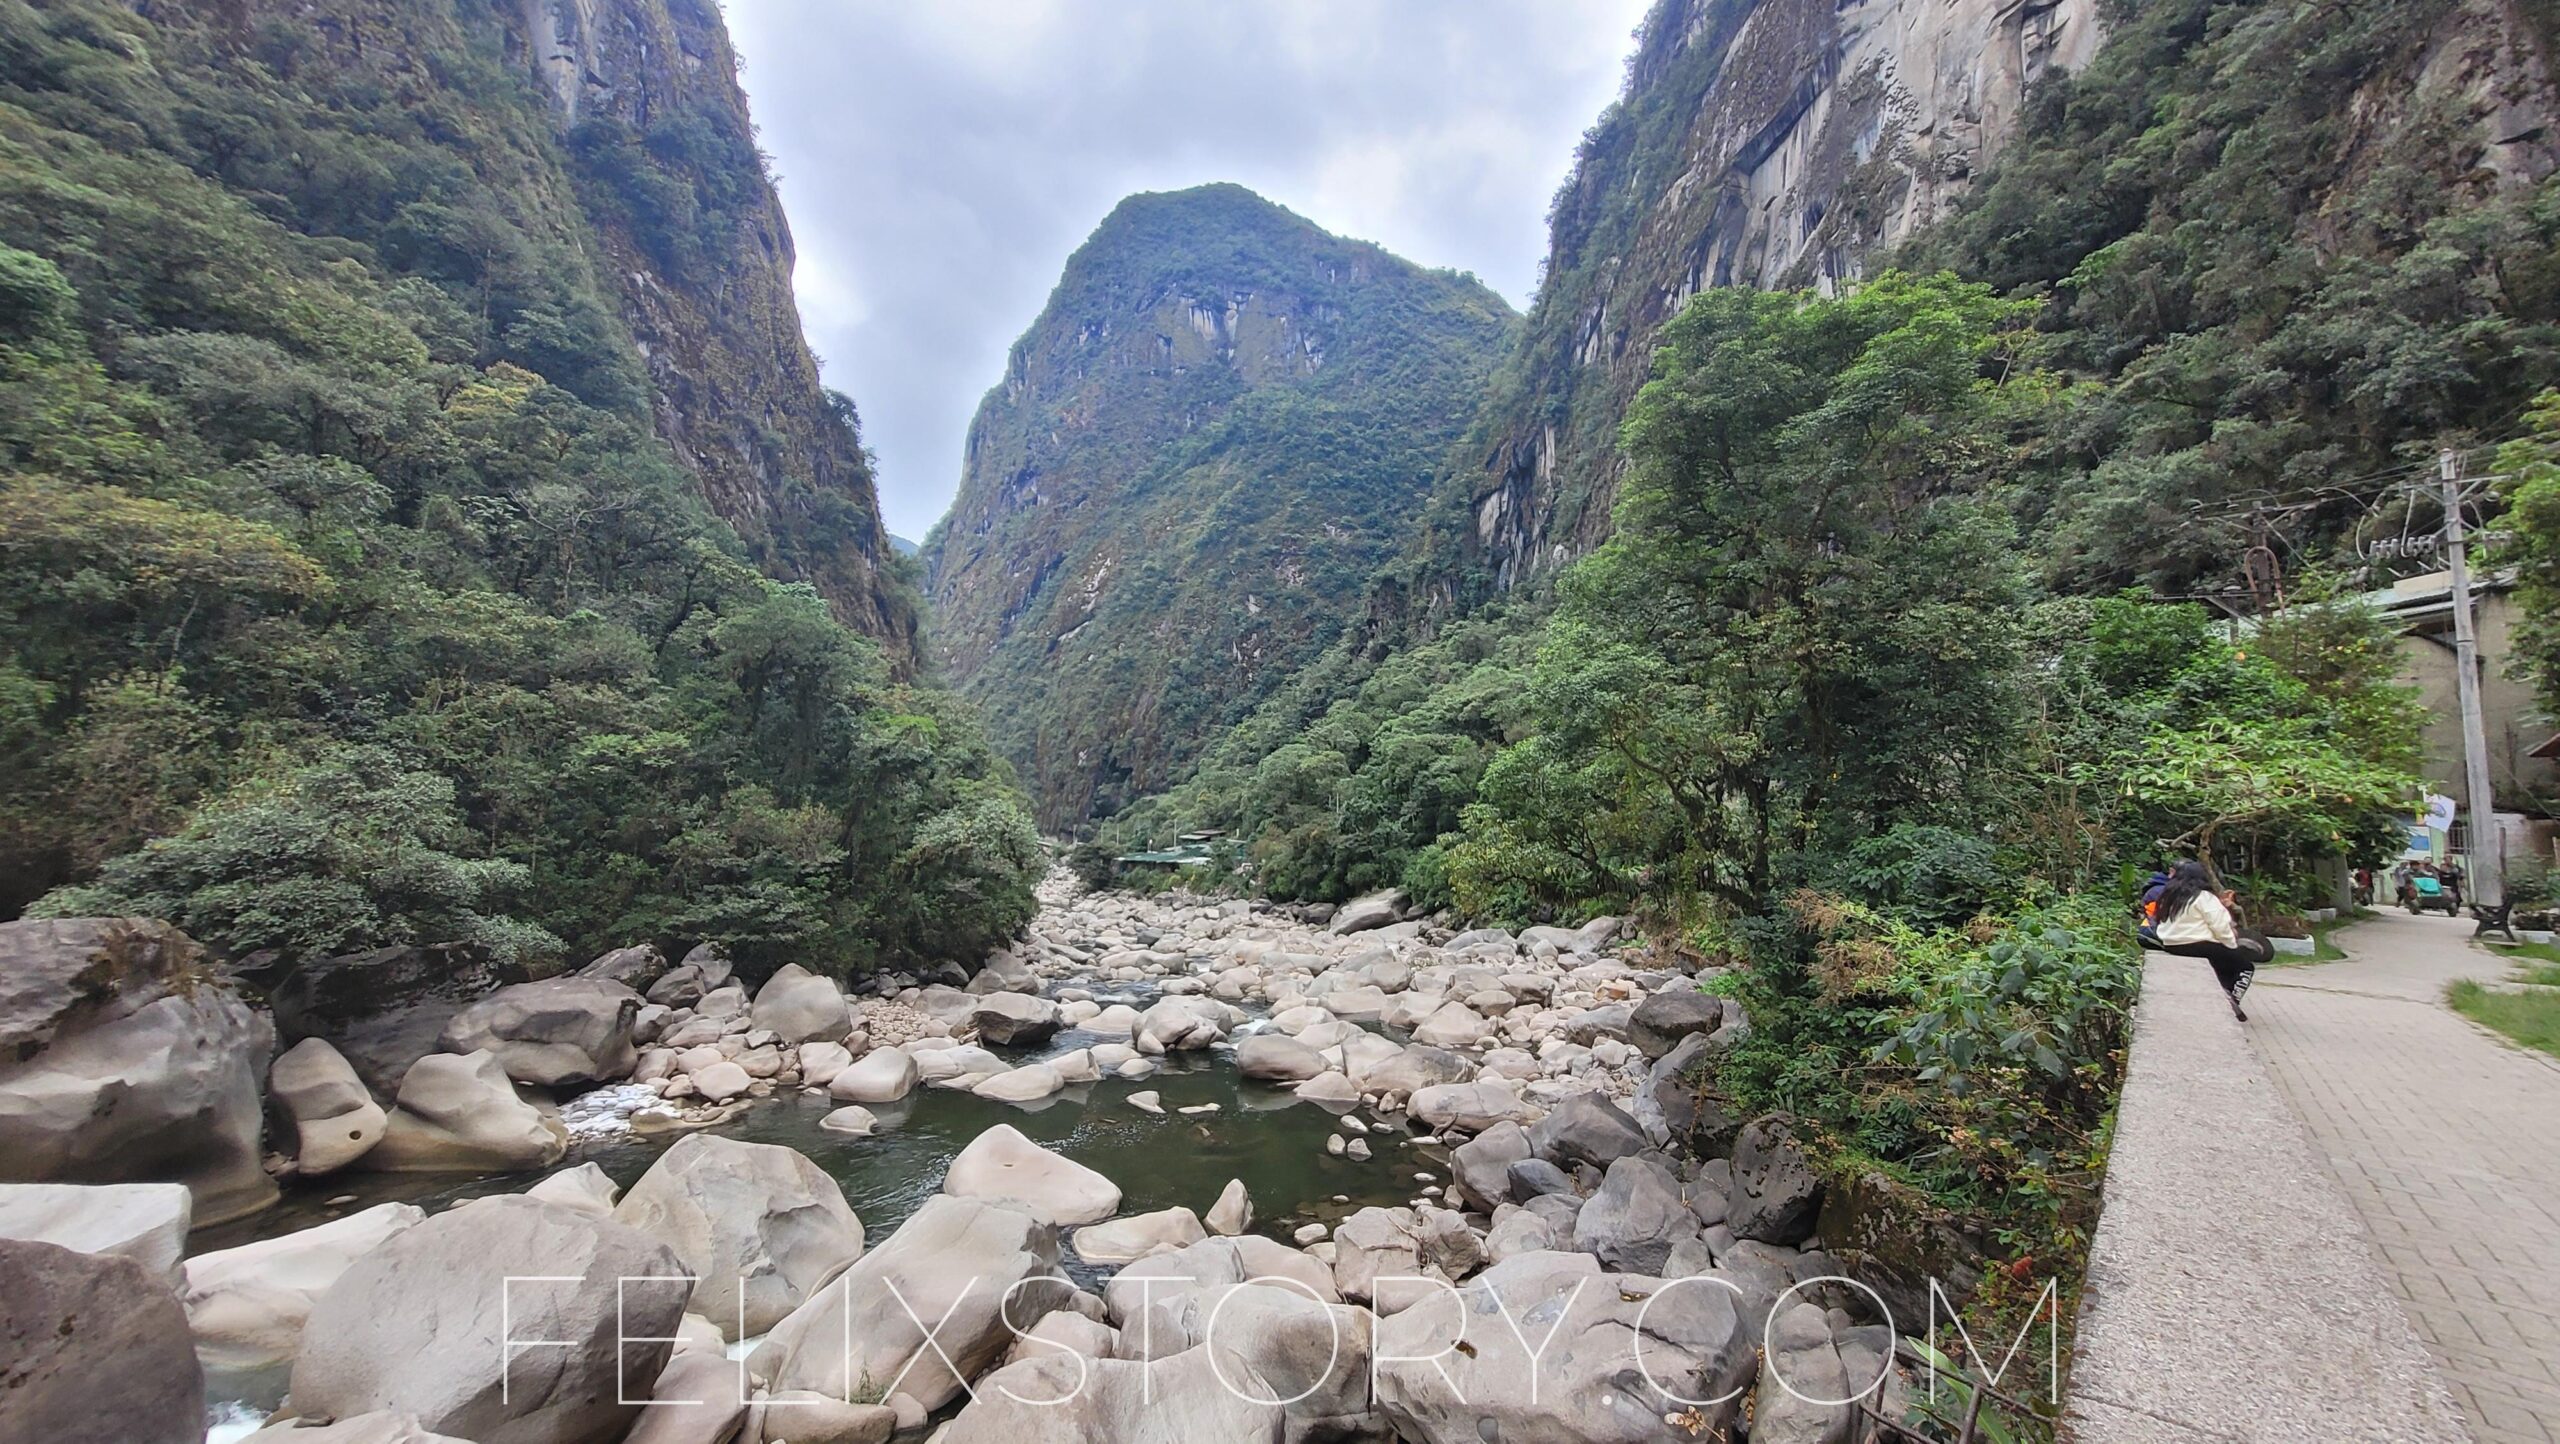
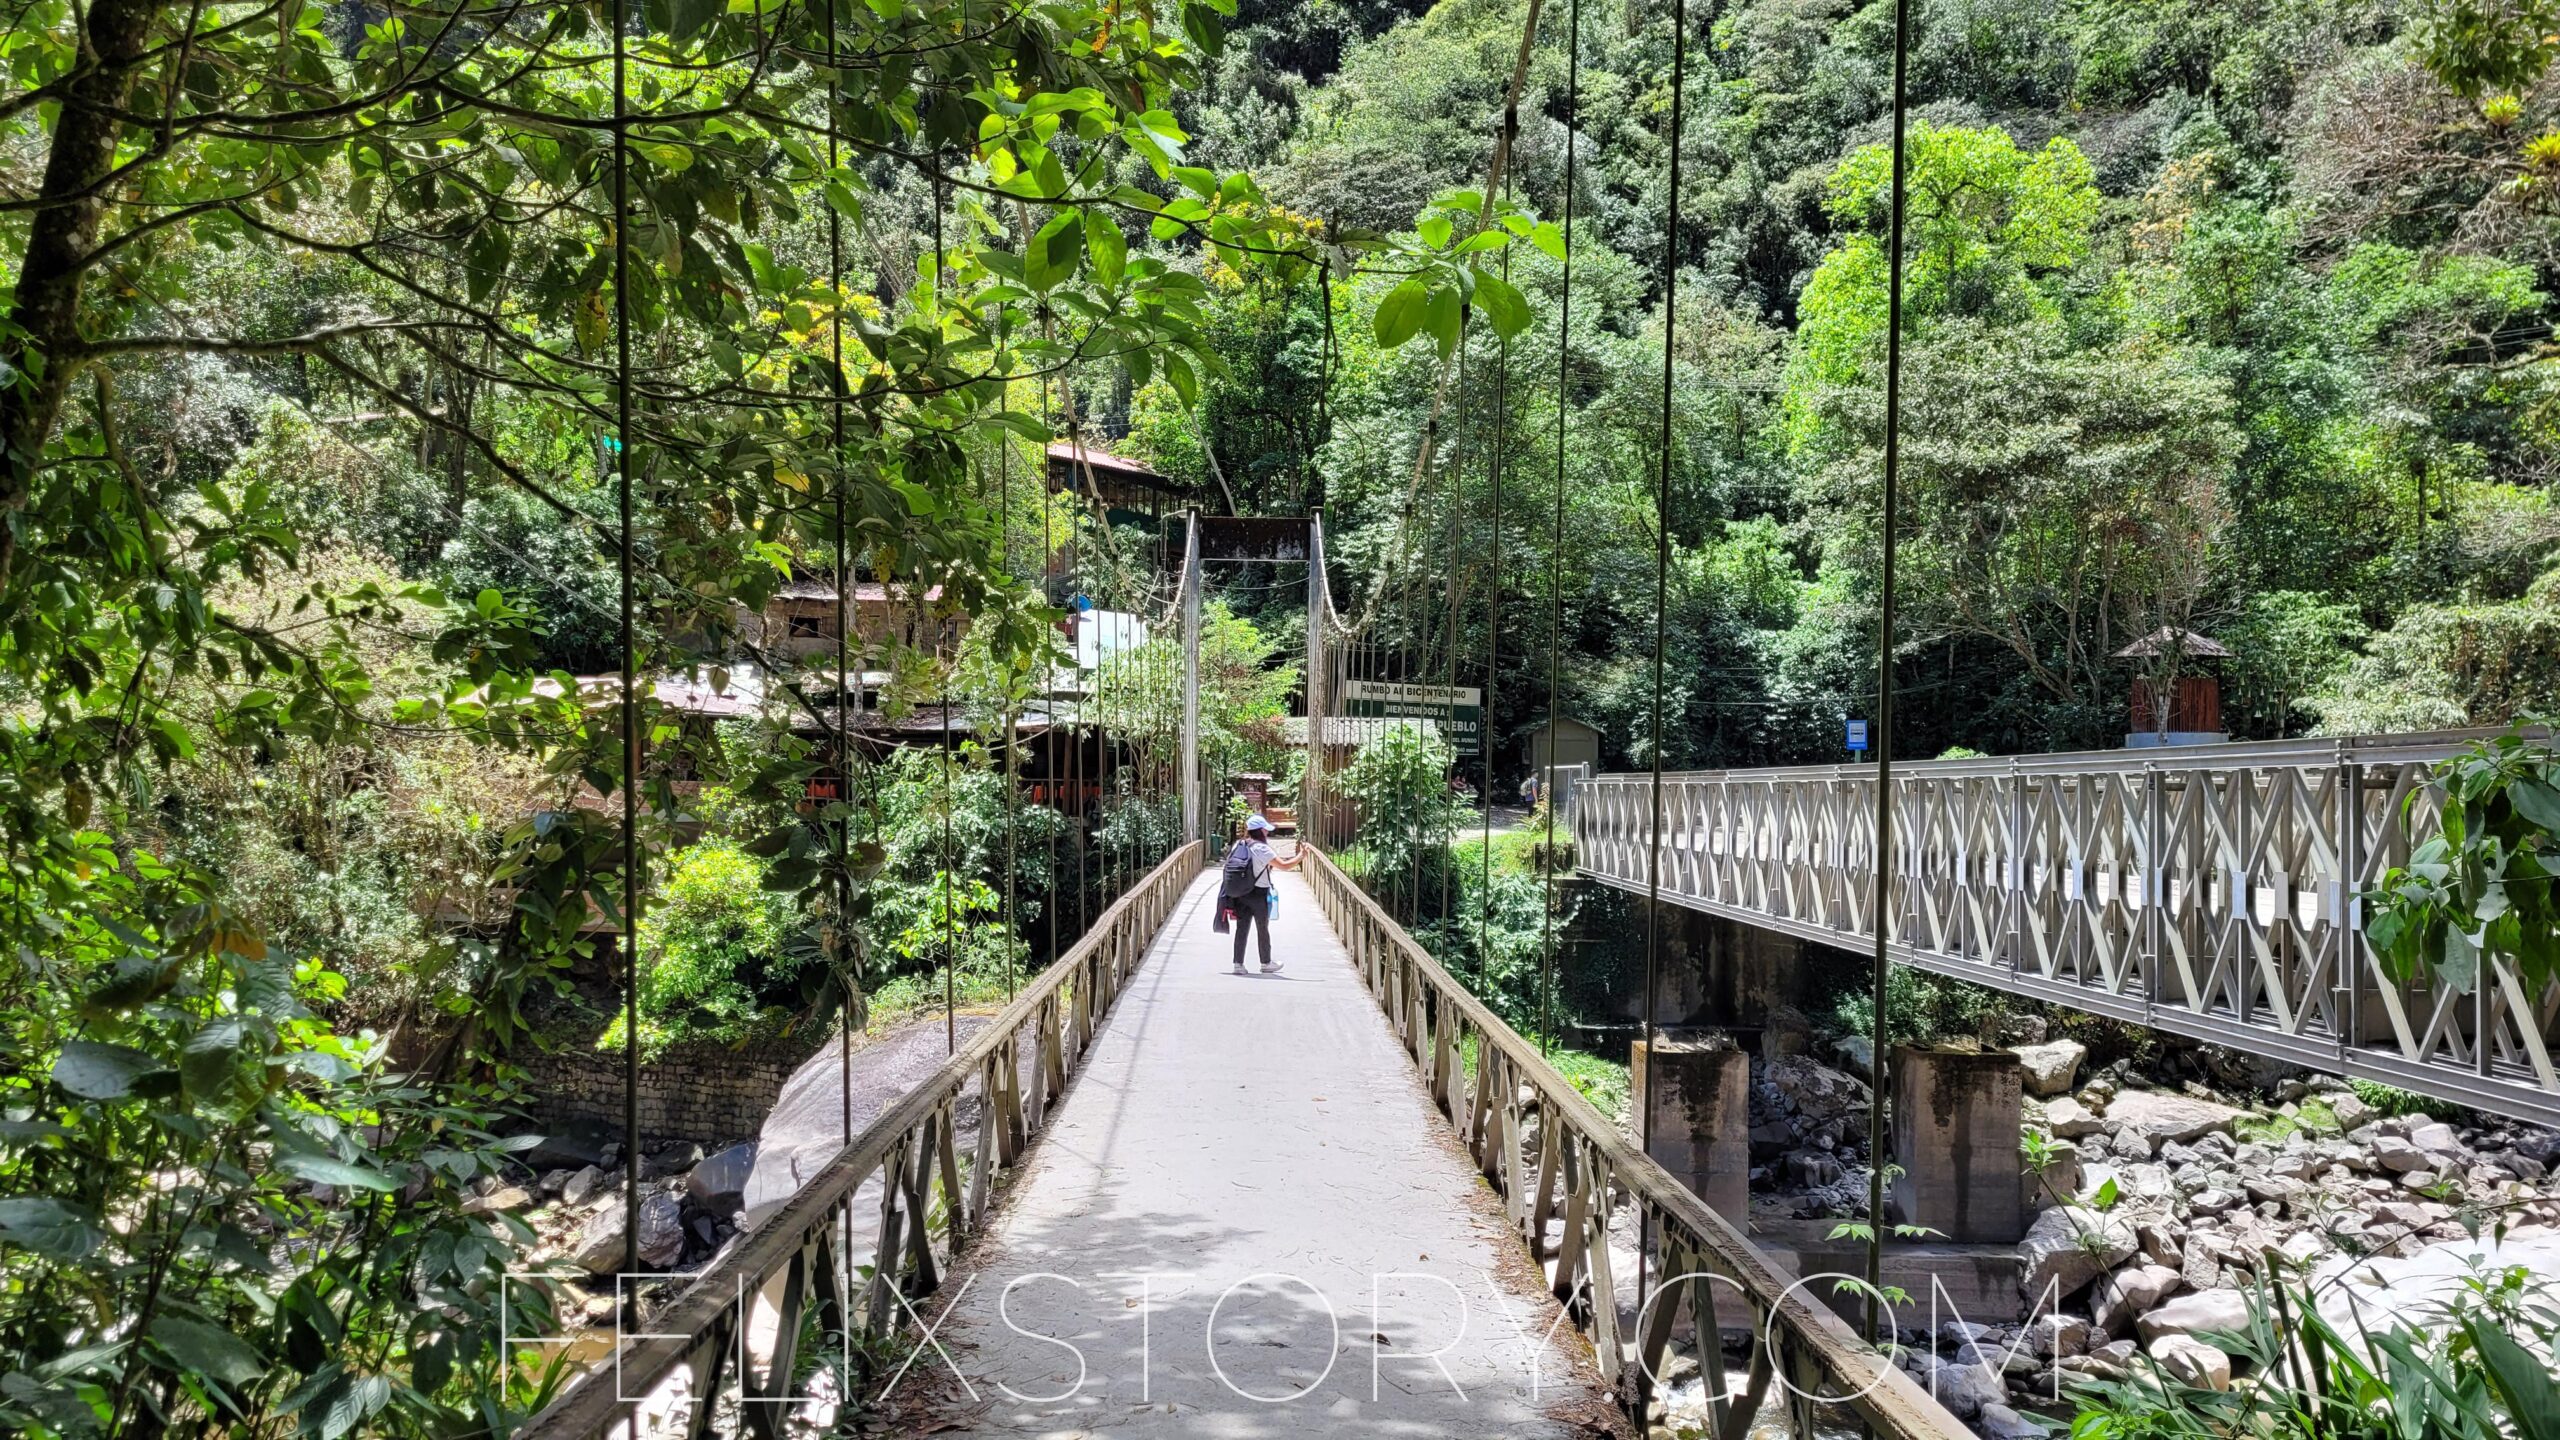
Depending on which option you took the past day, you will have different paths to go. However, all paths meet at the train station “Hidroelectrica”. From Lucmabamba, its pretty straight forward, you go up the hill, cross Llactapata and go down the hill to Hidroelectrica. If you start in Llactapata, you only do the downhill part (depicted on the right). If you start in Santa Teresa, you follow the pretty flat dirt road path. From Hidroelectrica you simply follow the train tracks until you reach Aguas Calientes aka “Machu Picchu Pueblo” The train track path is quite flat. Once you arrive in Aguas Calientes, I recommend staying in “Hostal Inca Roca” A private room with hot shower and WiFi is just 25 Soles (about 6 $) and its close to the entrance to the village. This will be important tomorrow.


Day 5: Machu Picchu visit and return to Cusco
If you organized yourself the ticket to Machu Picchu for 6 AM beforehand, you will have to start walking from Aguas Calientes at 4:30 AM, which is why it is so advisable to stay near the village entrance. If you don’t have a ticket, you must be really early (6 AM) in front of the office of Ministery of Culture in Aguas Calientes. Even if the tickets are sold out online, there is a contingent of a few hundred tickets everyday that is sold for the same day. These few hundred tickets sell out quickly, which is why you have to be so early at the office. Obviously, your entrance time will be much later, and you might not be able to make it back to Cusco the same day and might have to stay another night in Aguas Calientes.
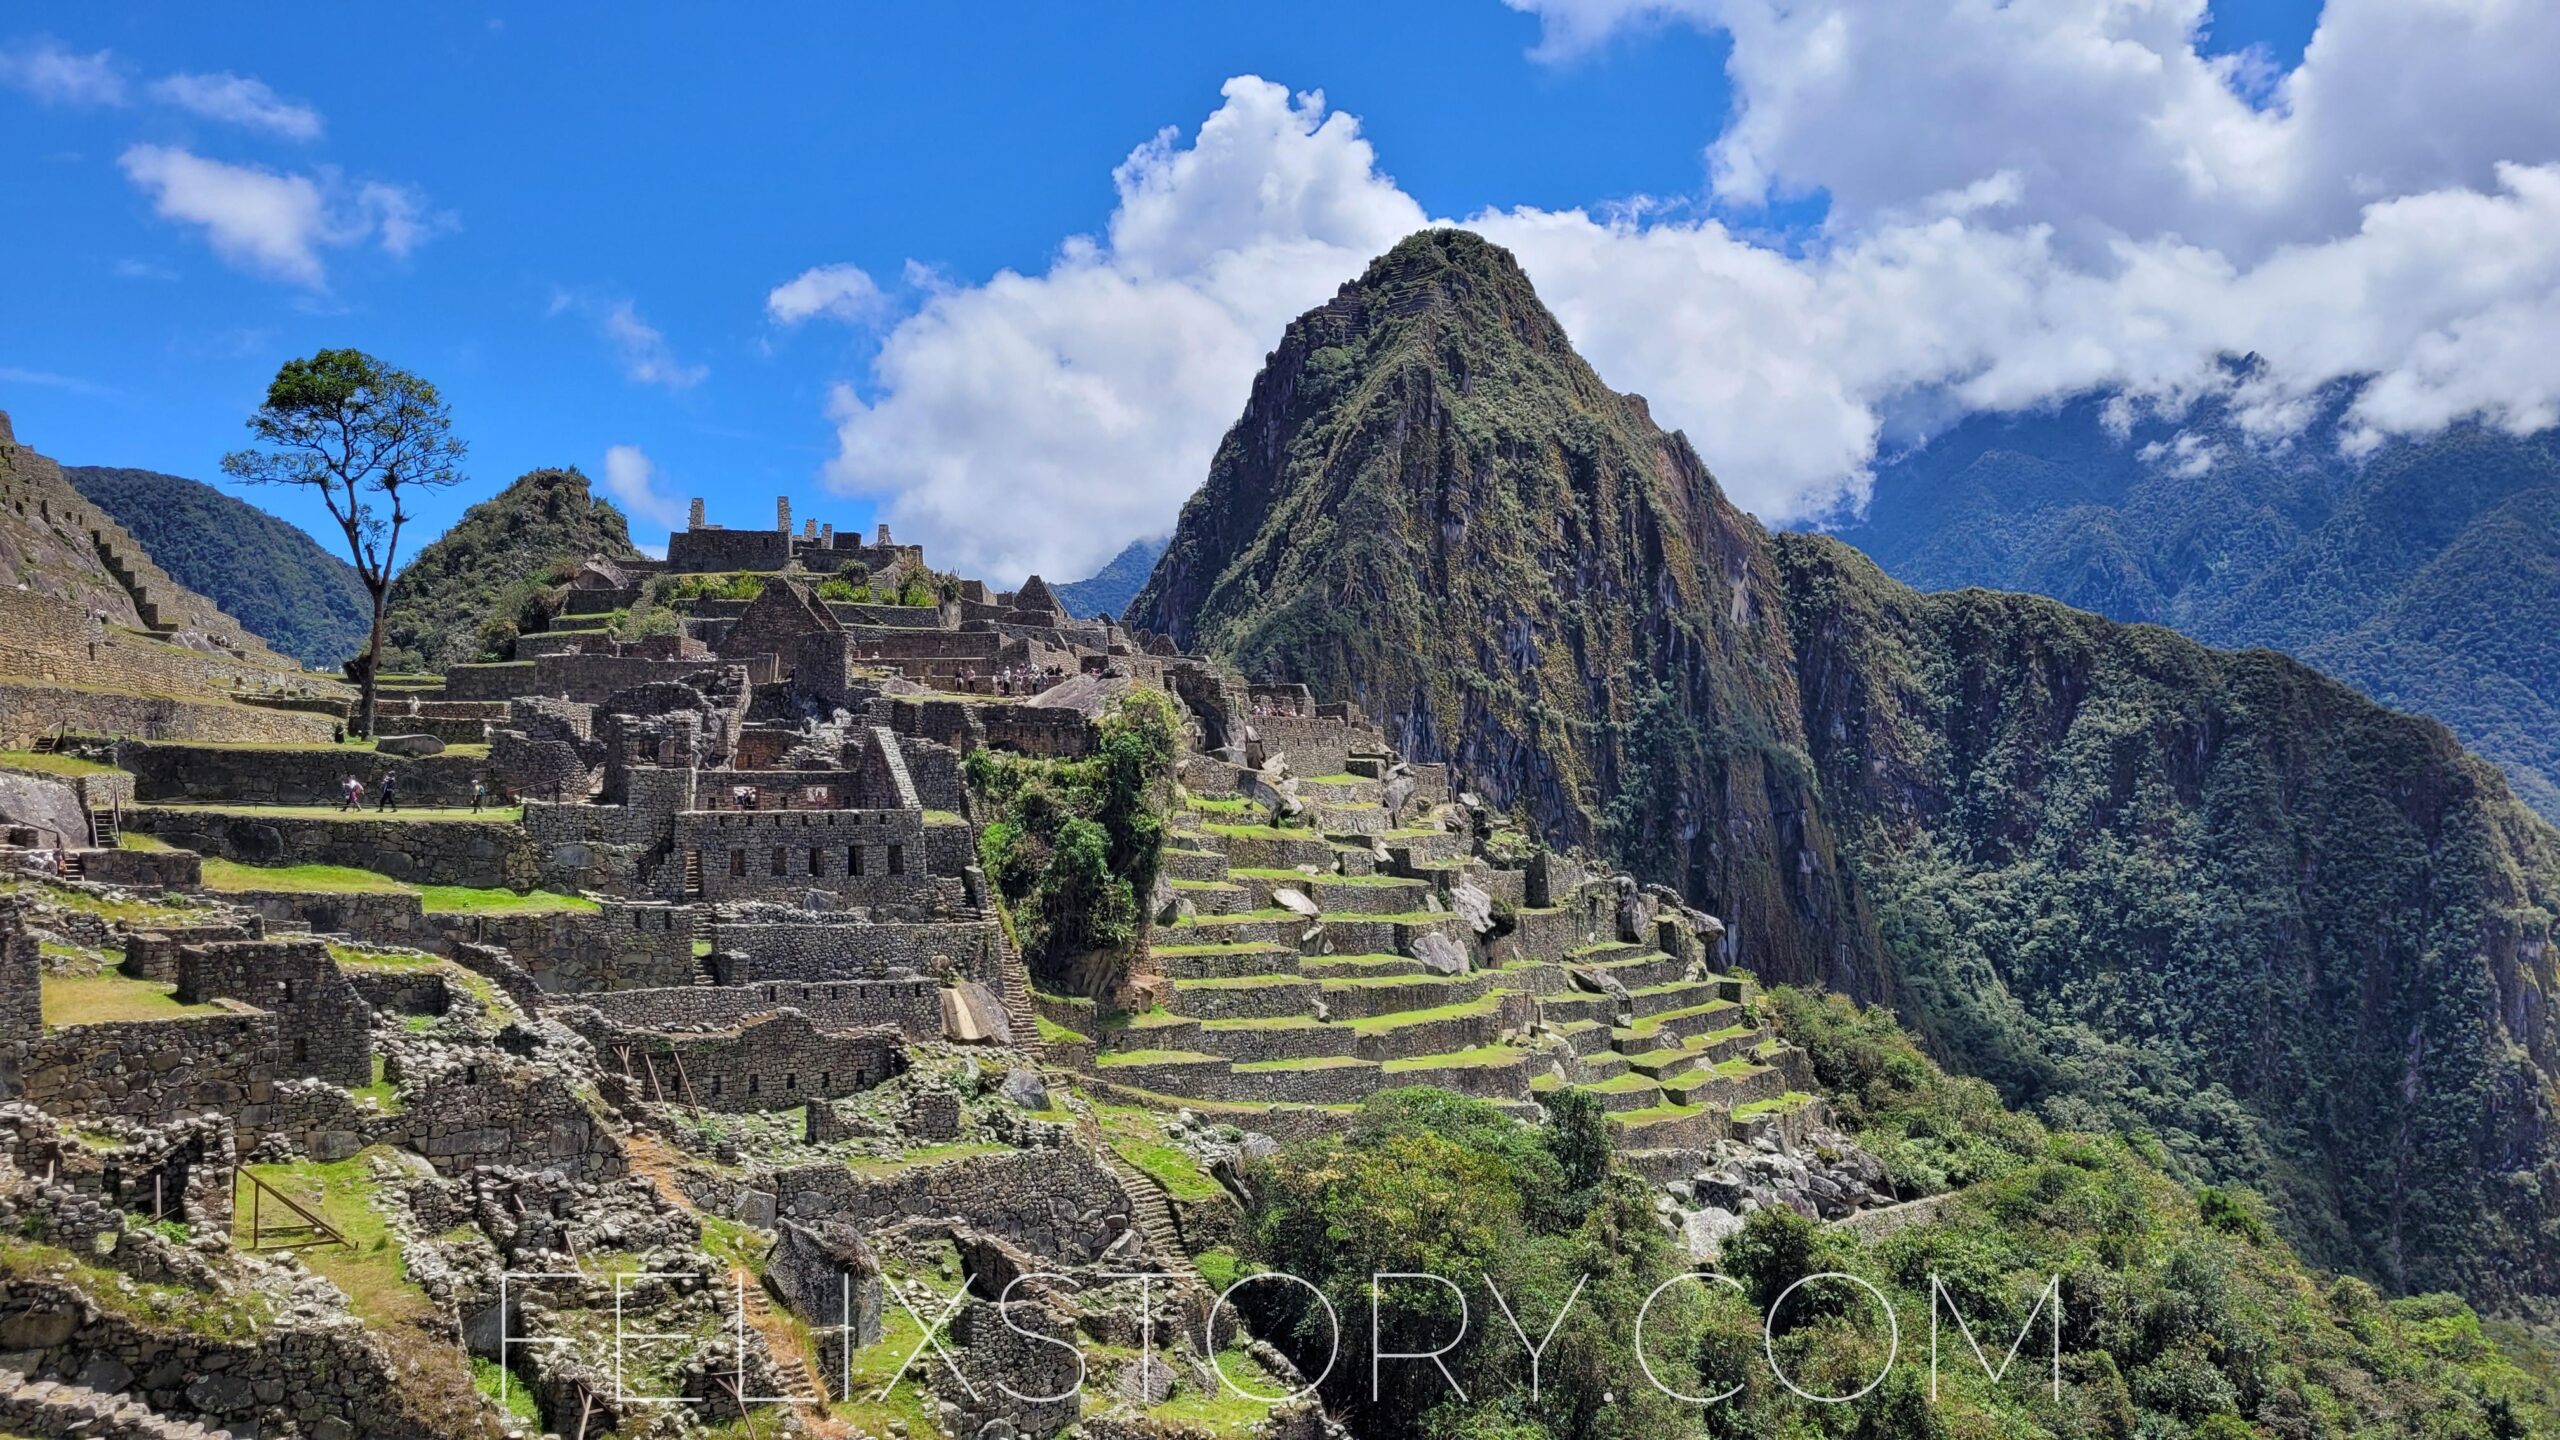
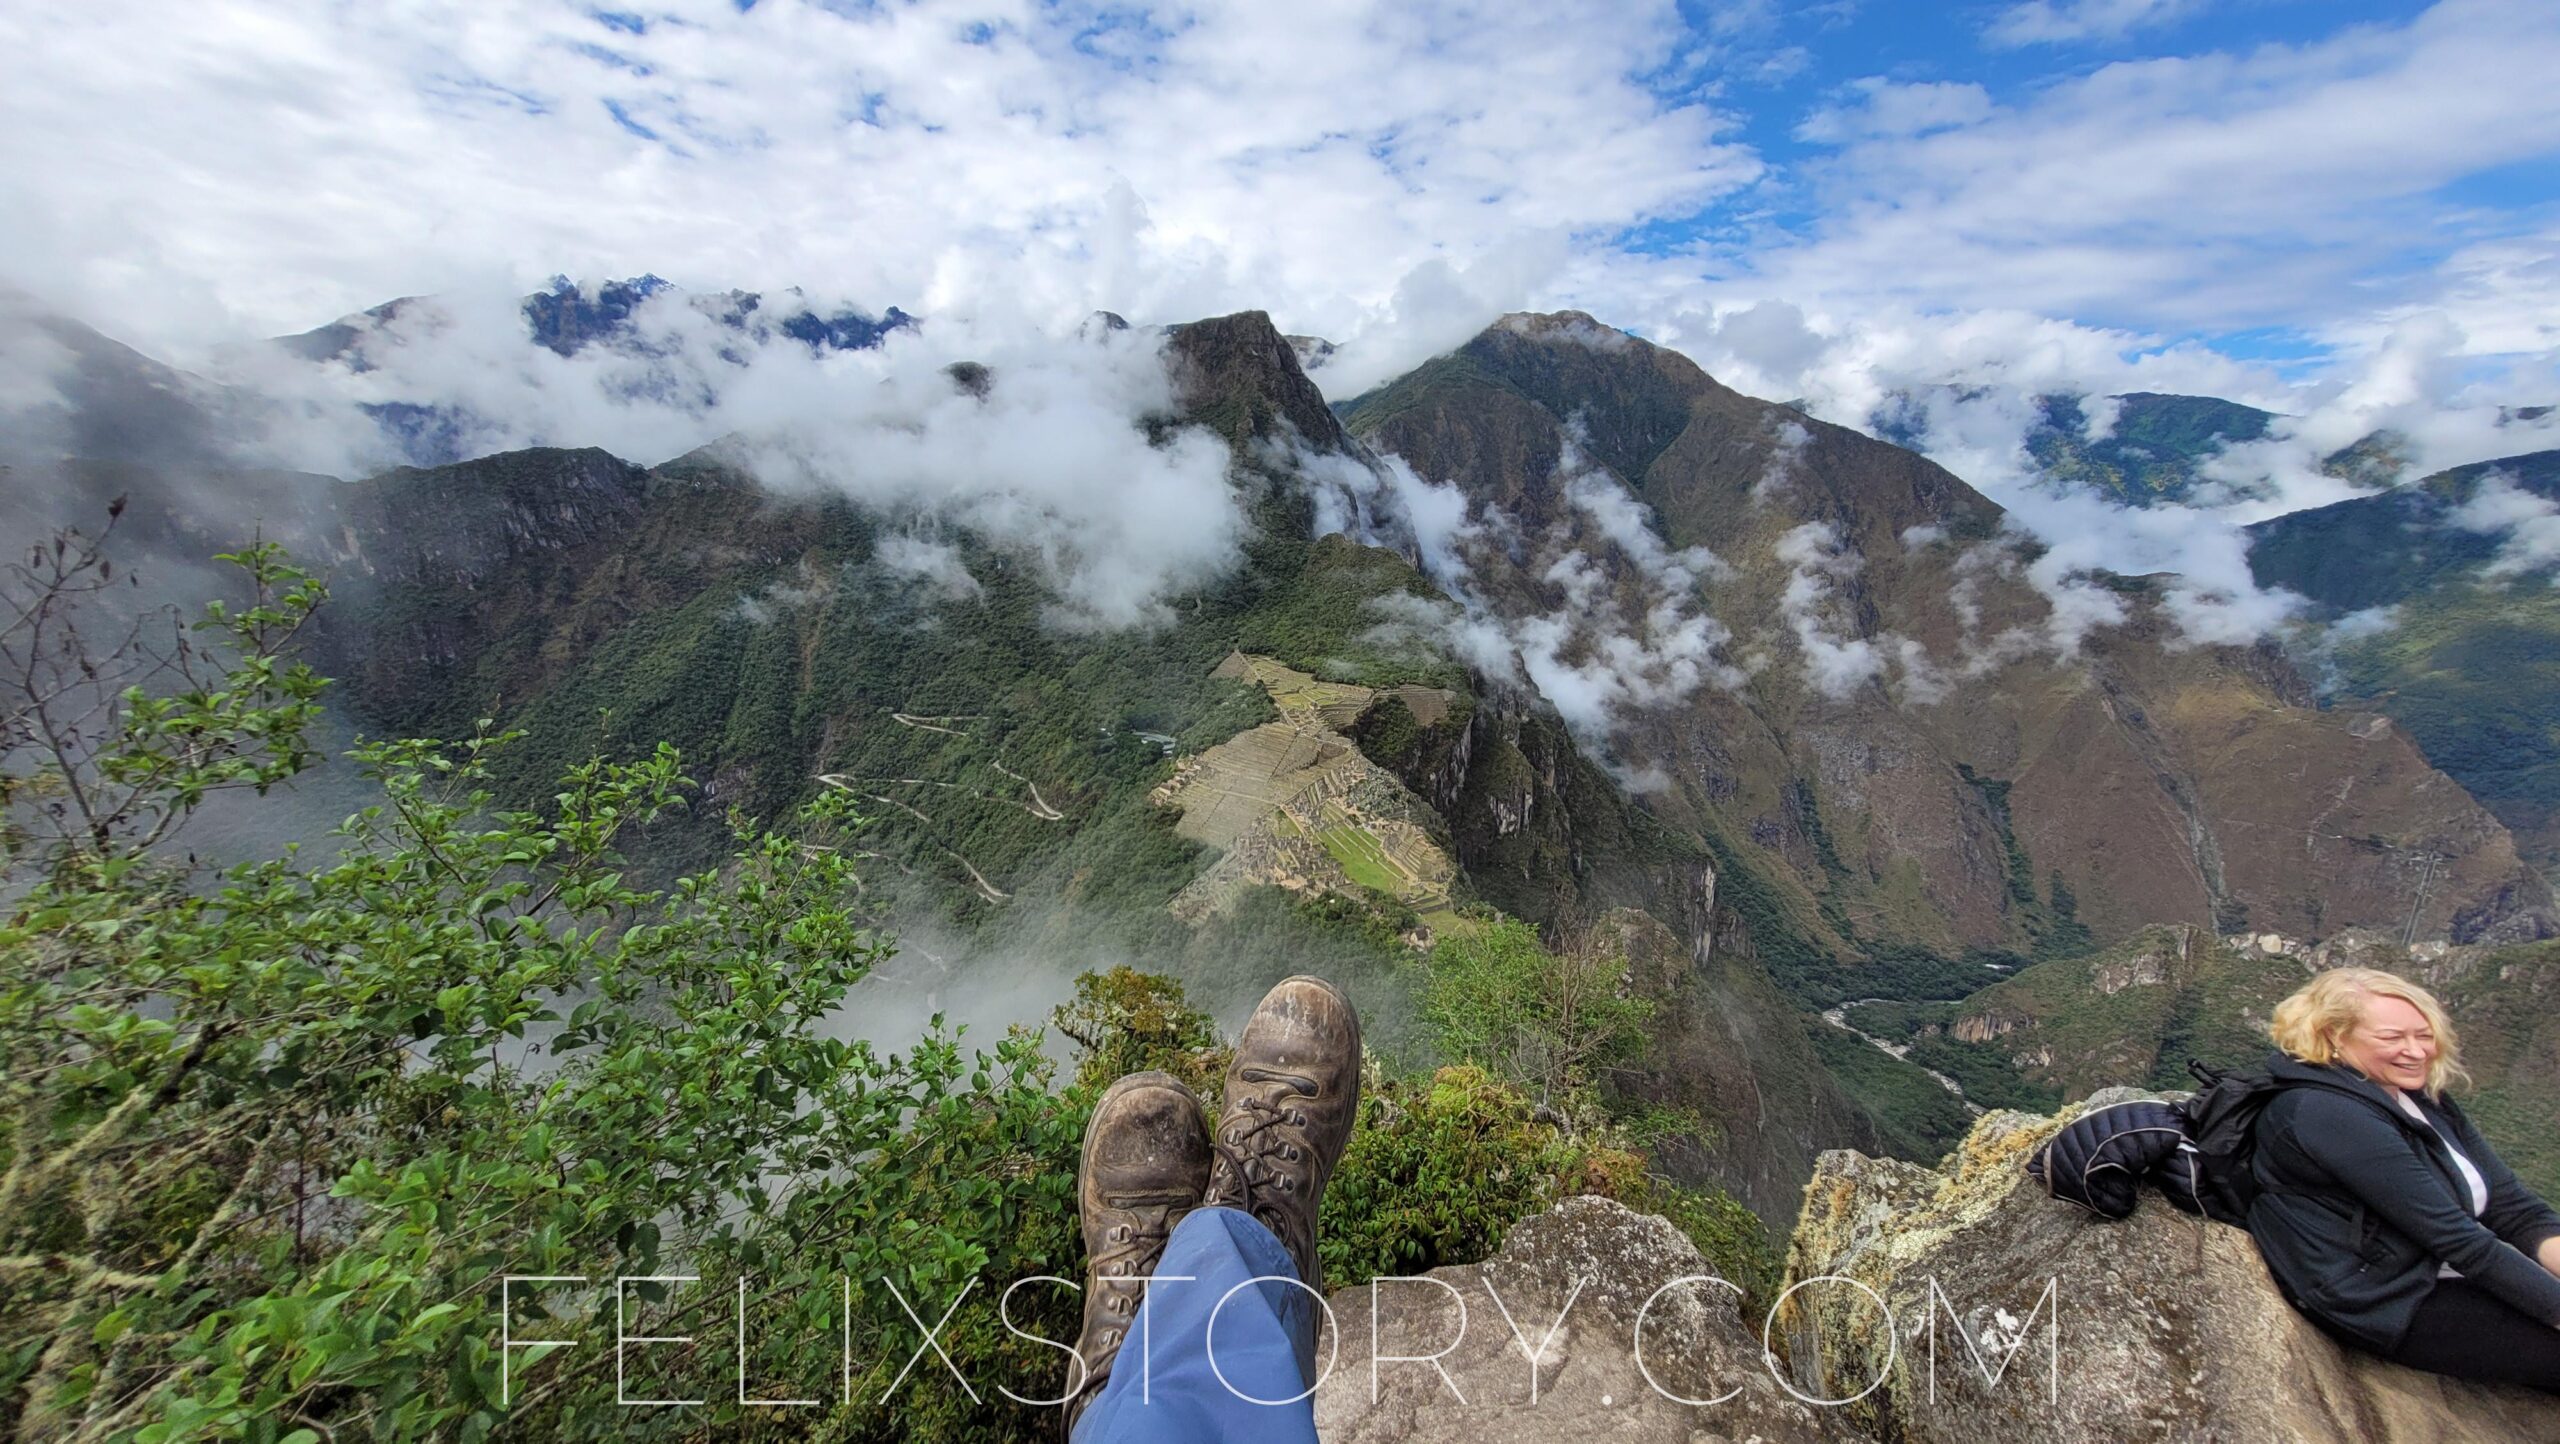
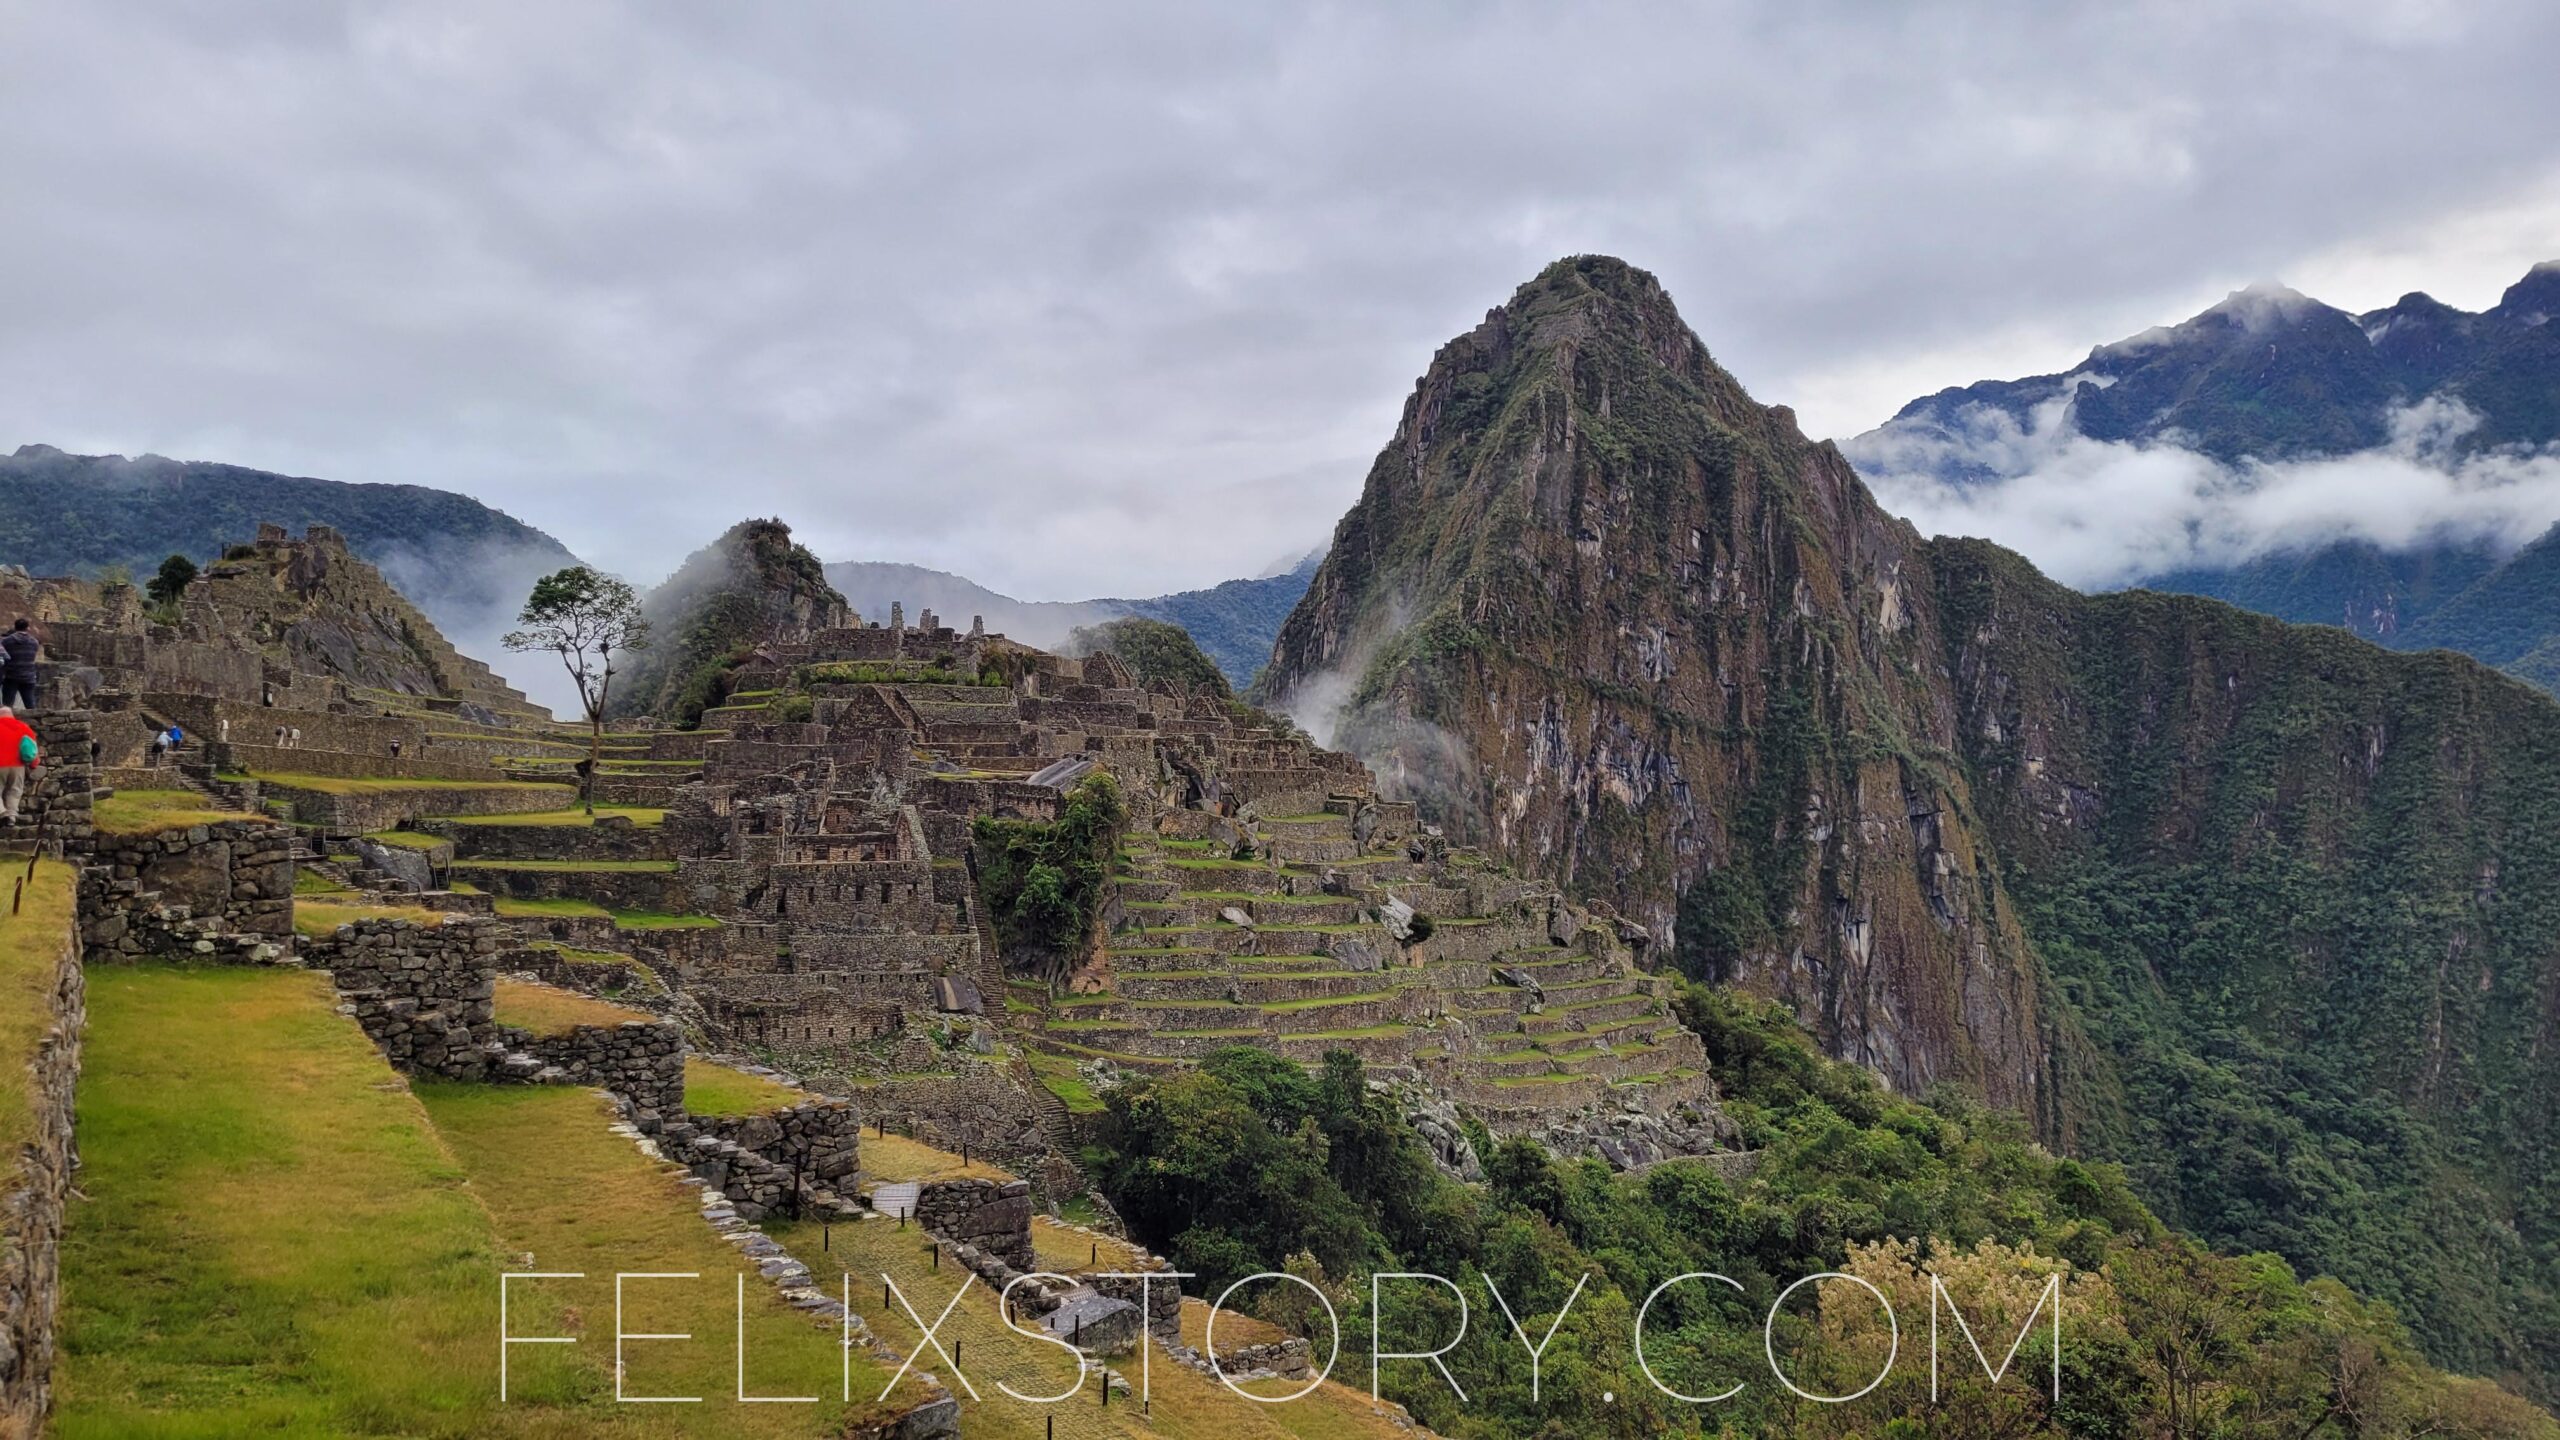
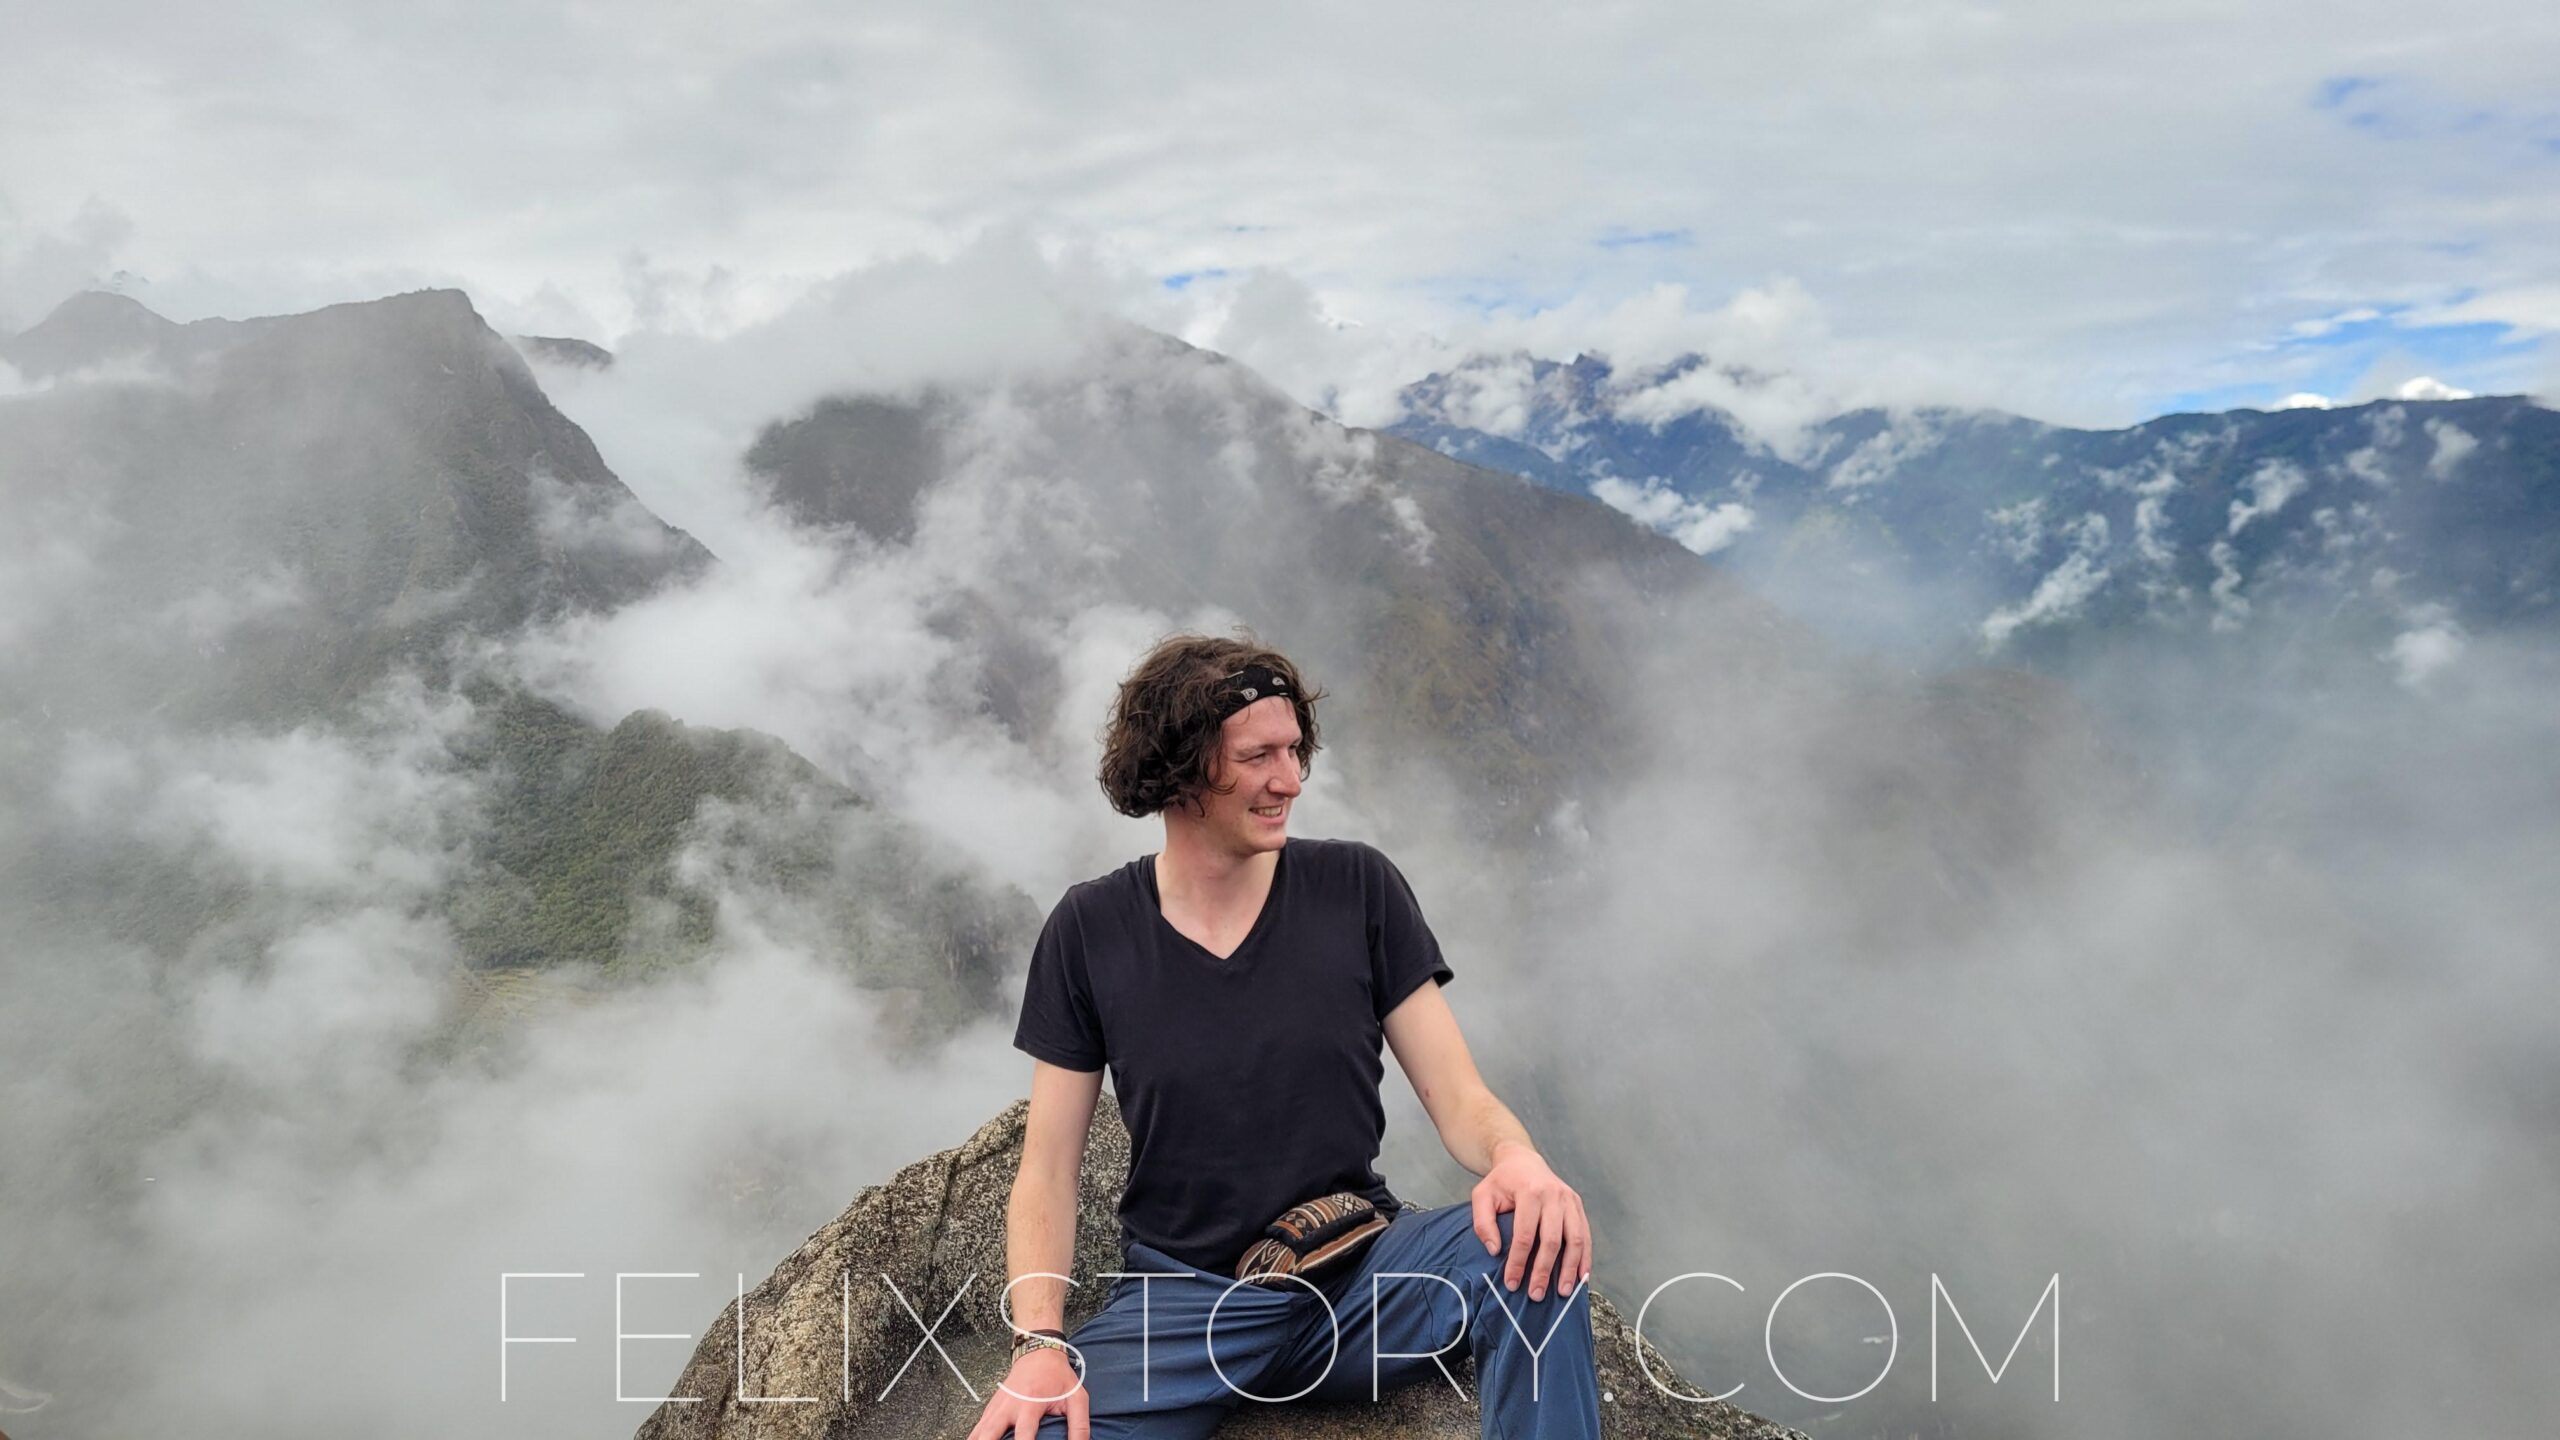
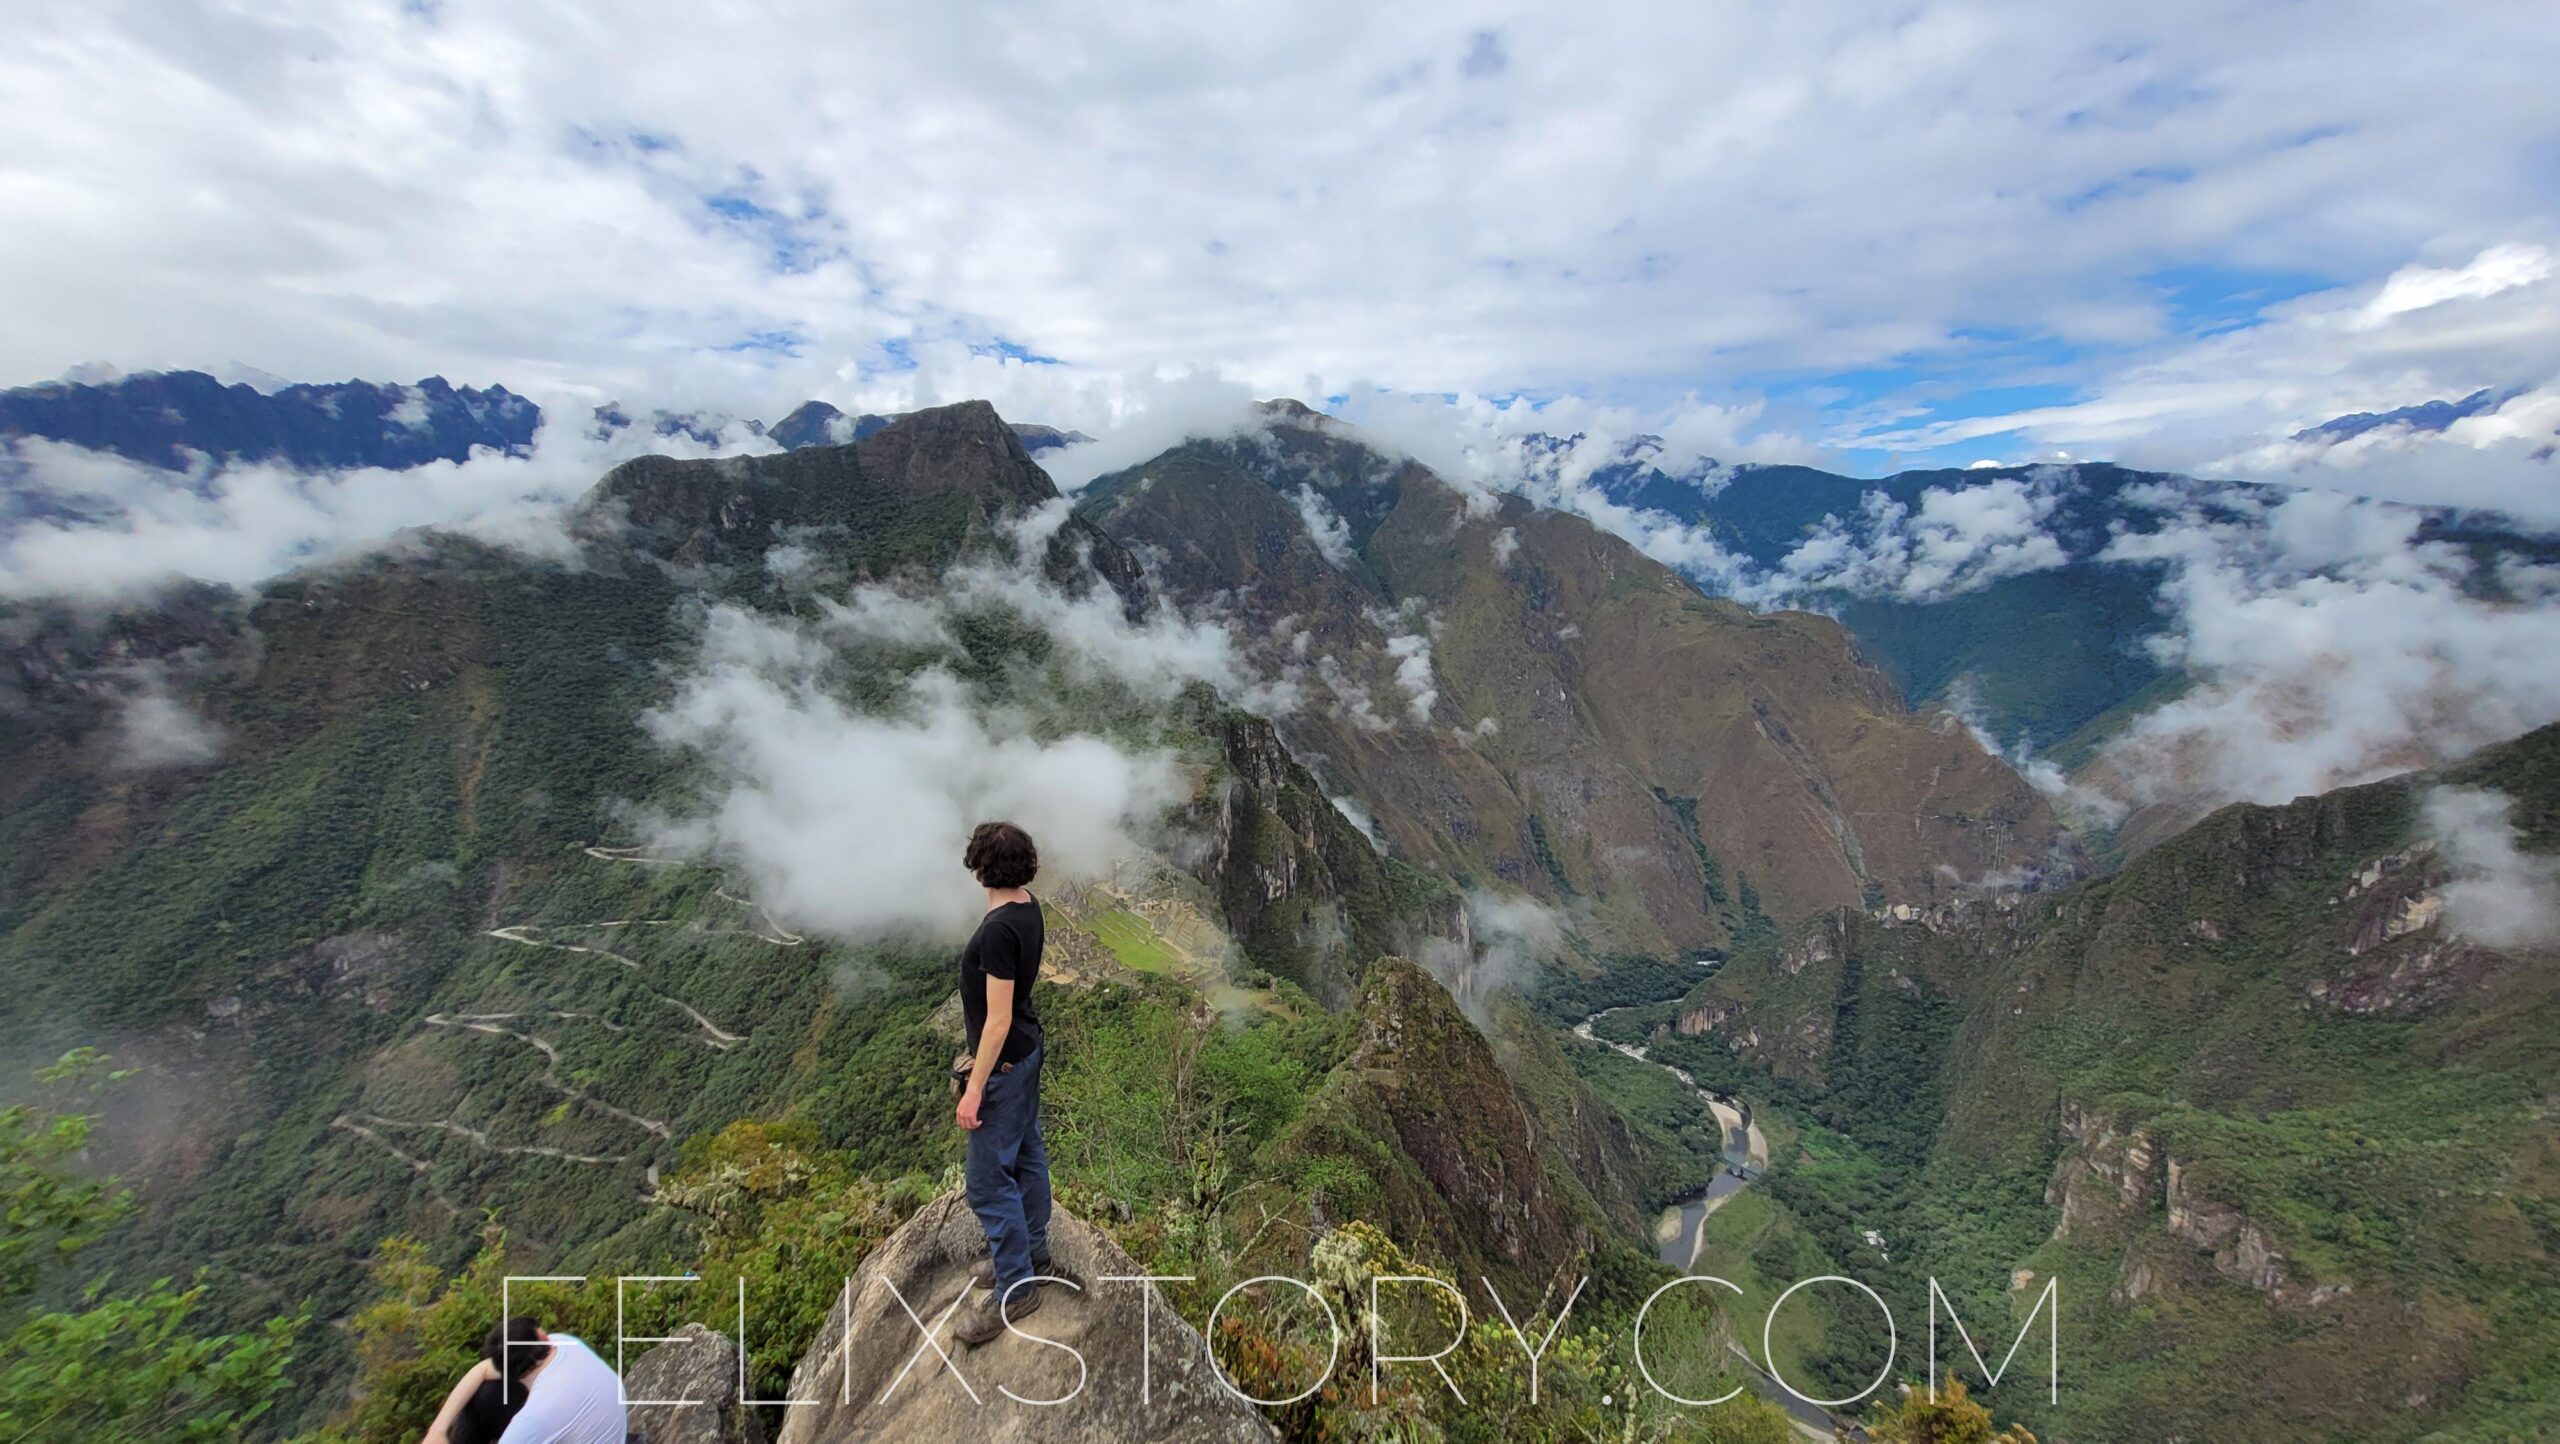
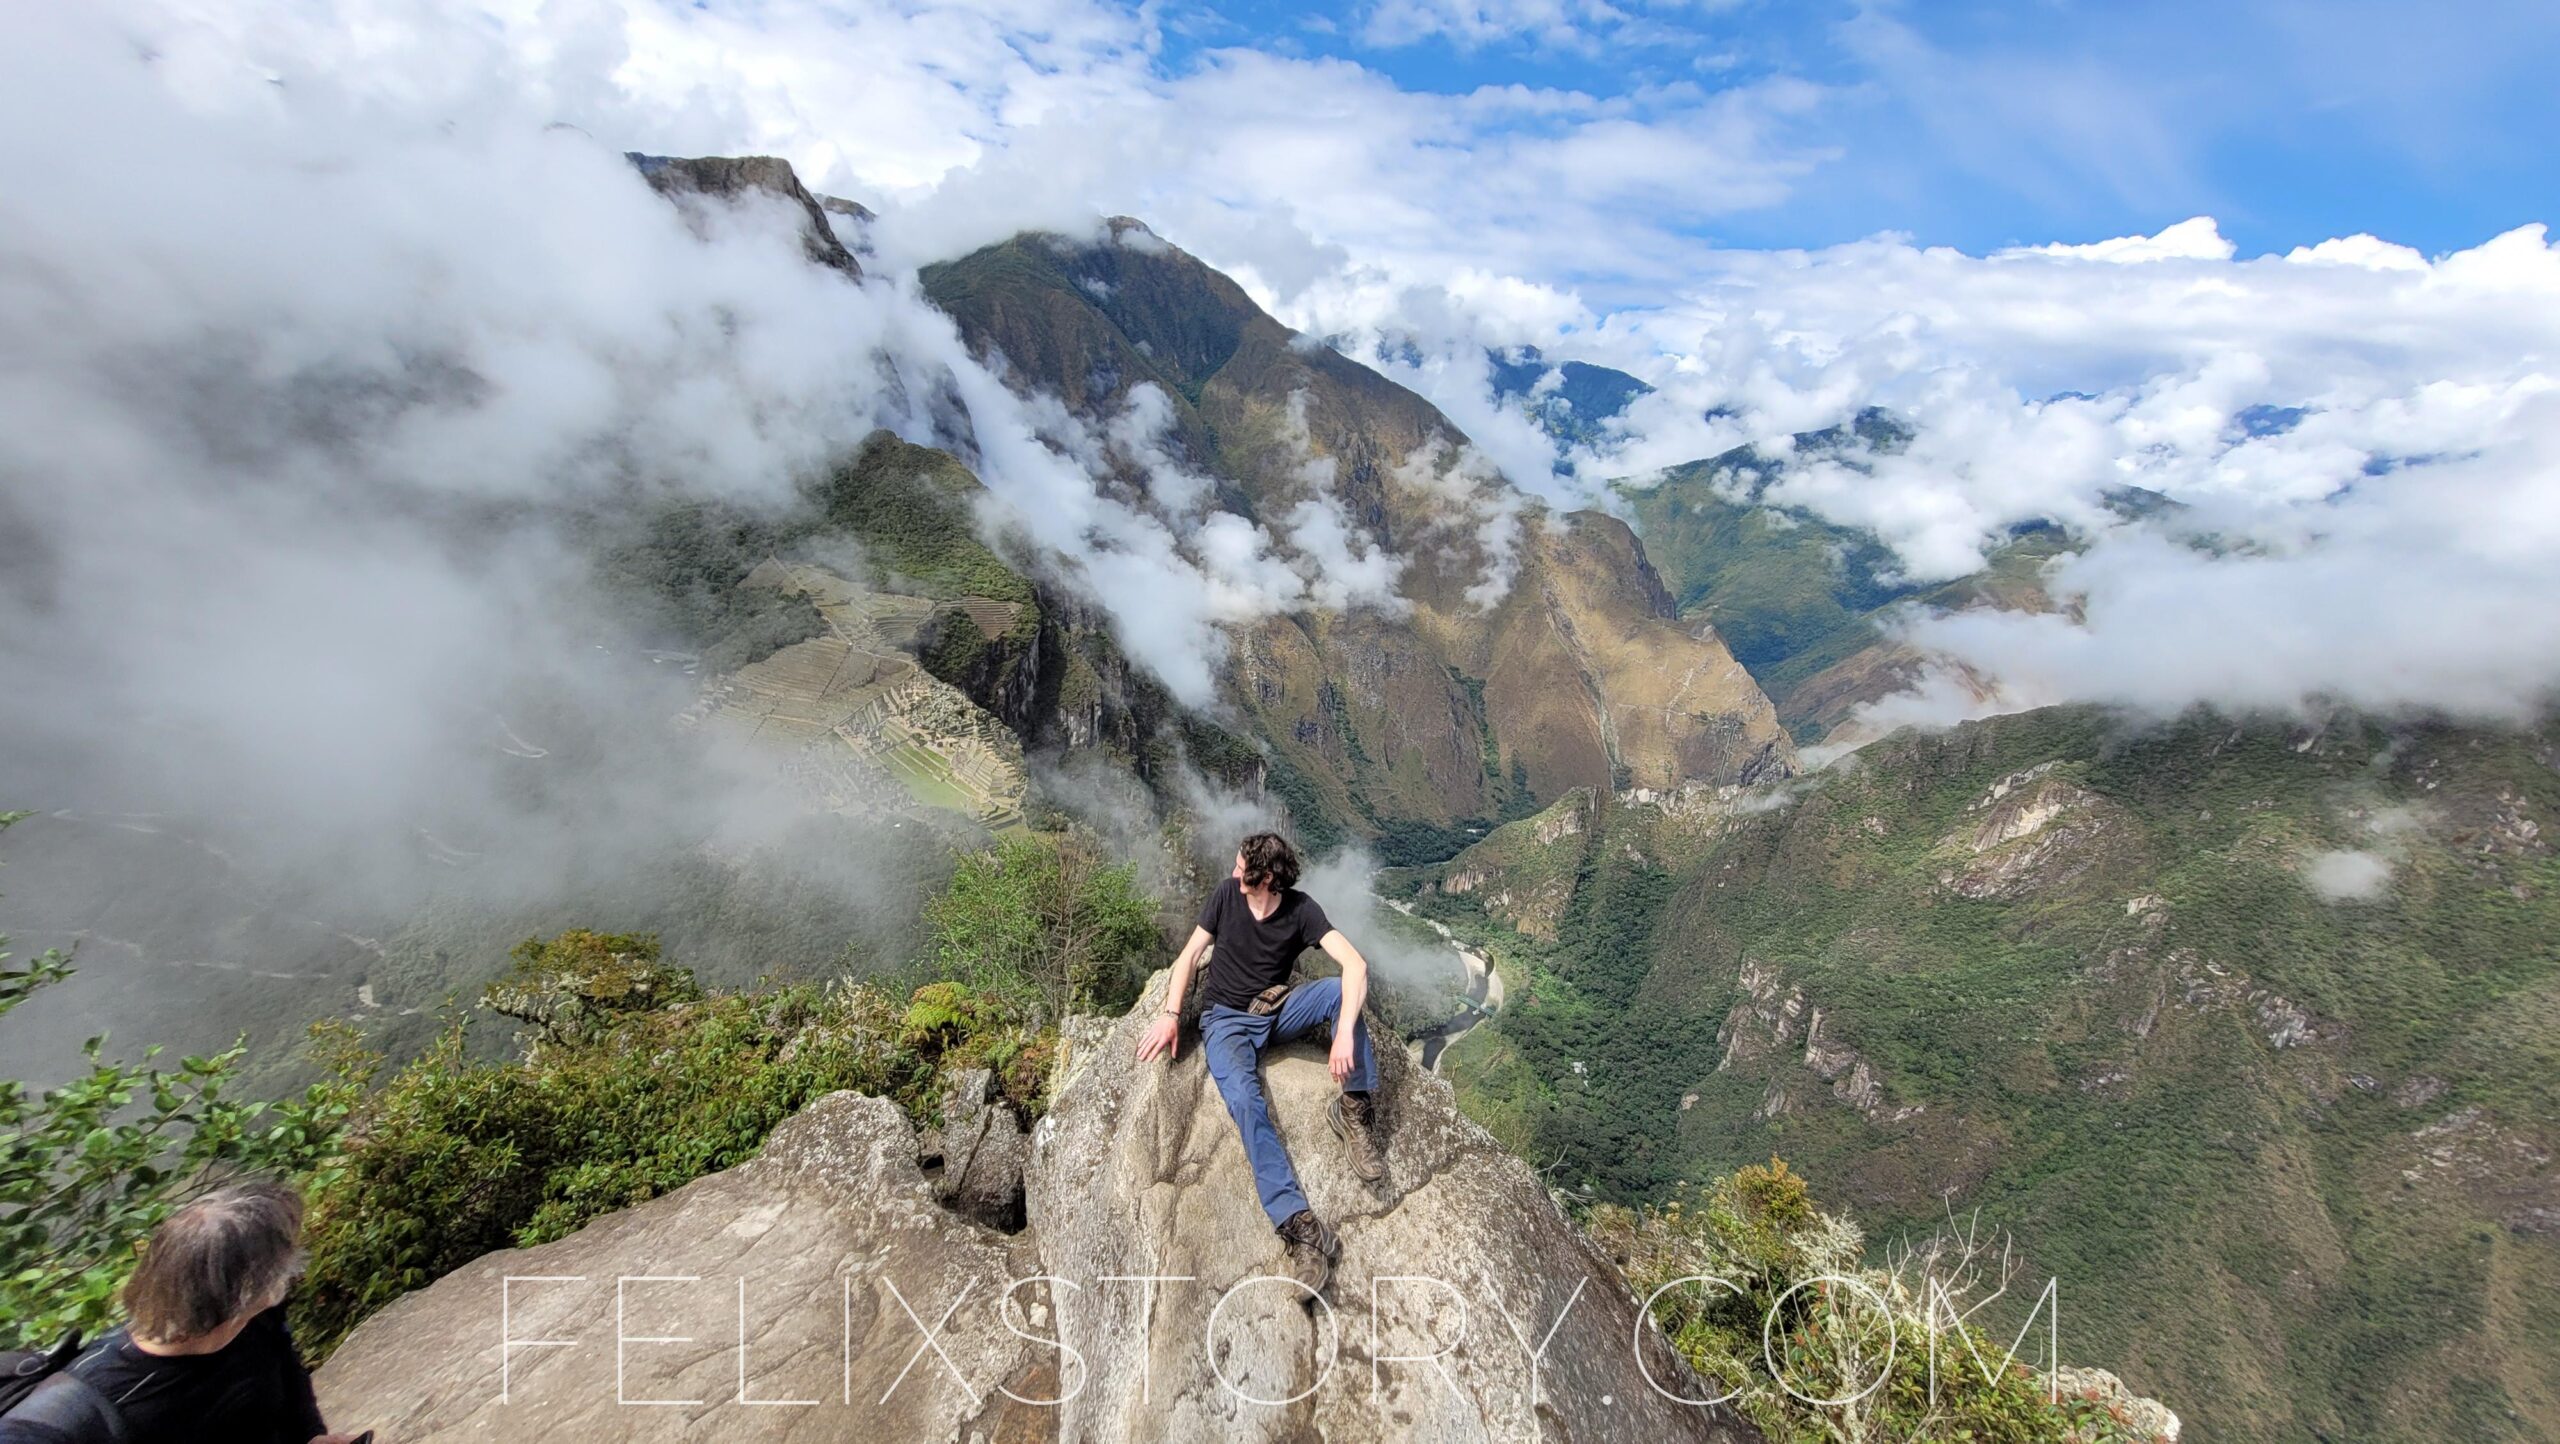
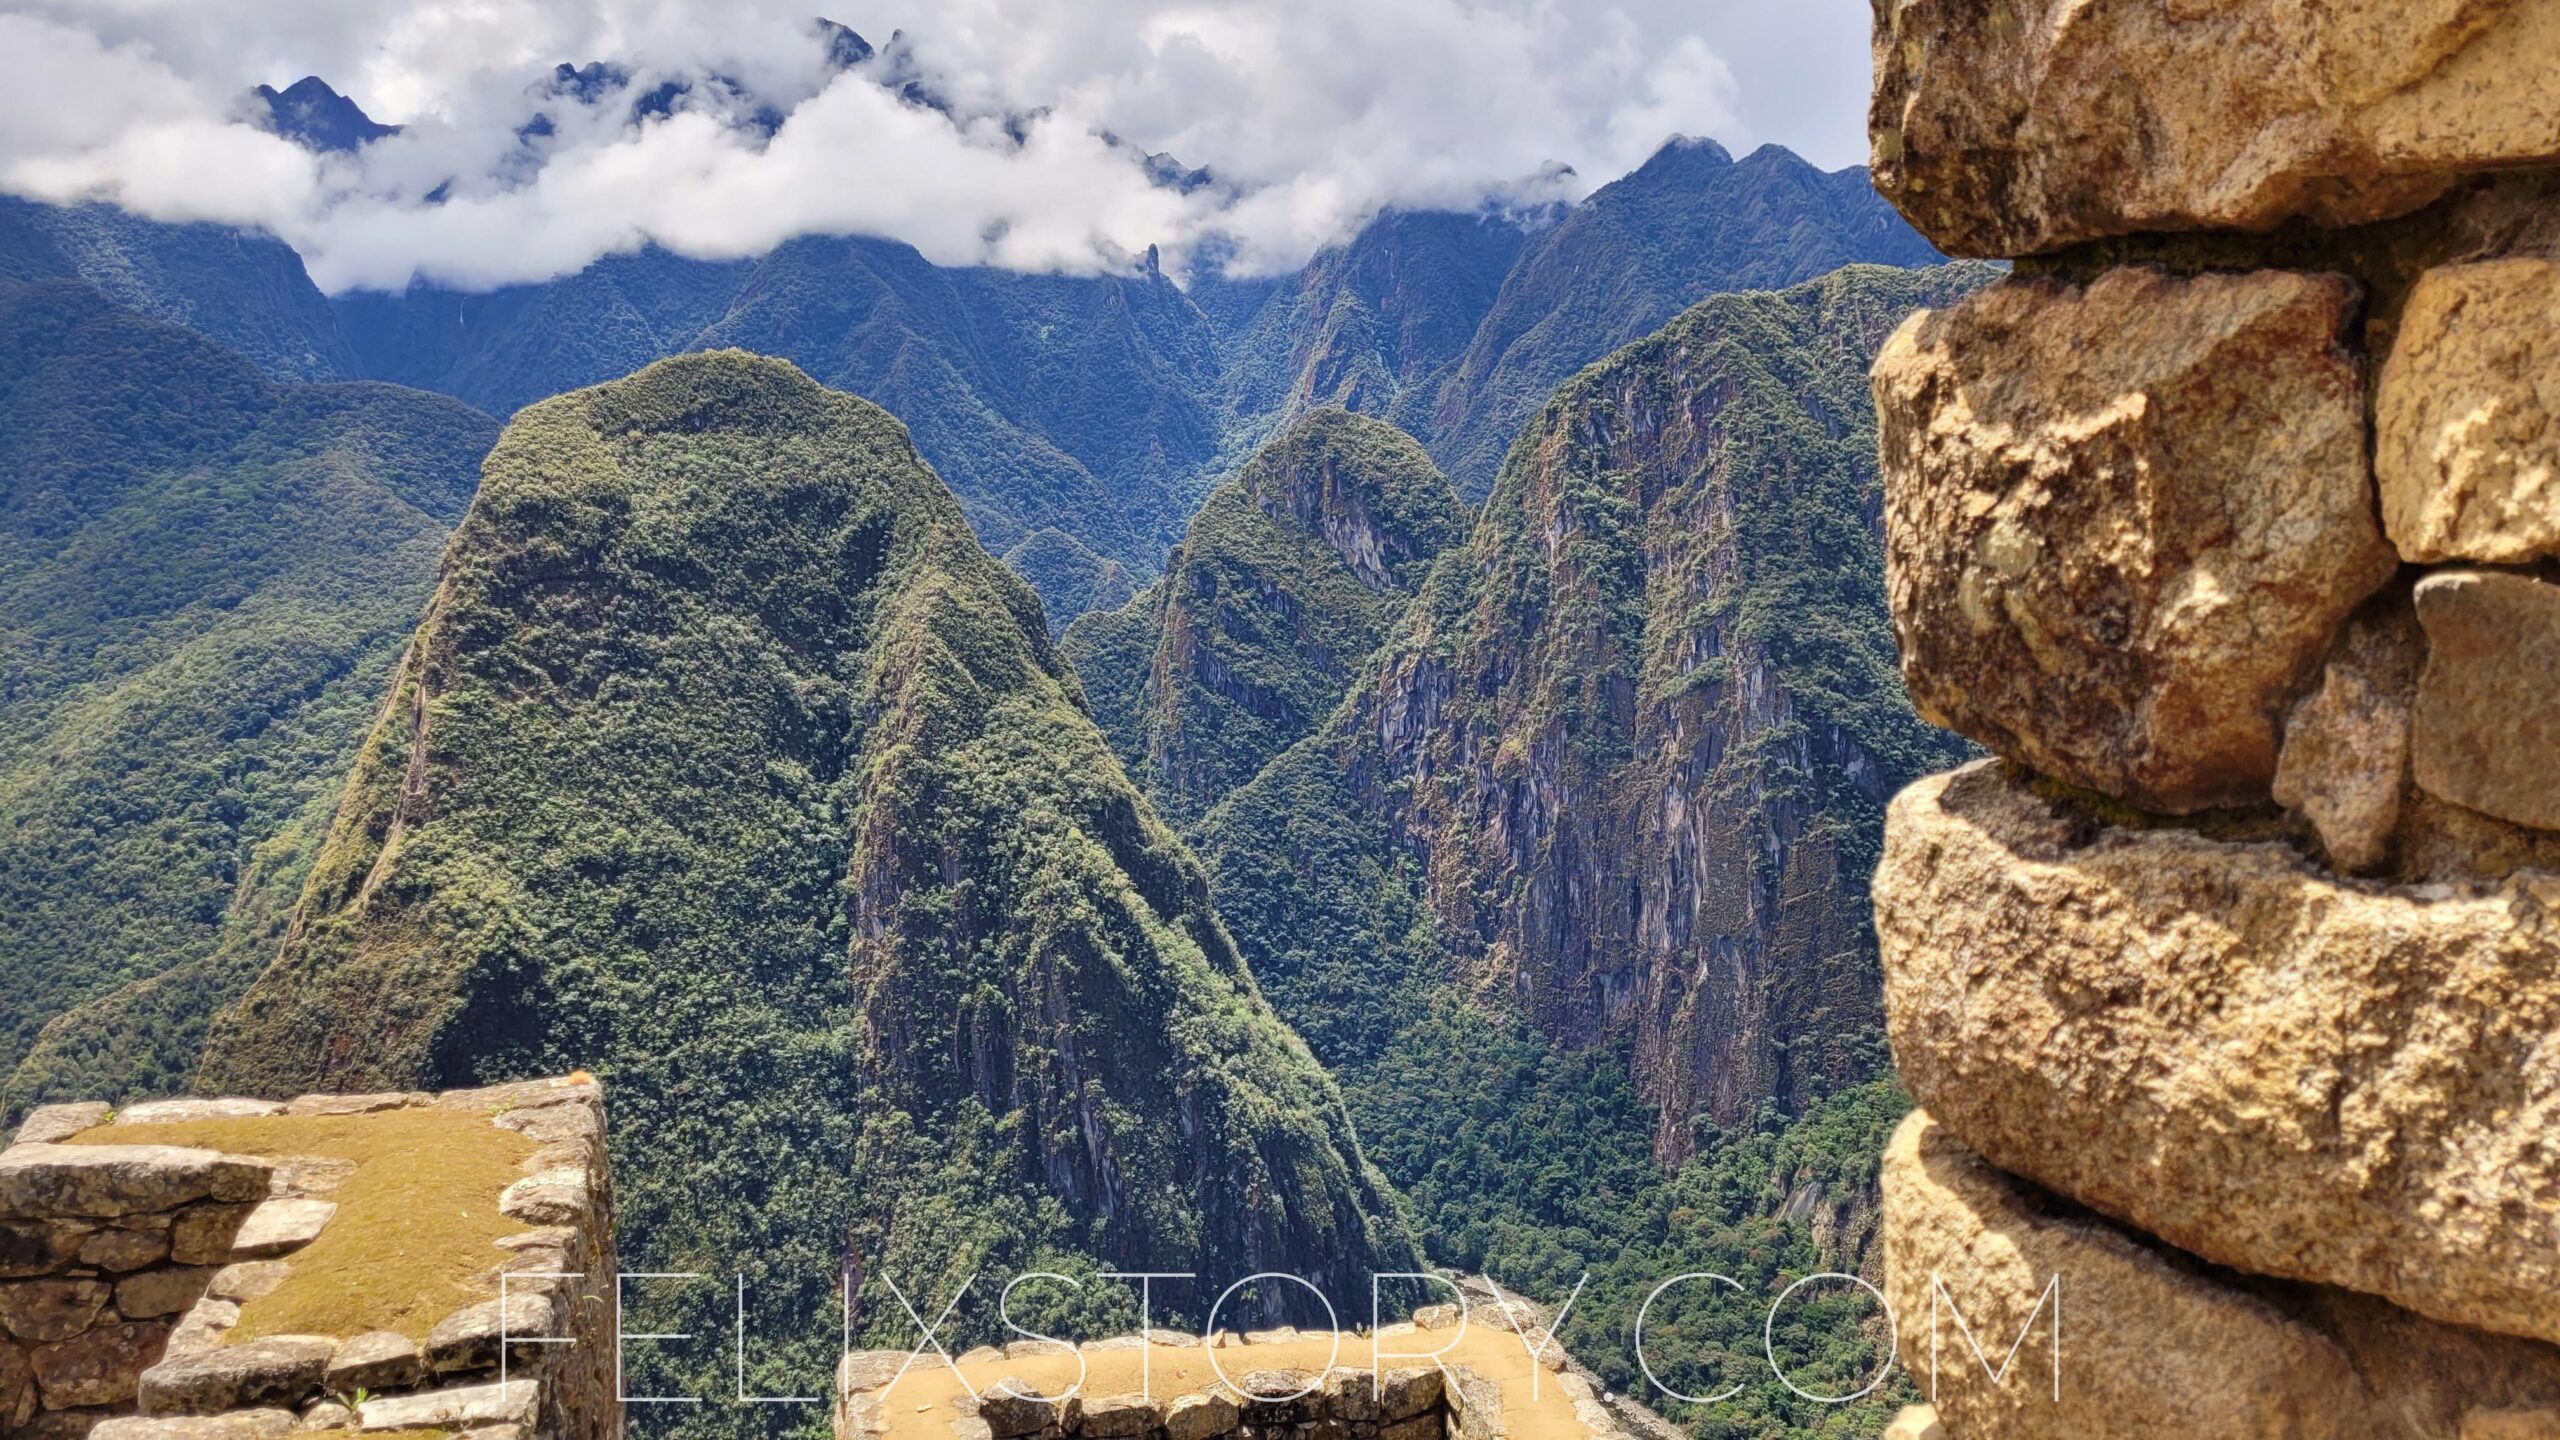
No matter which time is on your ticket, today is the day! You will do your final climb to Machu Picchu, which is 430 m up, up and up. You need 20-30 mins to get from Aguas Calientes to the first ticket control spot. Until there you just walk back the same path you walked the day before. From the ticket control it takes 1 hour to get up on the mountain, where you will encounter the world wonder. If you are the lucky one with a ticket for Huayna Picchu or Machu Picchu Mountain, you will be able to spend some more time on the site. I would recommend going to Huayna Picchu Mountain, because the view from there is unbelievable. Machu Picchu Mountain is so high up and far away, that you will be barely able to see the ruins from there, which is why I recommend going to Huayna Picchu.
Returning to Cusco
After you finished your visit you will have to return to Aguas Calientes first. You have two options to get back to Cusco. Either you take the train from Aguas Calientes back to Cusco, which is really expensive (70 $ – 100 $), or you pick up your backpack that you left in the hotel and walk all the way along the train tracks back to Hidroelectrica, which is about 11 km and will take you 2 – 3 hours. From there you can take a colectivo and drive back to Cusco, which takes about 6 hours and costs you 50 Soles (about 12 $). Be aware that the last colectivo leaves Hidroelectrica at 3 PM. I decided to hike back and take the colectivo.


Summary
| Day 1 | Day 2 | Day 3 | Day 4 | Day 5 | |
|---|---|---|---|---|---|
| Start Point | Mollepata | Soraypampa | Chaullay | Llactapata | Aguas Calientes |
| End Point | Soraypampa | Chaullay | Llactapata | Aguas Calientes | Hidroelectrica |
| Start Point Altitude | 2840 m | 3850 m | 2920 m | 2700 m | 2050 m |
| End Point Altitude | 3850 m | 2920 m | 2700 m | 2050 m | 1890 m |
| Highest Altitude Point | Laguna Humantay | Salkantay Pass | Chaullay | Llactapata | Machu Picchu |
| Highest Altitude | 4200 m | 4630 m | 2920 m | 2700 m | 2400 m |
| Distance | 22.9 km | 18.6 km | 23.5 km | 16.3 km | 18 km |
| Total Climb | 1500 m | 710 m | 870 m | 450 m | 580 m |
| Total Descend | 440 m | 1740 m | 960 m | 1190 m | 850 m |
| Difficutly | 7 out of 10 | 7 out of 10 | 6 out of 10 | 5 out of 10 | 5 out of 10 |
Budget for the Salkantay Trek
Depending on how you see it, doing the Salkantay Trek is basically free, because if you wouldn’t do it, you’d spend at least the same amount of money for accommodation and food somewhere else. That means, the only budget you have to consider is basically your daily living budget and transport. Actually, accommodation on the trek was even cheaper than anything you can find in Cusco. Sometimes I would spend 50 soles (12 €) for a private room with dinner and breakfast included, which is unbeatable value. Accordingly, you need the following budget:
- Accommodation: 4 Nights x 12 € = 48 €
- Food: 5 days x 10 € = 50 €
- Transport to Mollepata and back to Cusco: 18 €
- Entrance Ticket to Machu Picchu: 54 €
RELATED POSTS
