HOW TO HIKE THE QUILOTOA LOOP INDEPENDENTLY

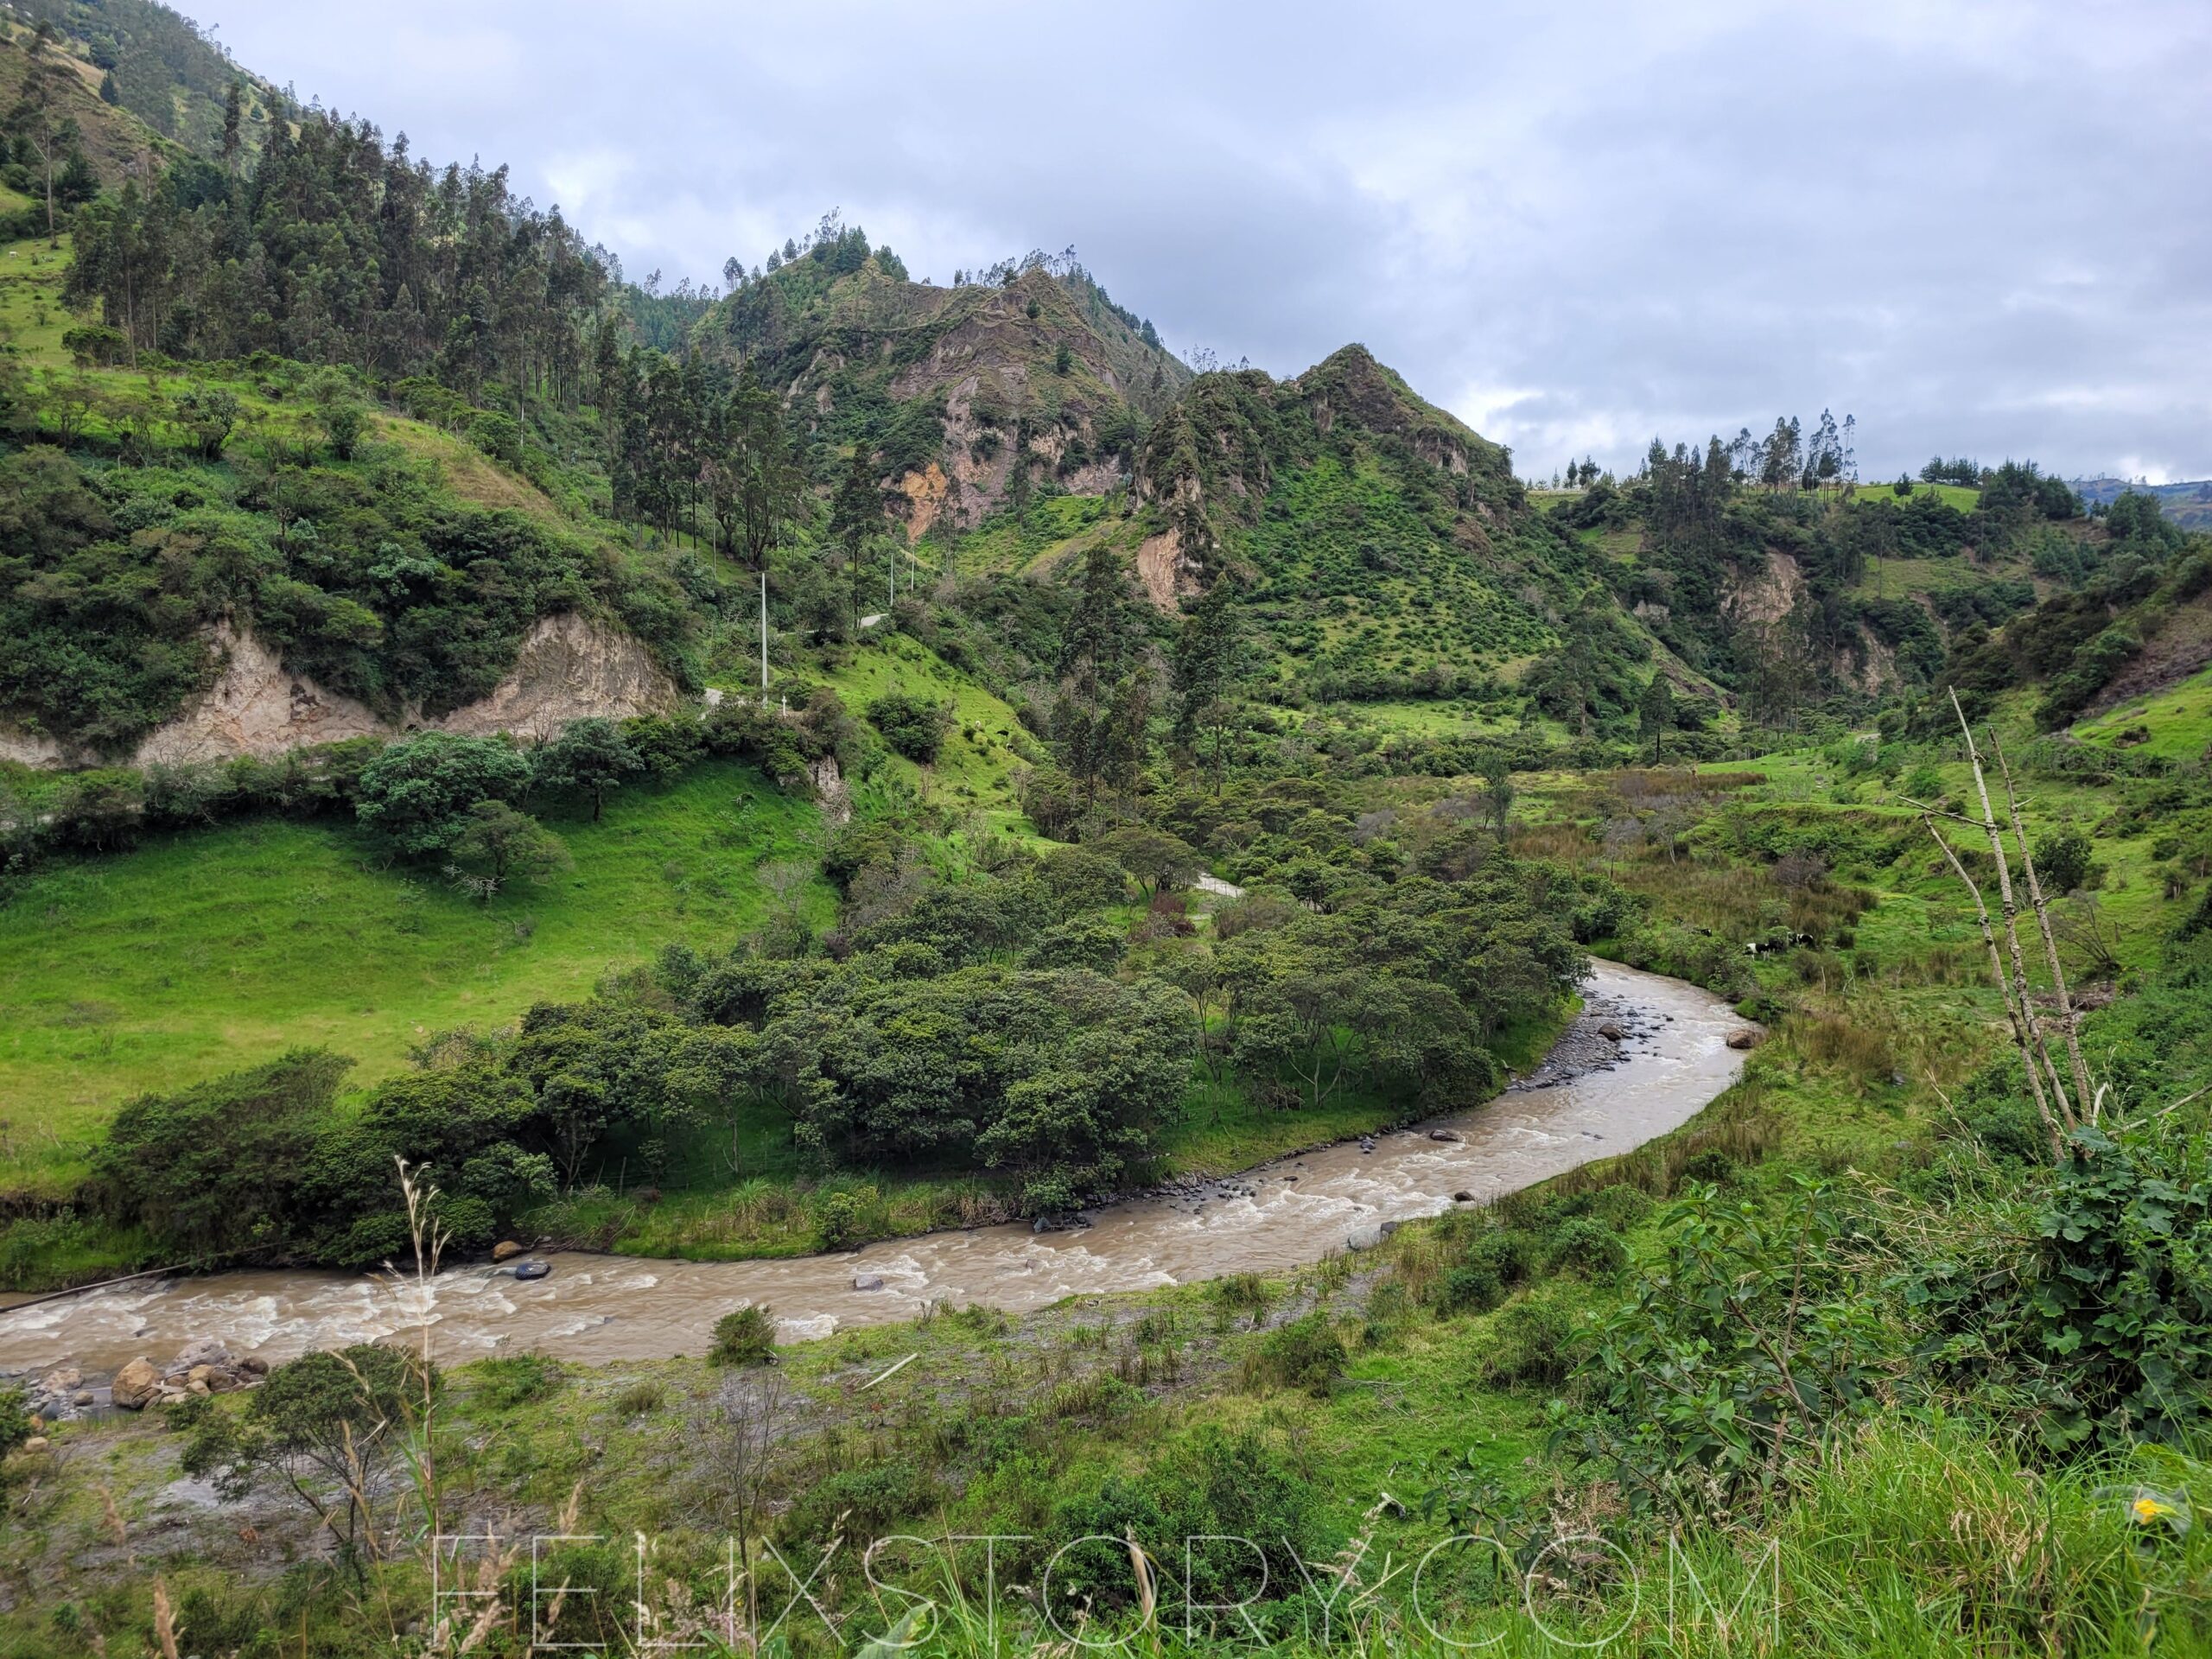
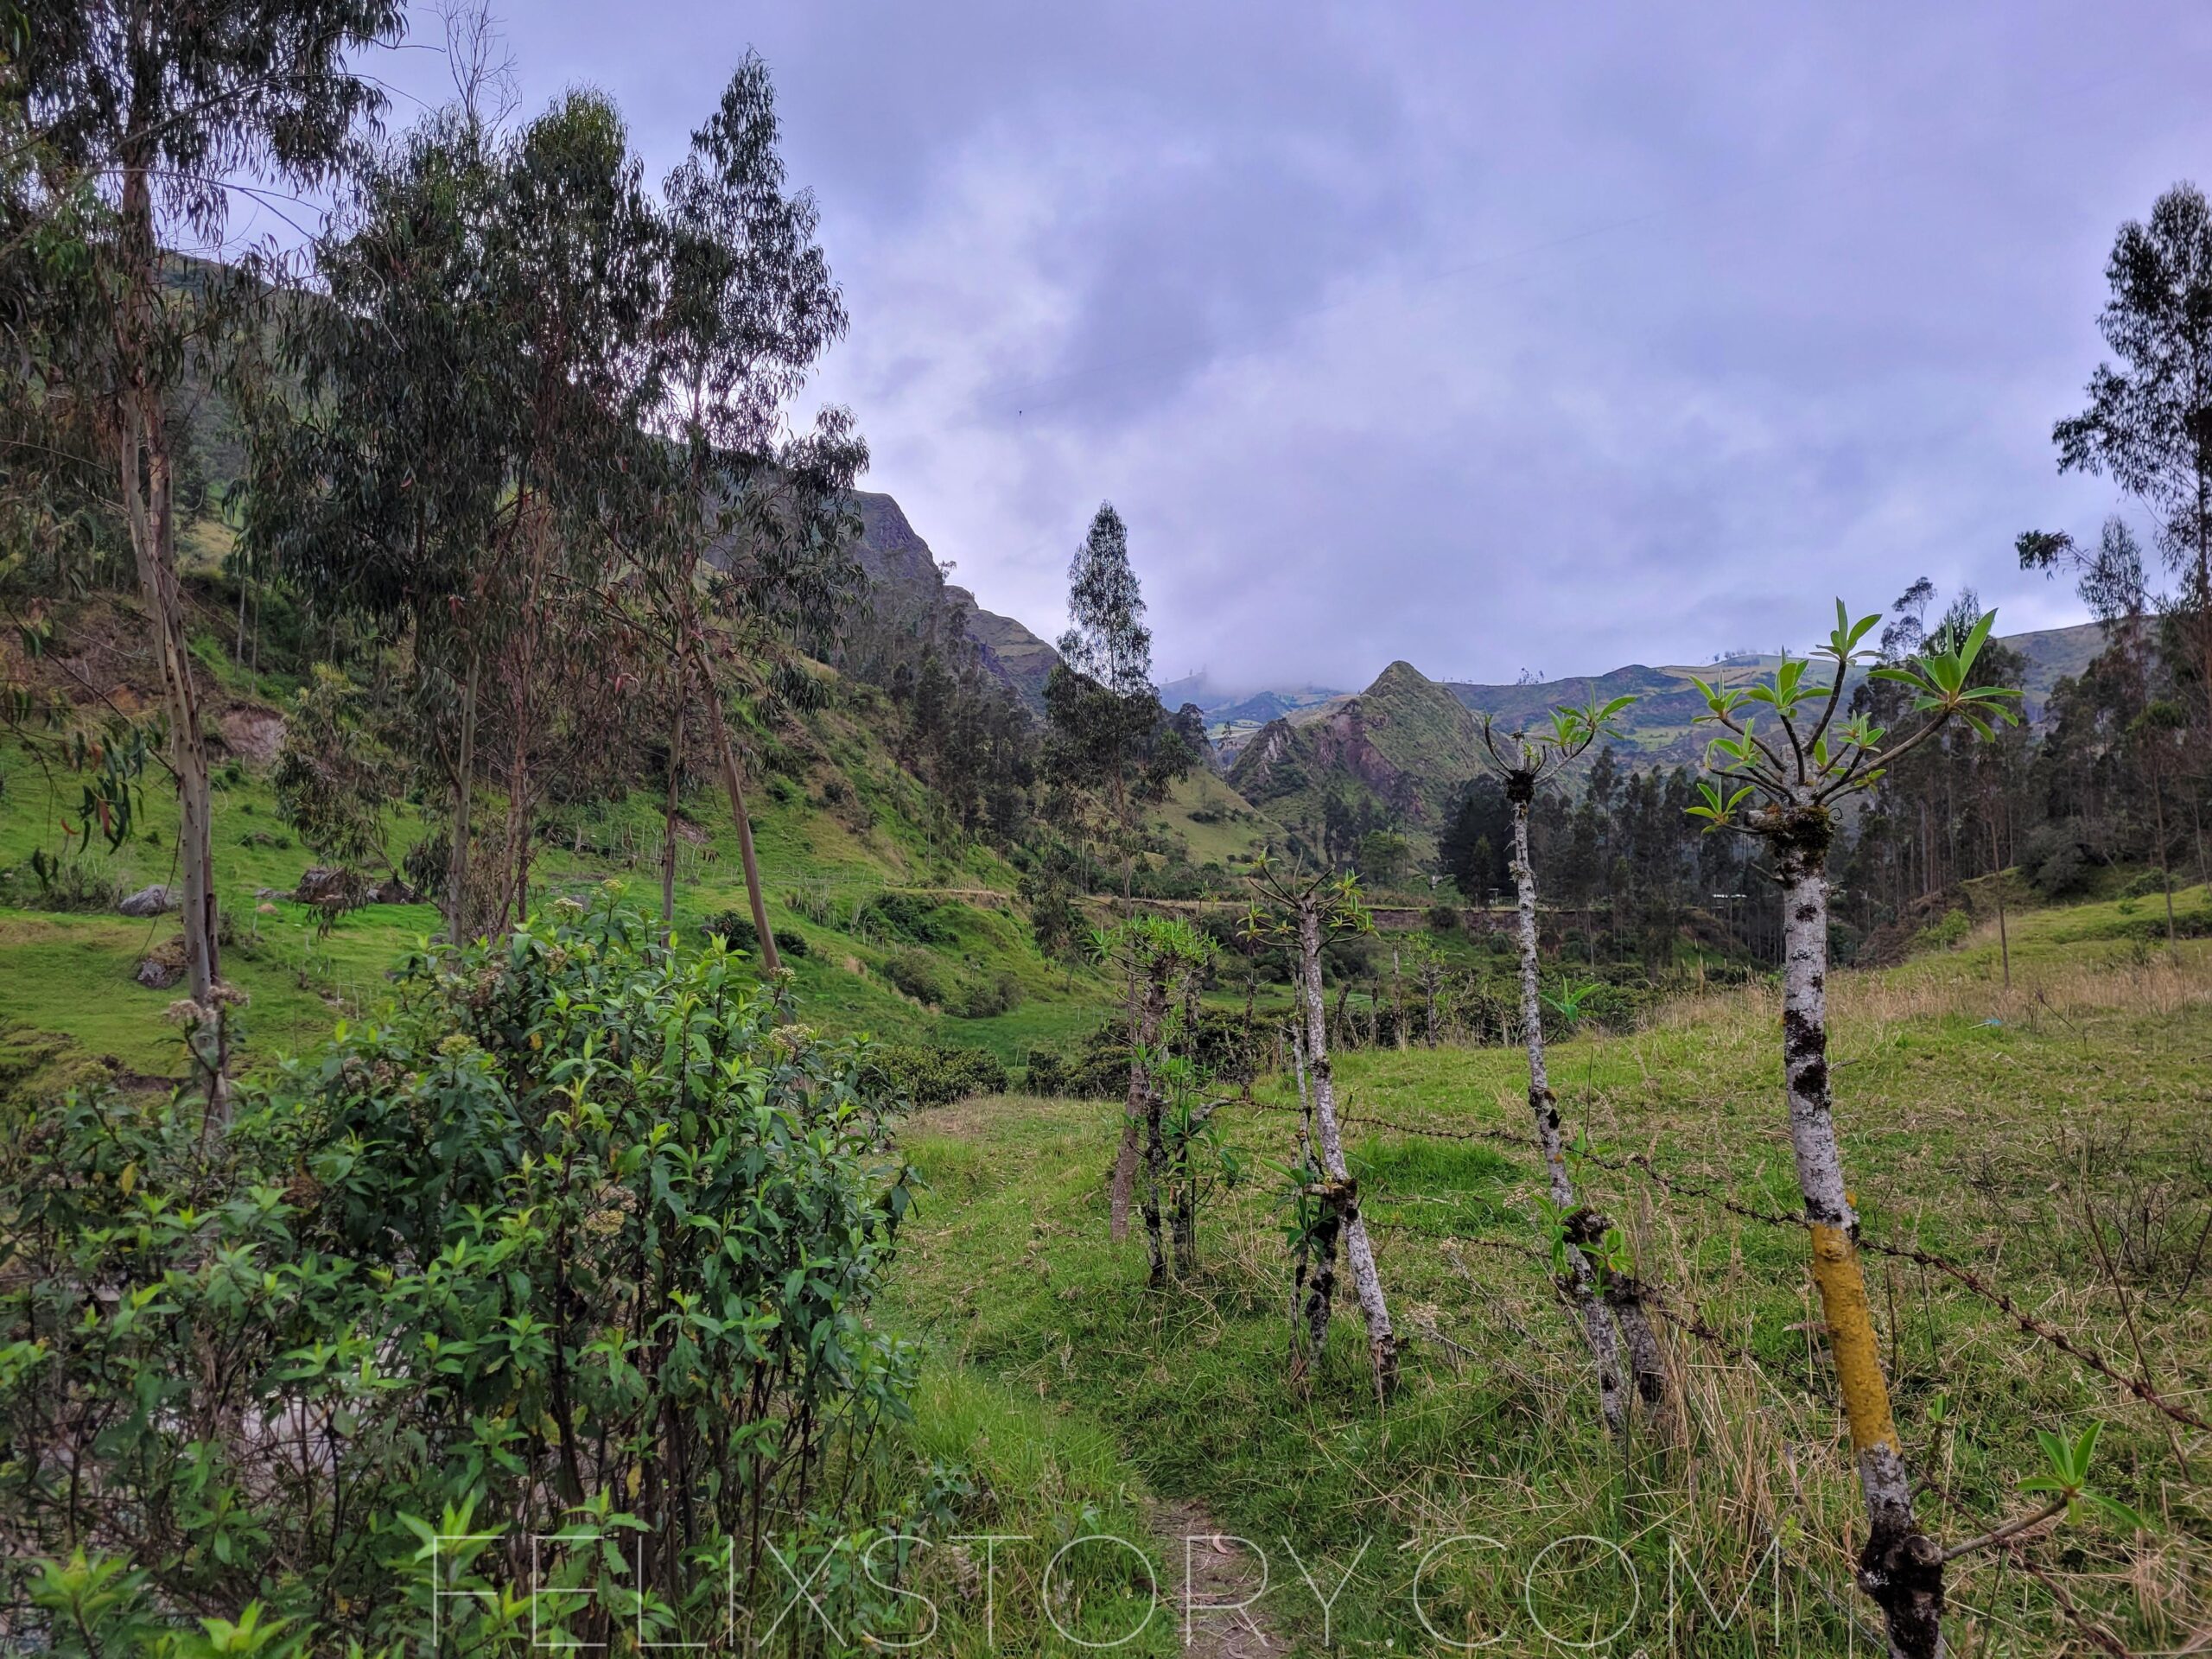
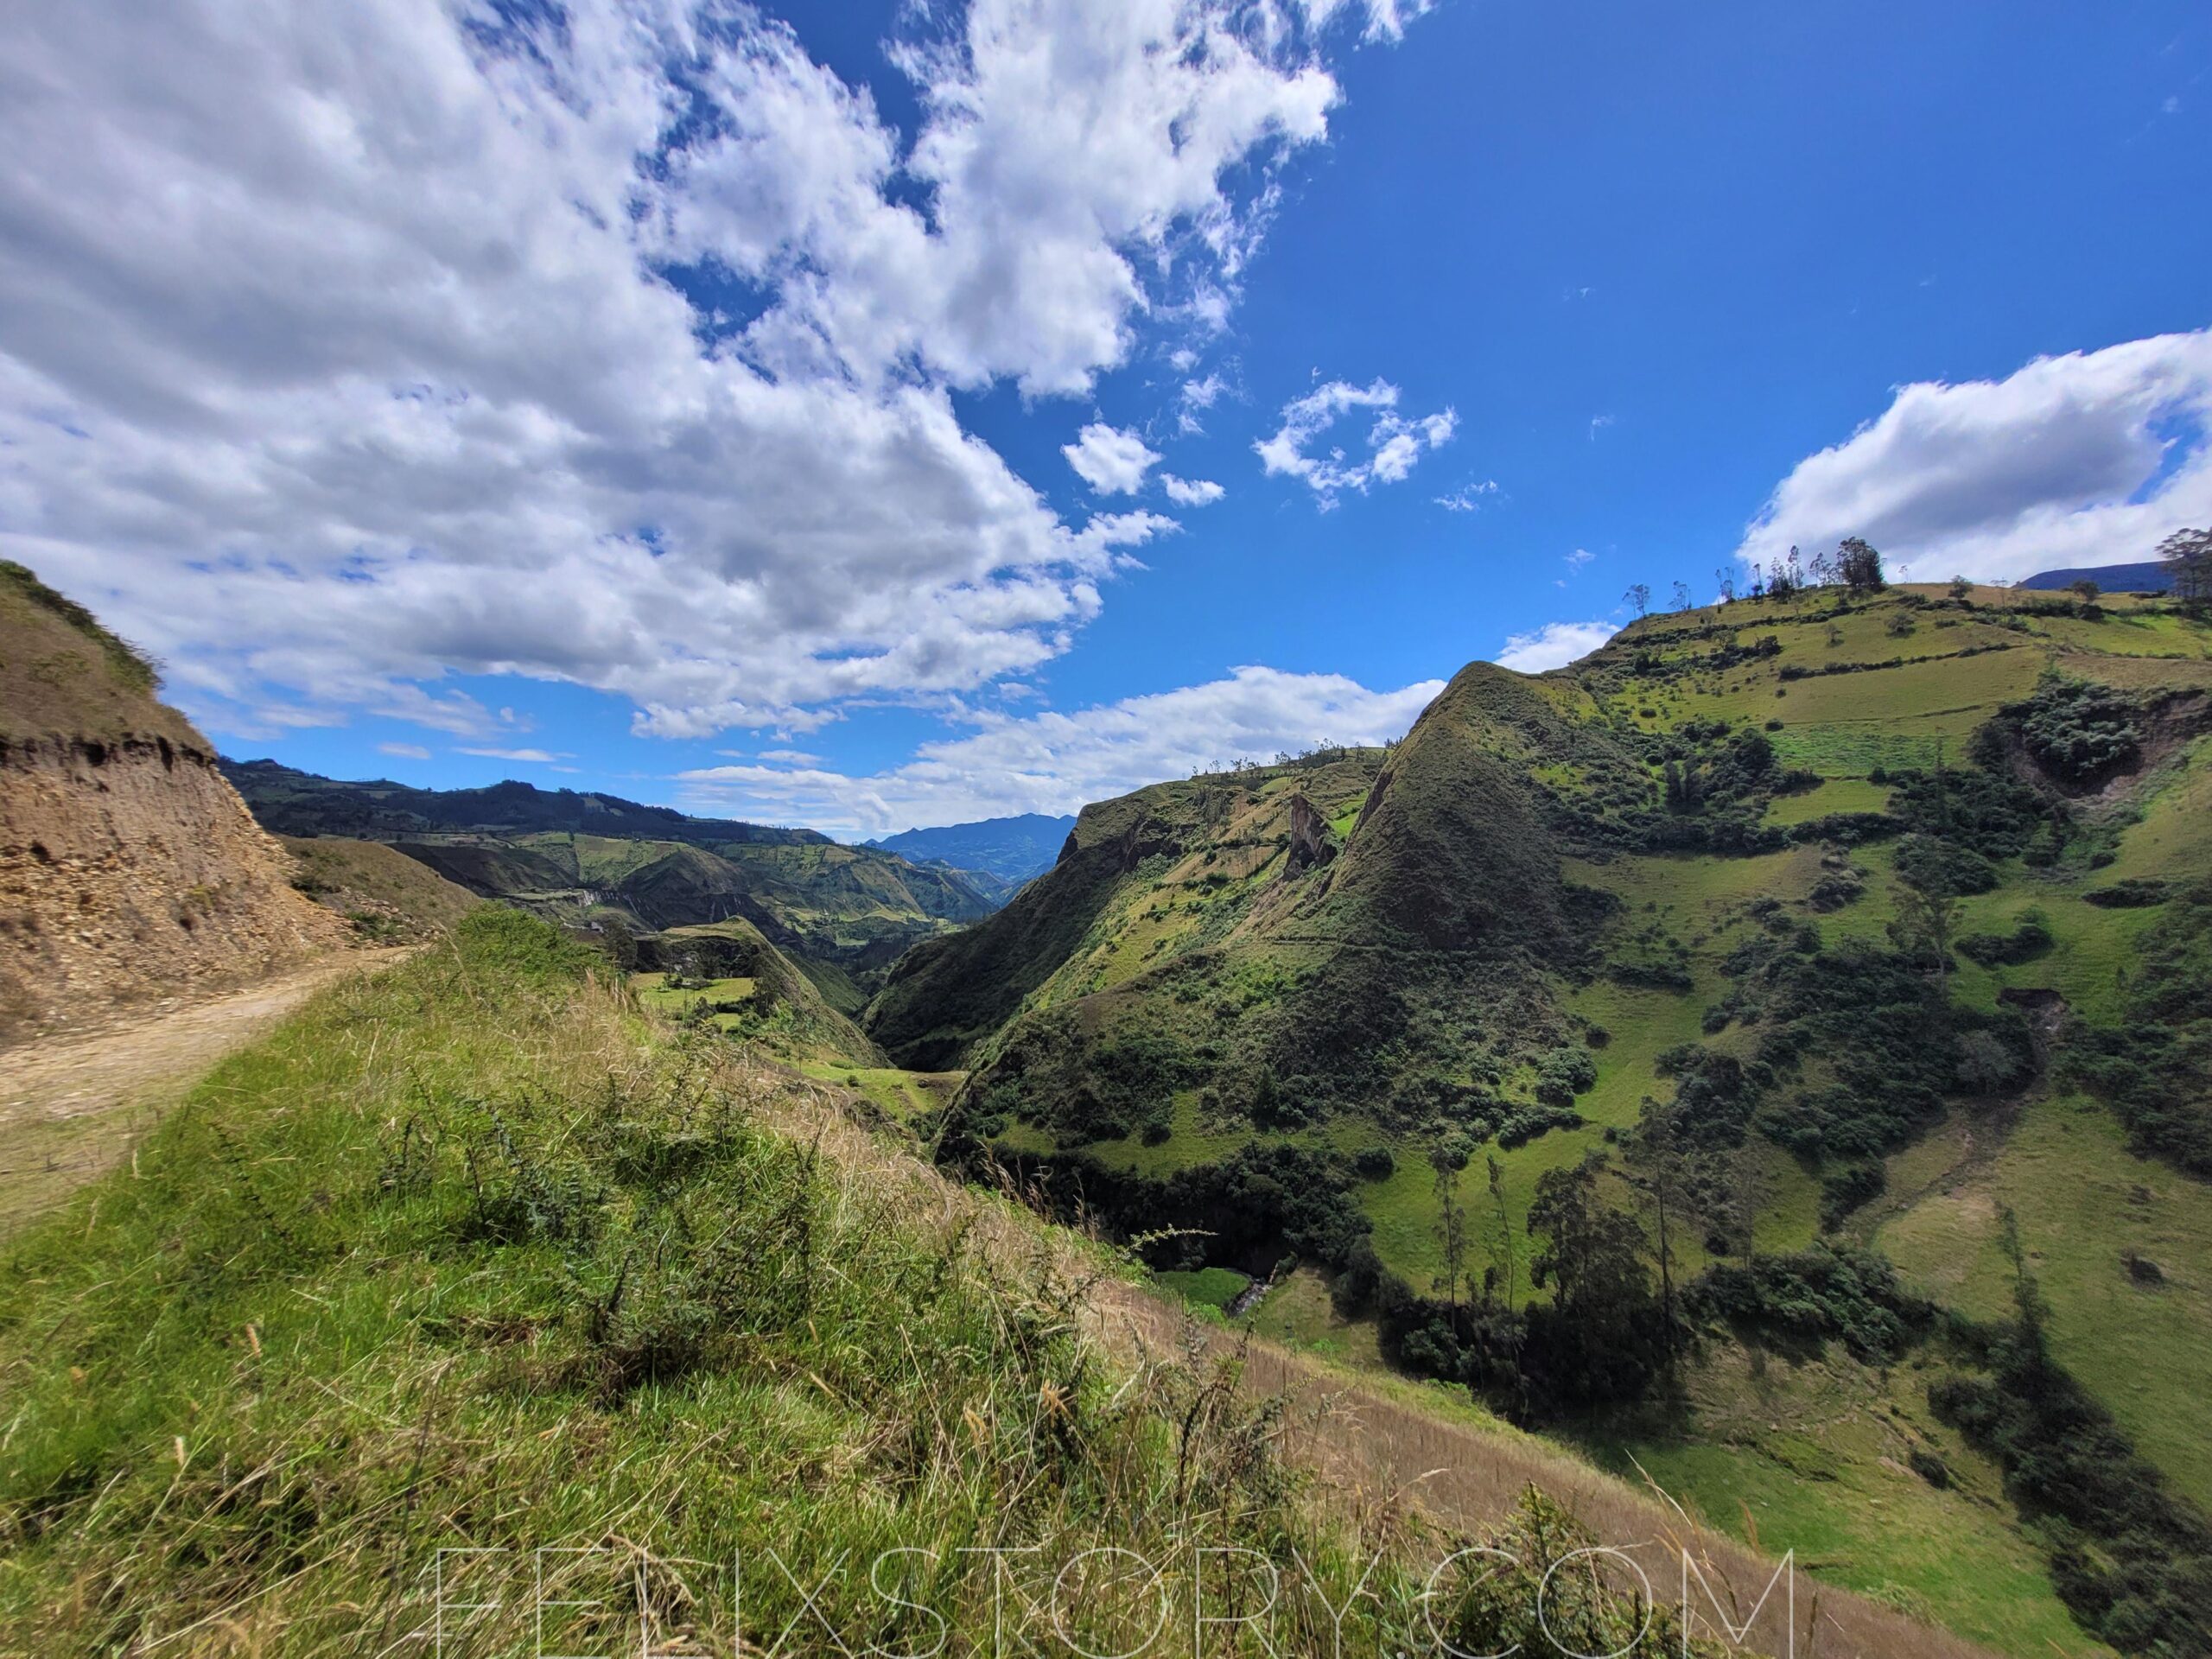
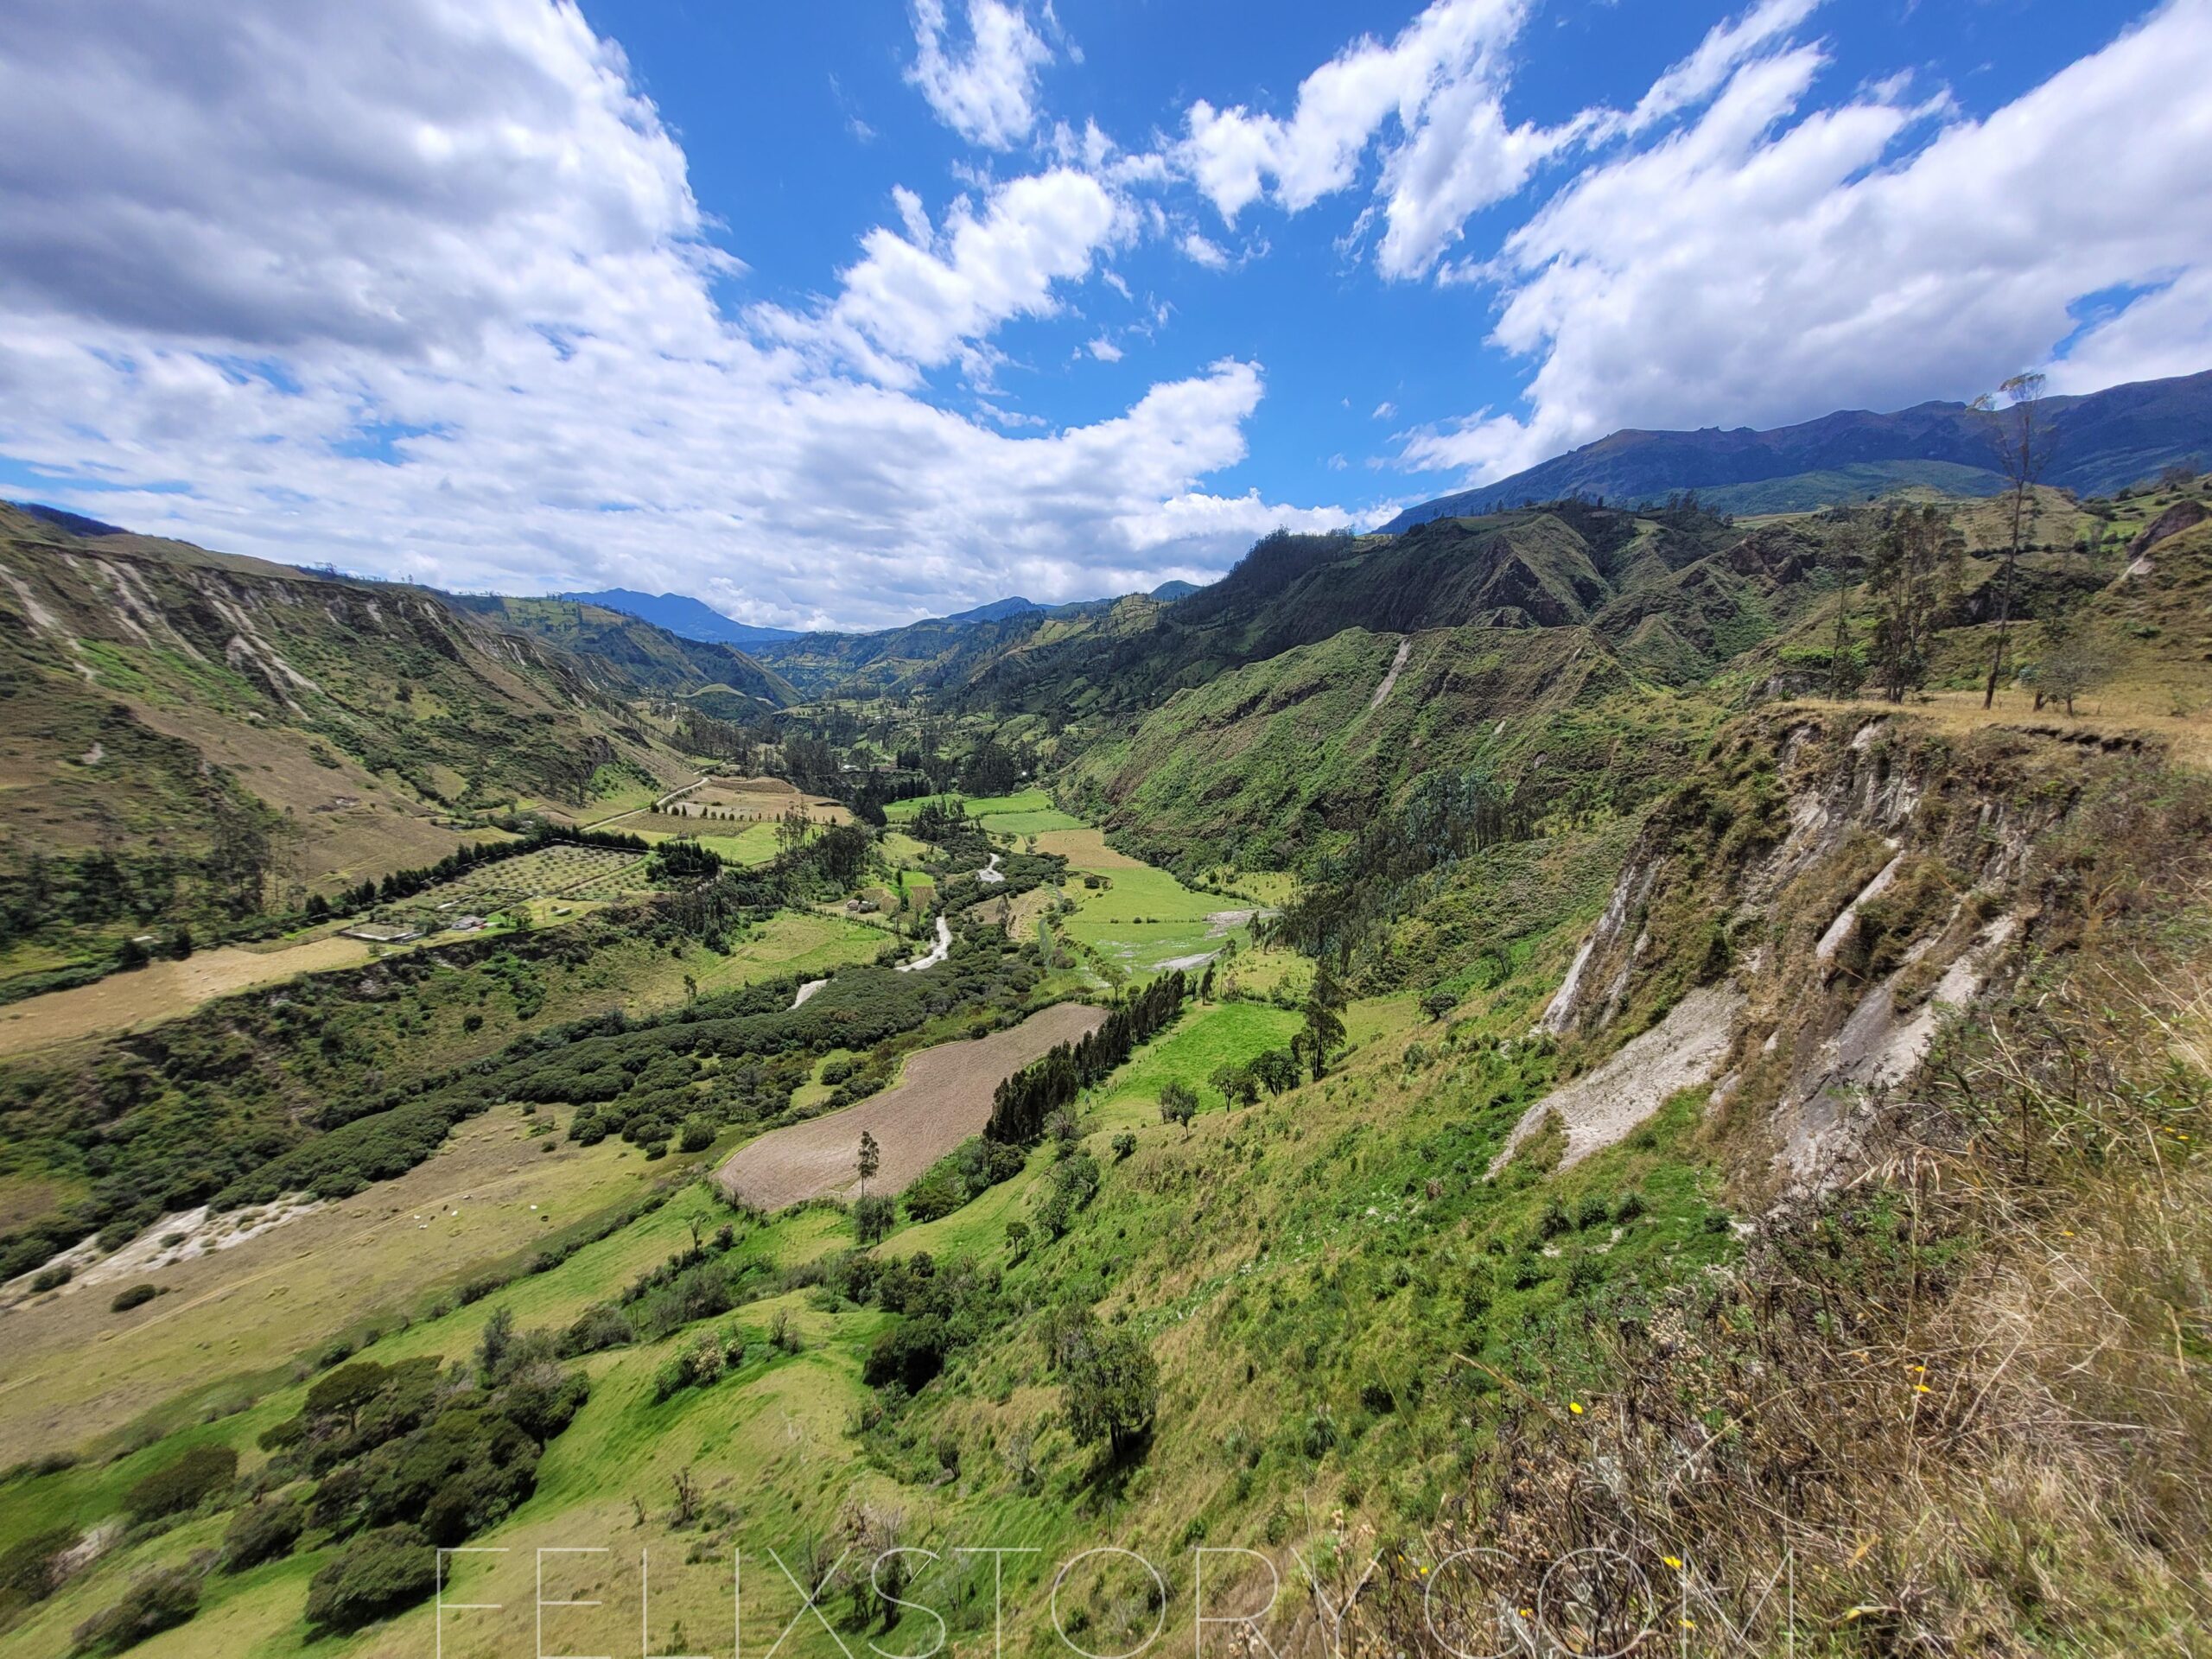
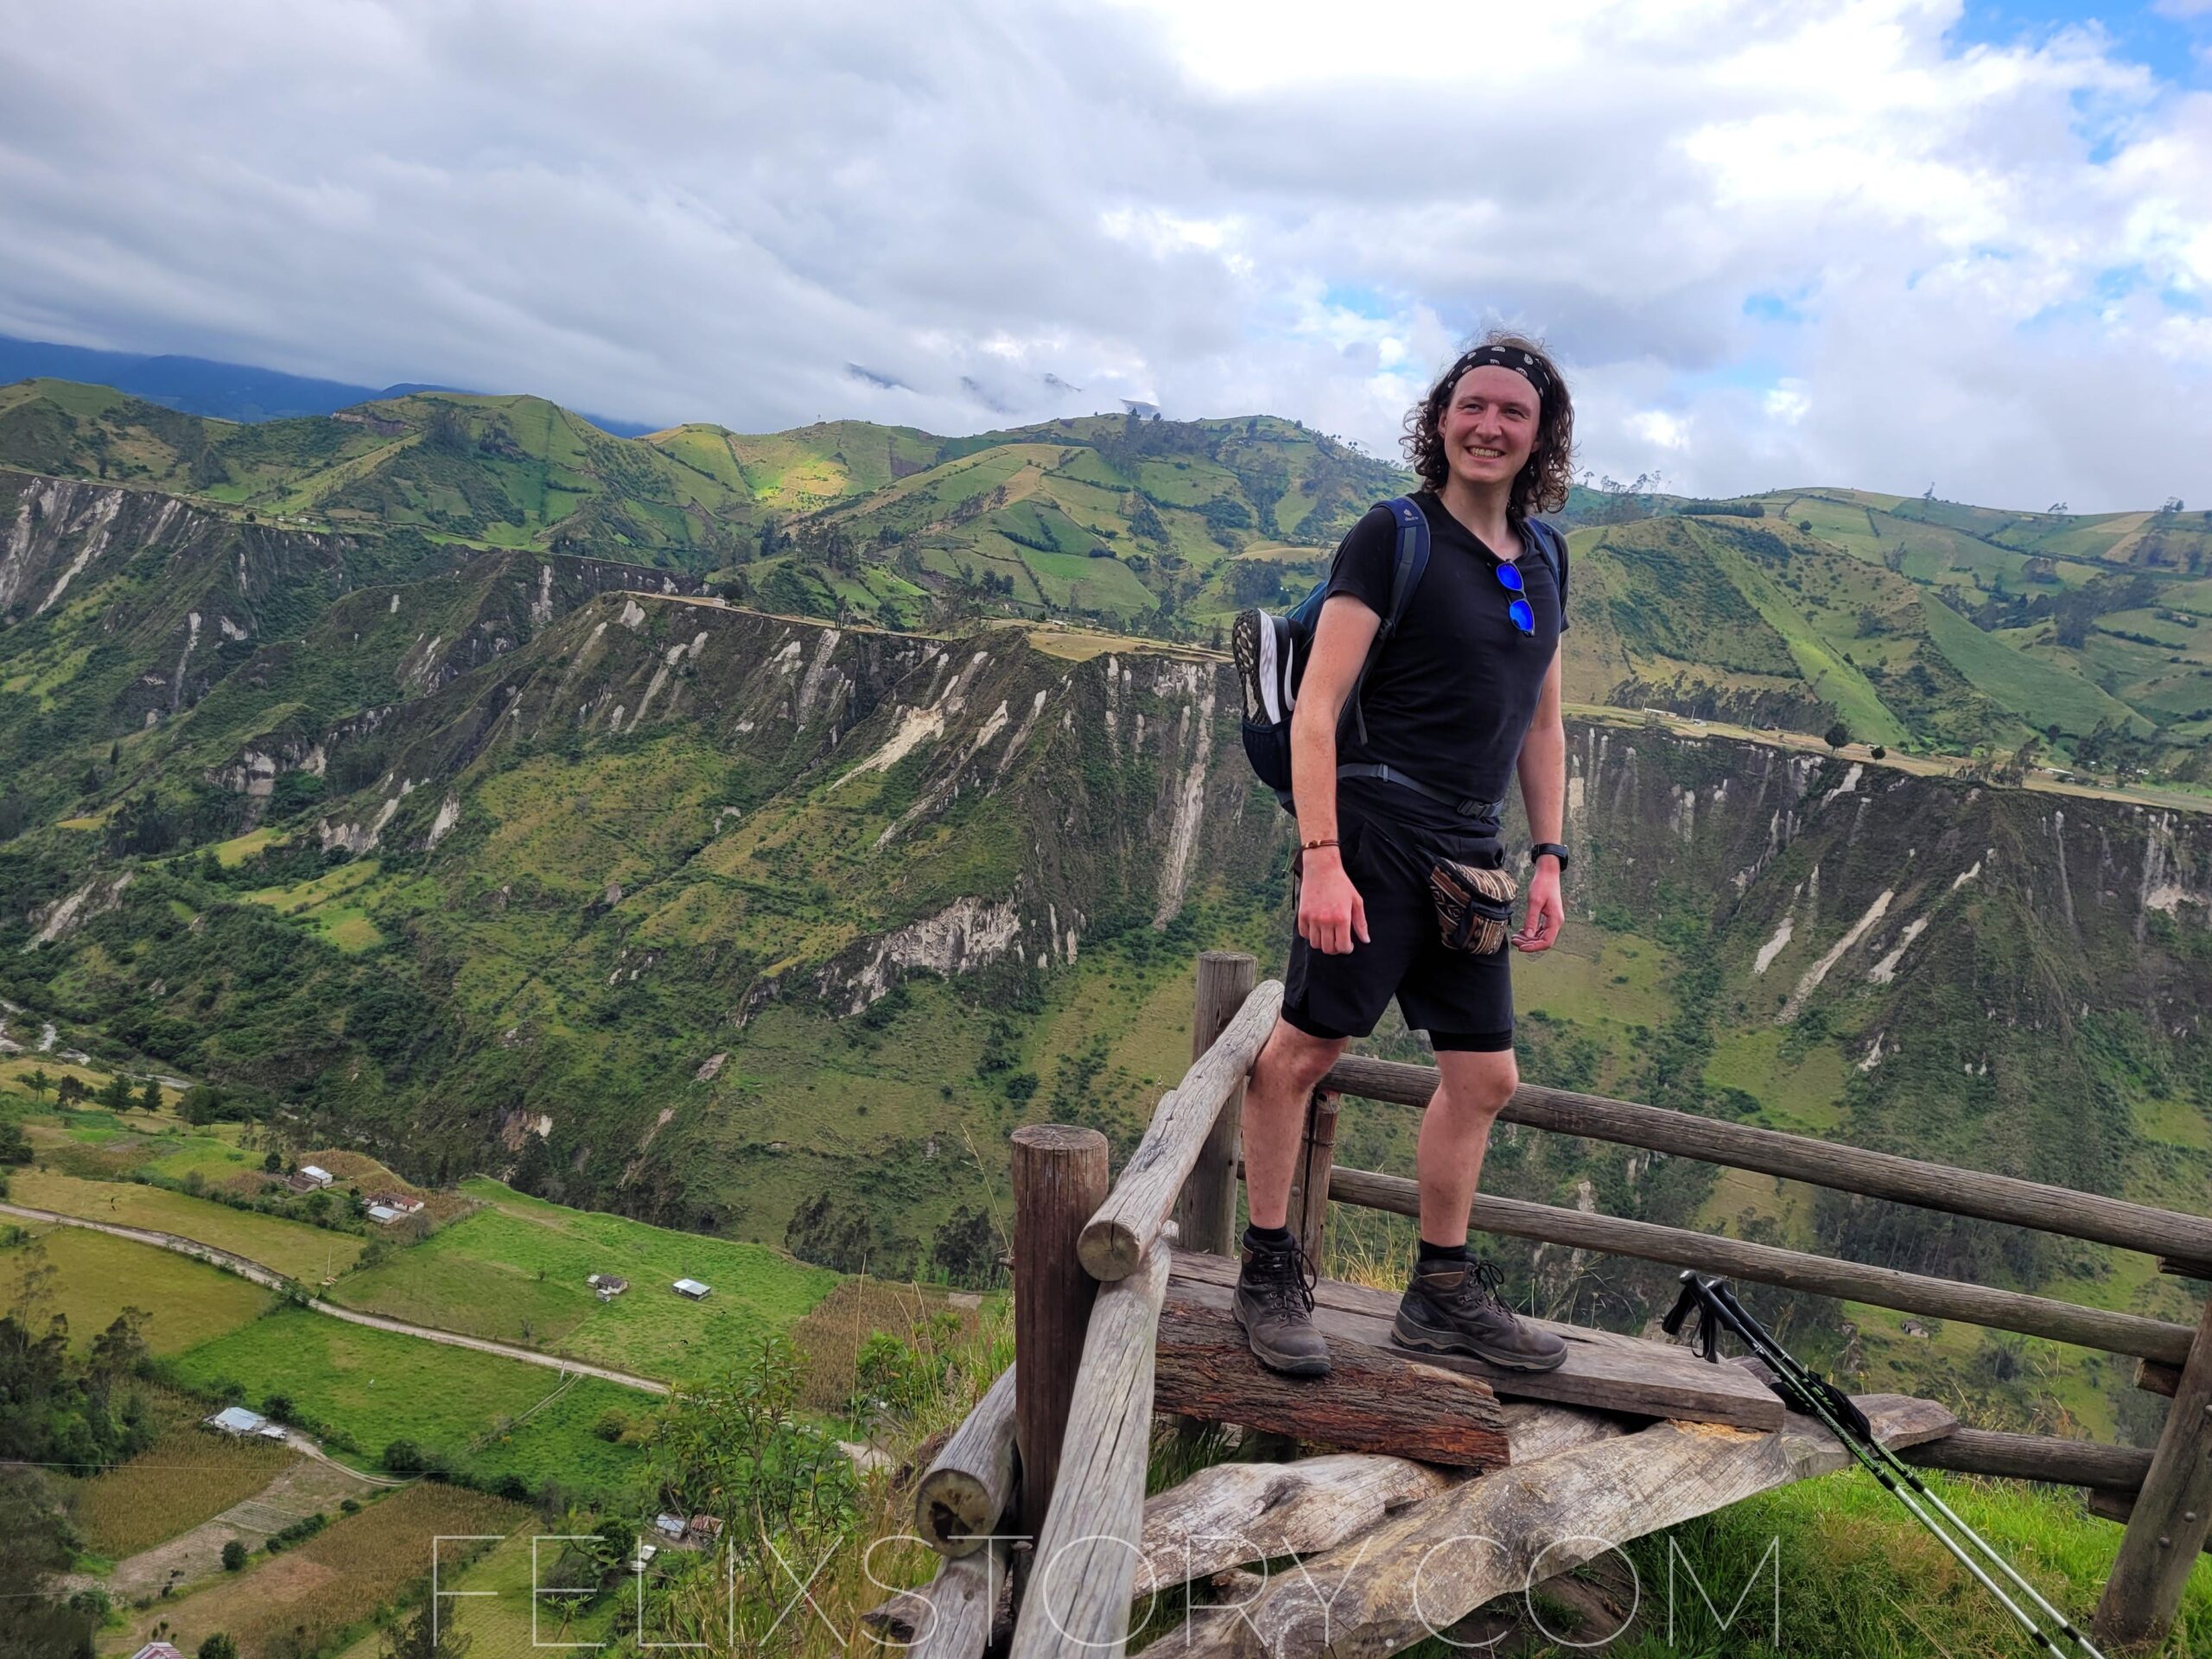
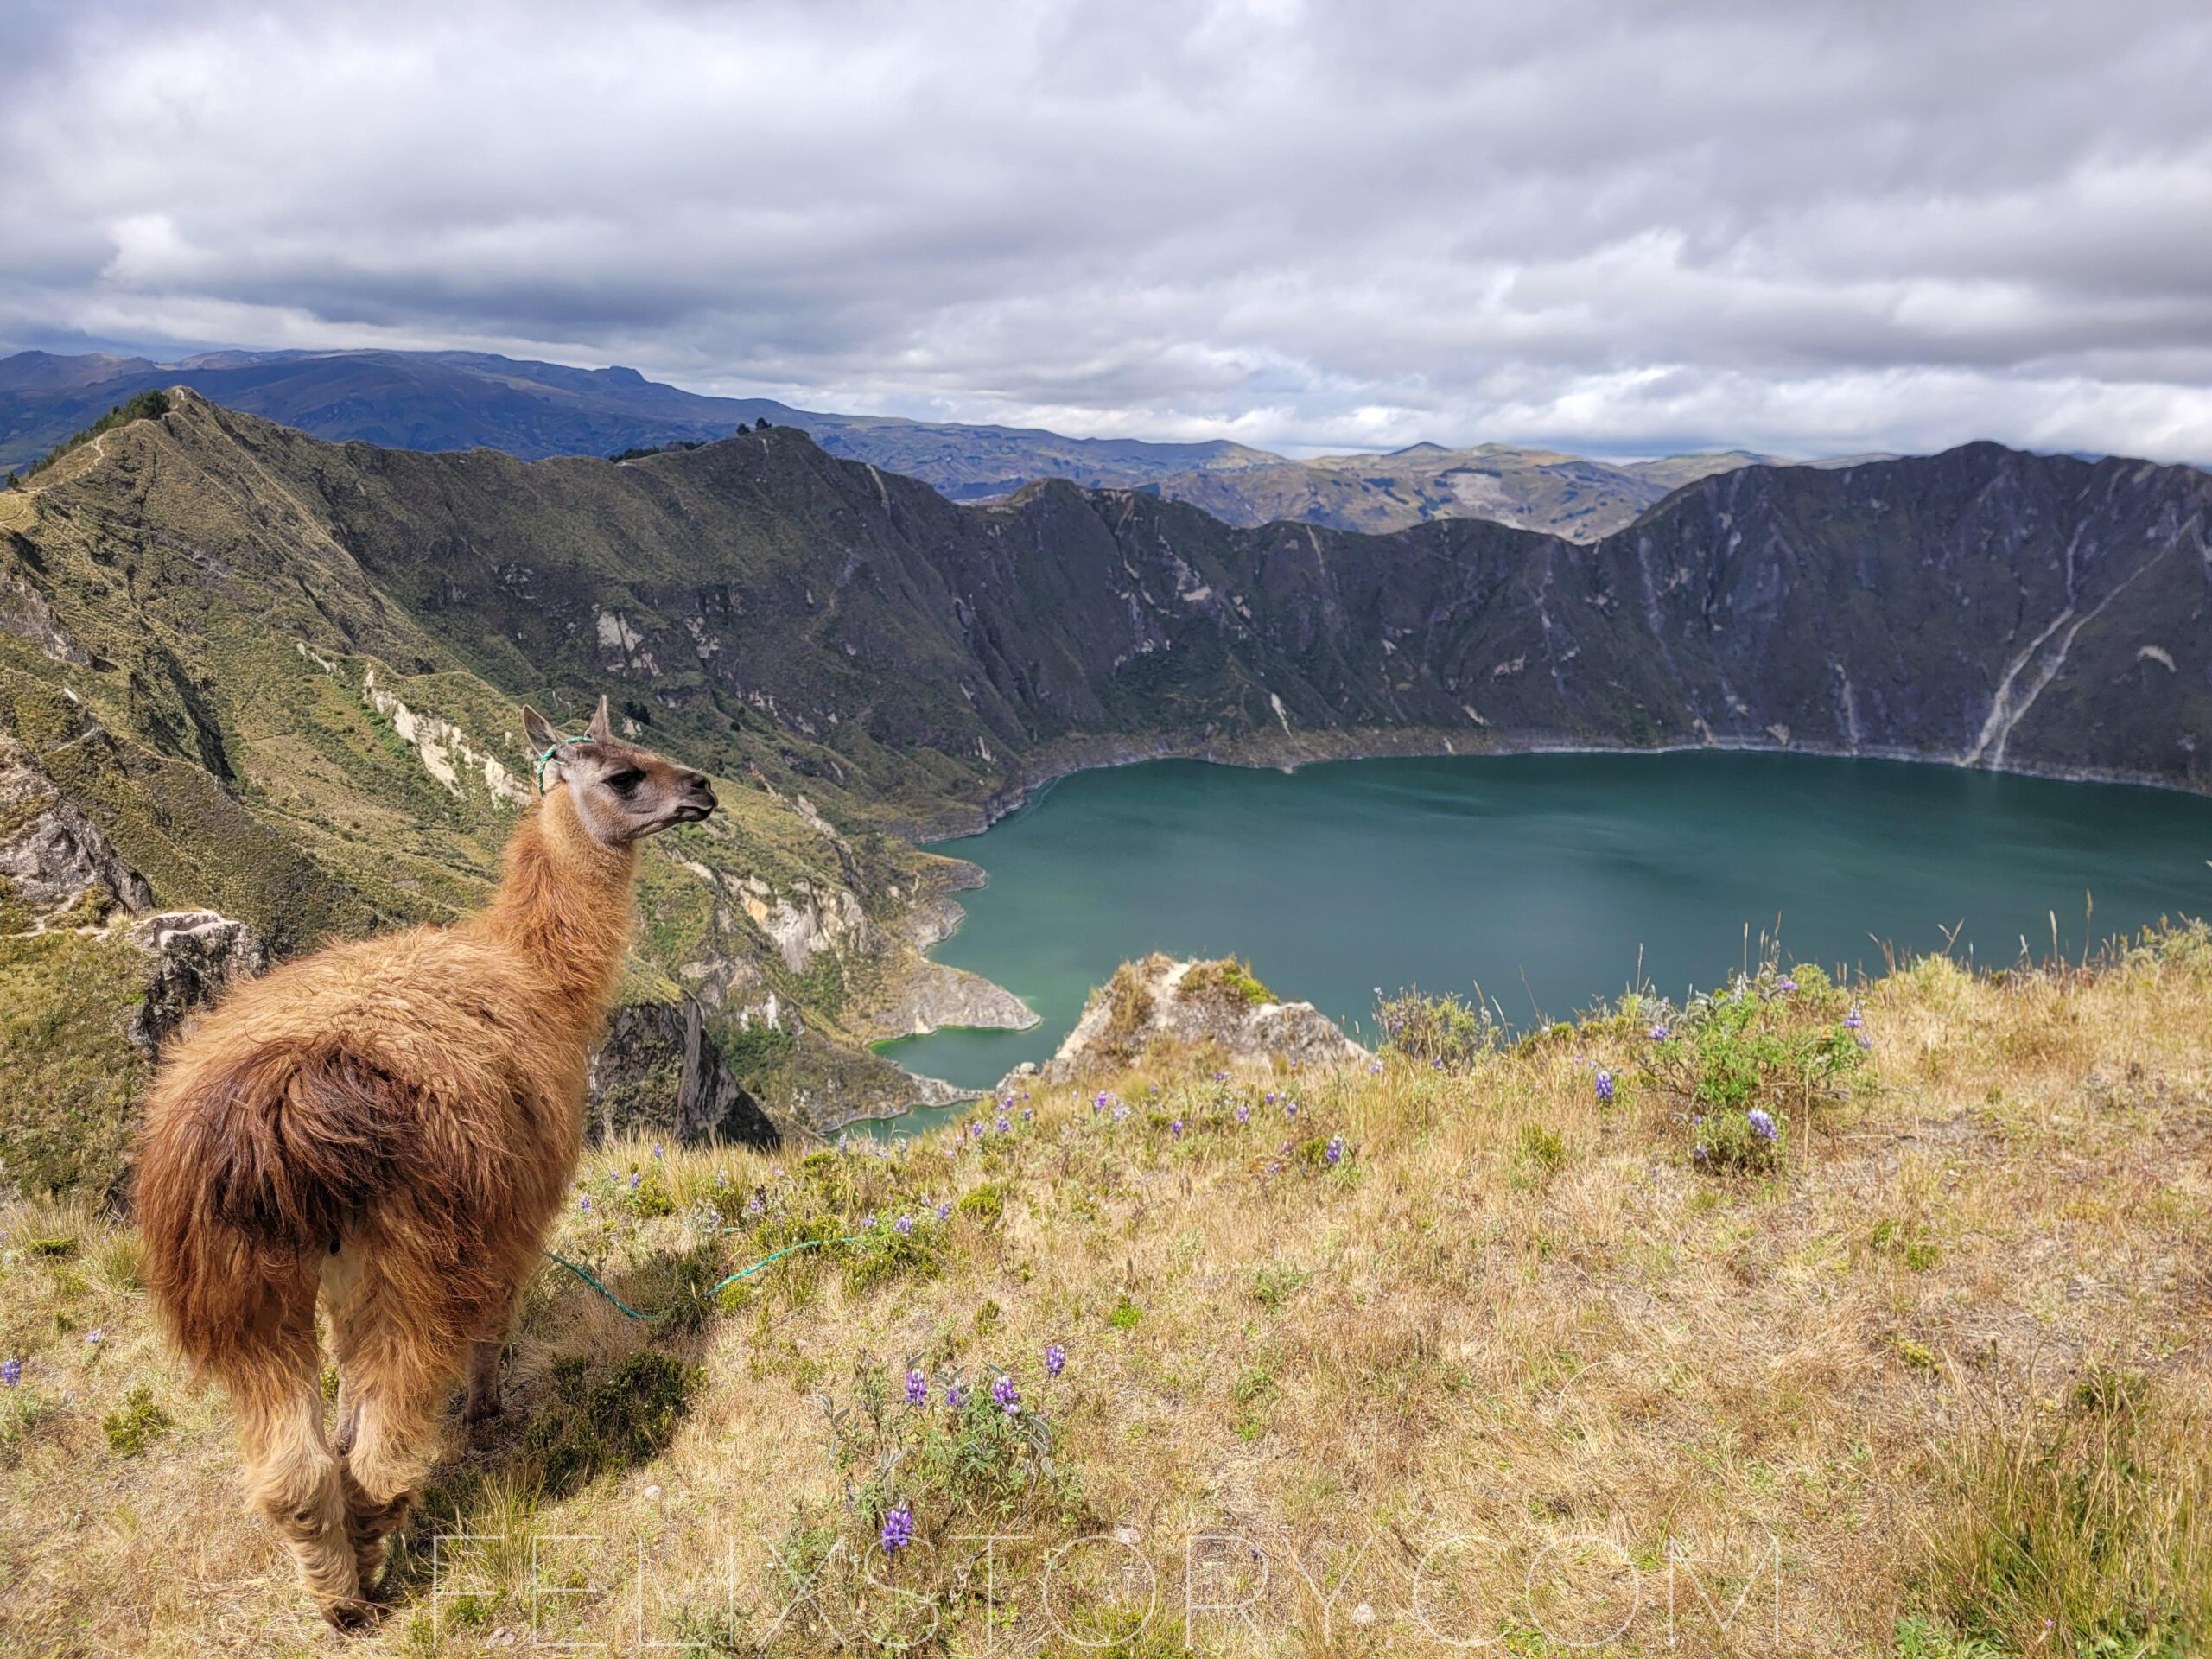
The Quilotoa Loop is most likely the best trek in Ecuador and is very beginner-friendly. You can do it in several variations. However, the most usual version is the 3 day trek from the small village of Sigchos to the Quilotoa Crater Lake, the marvel of the Ecuadorian Andes. Personally, hiking the Quilotoa Loop was my greatest highlight in Ecuador. I haven’t met anyone doing this trek with an agency, it is usually done independently, which makes sense due to its simplicity. The daily distance is relatively small with less than 12 km per day and there is great accommodation along the way. The great thing is that the places I’m going to recommend you include breakfast and dinner.

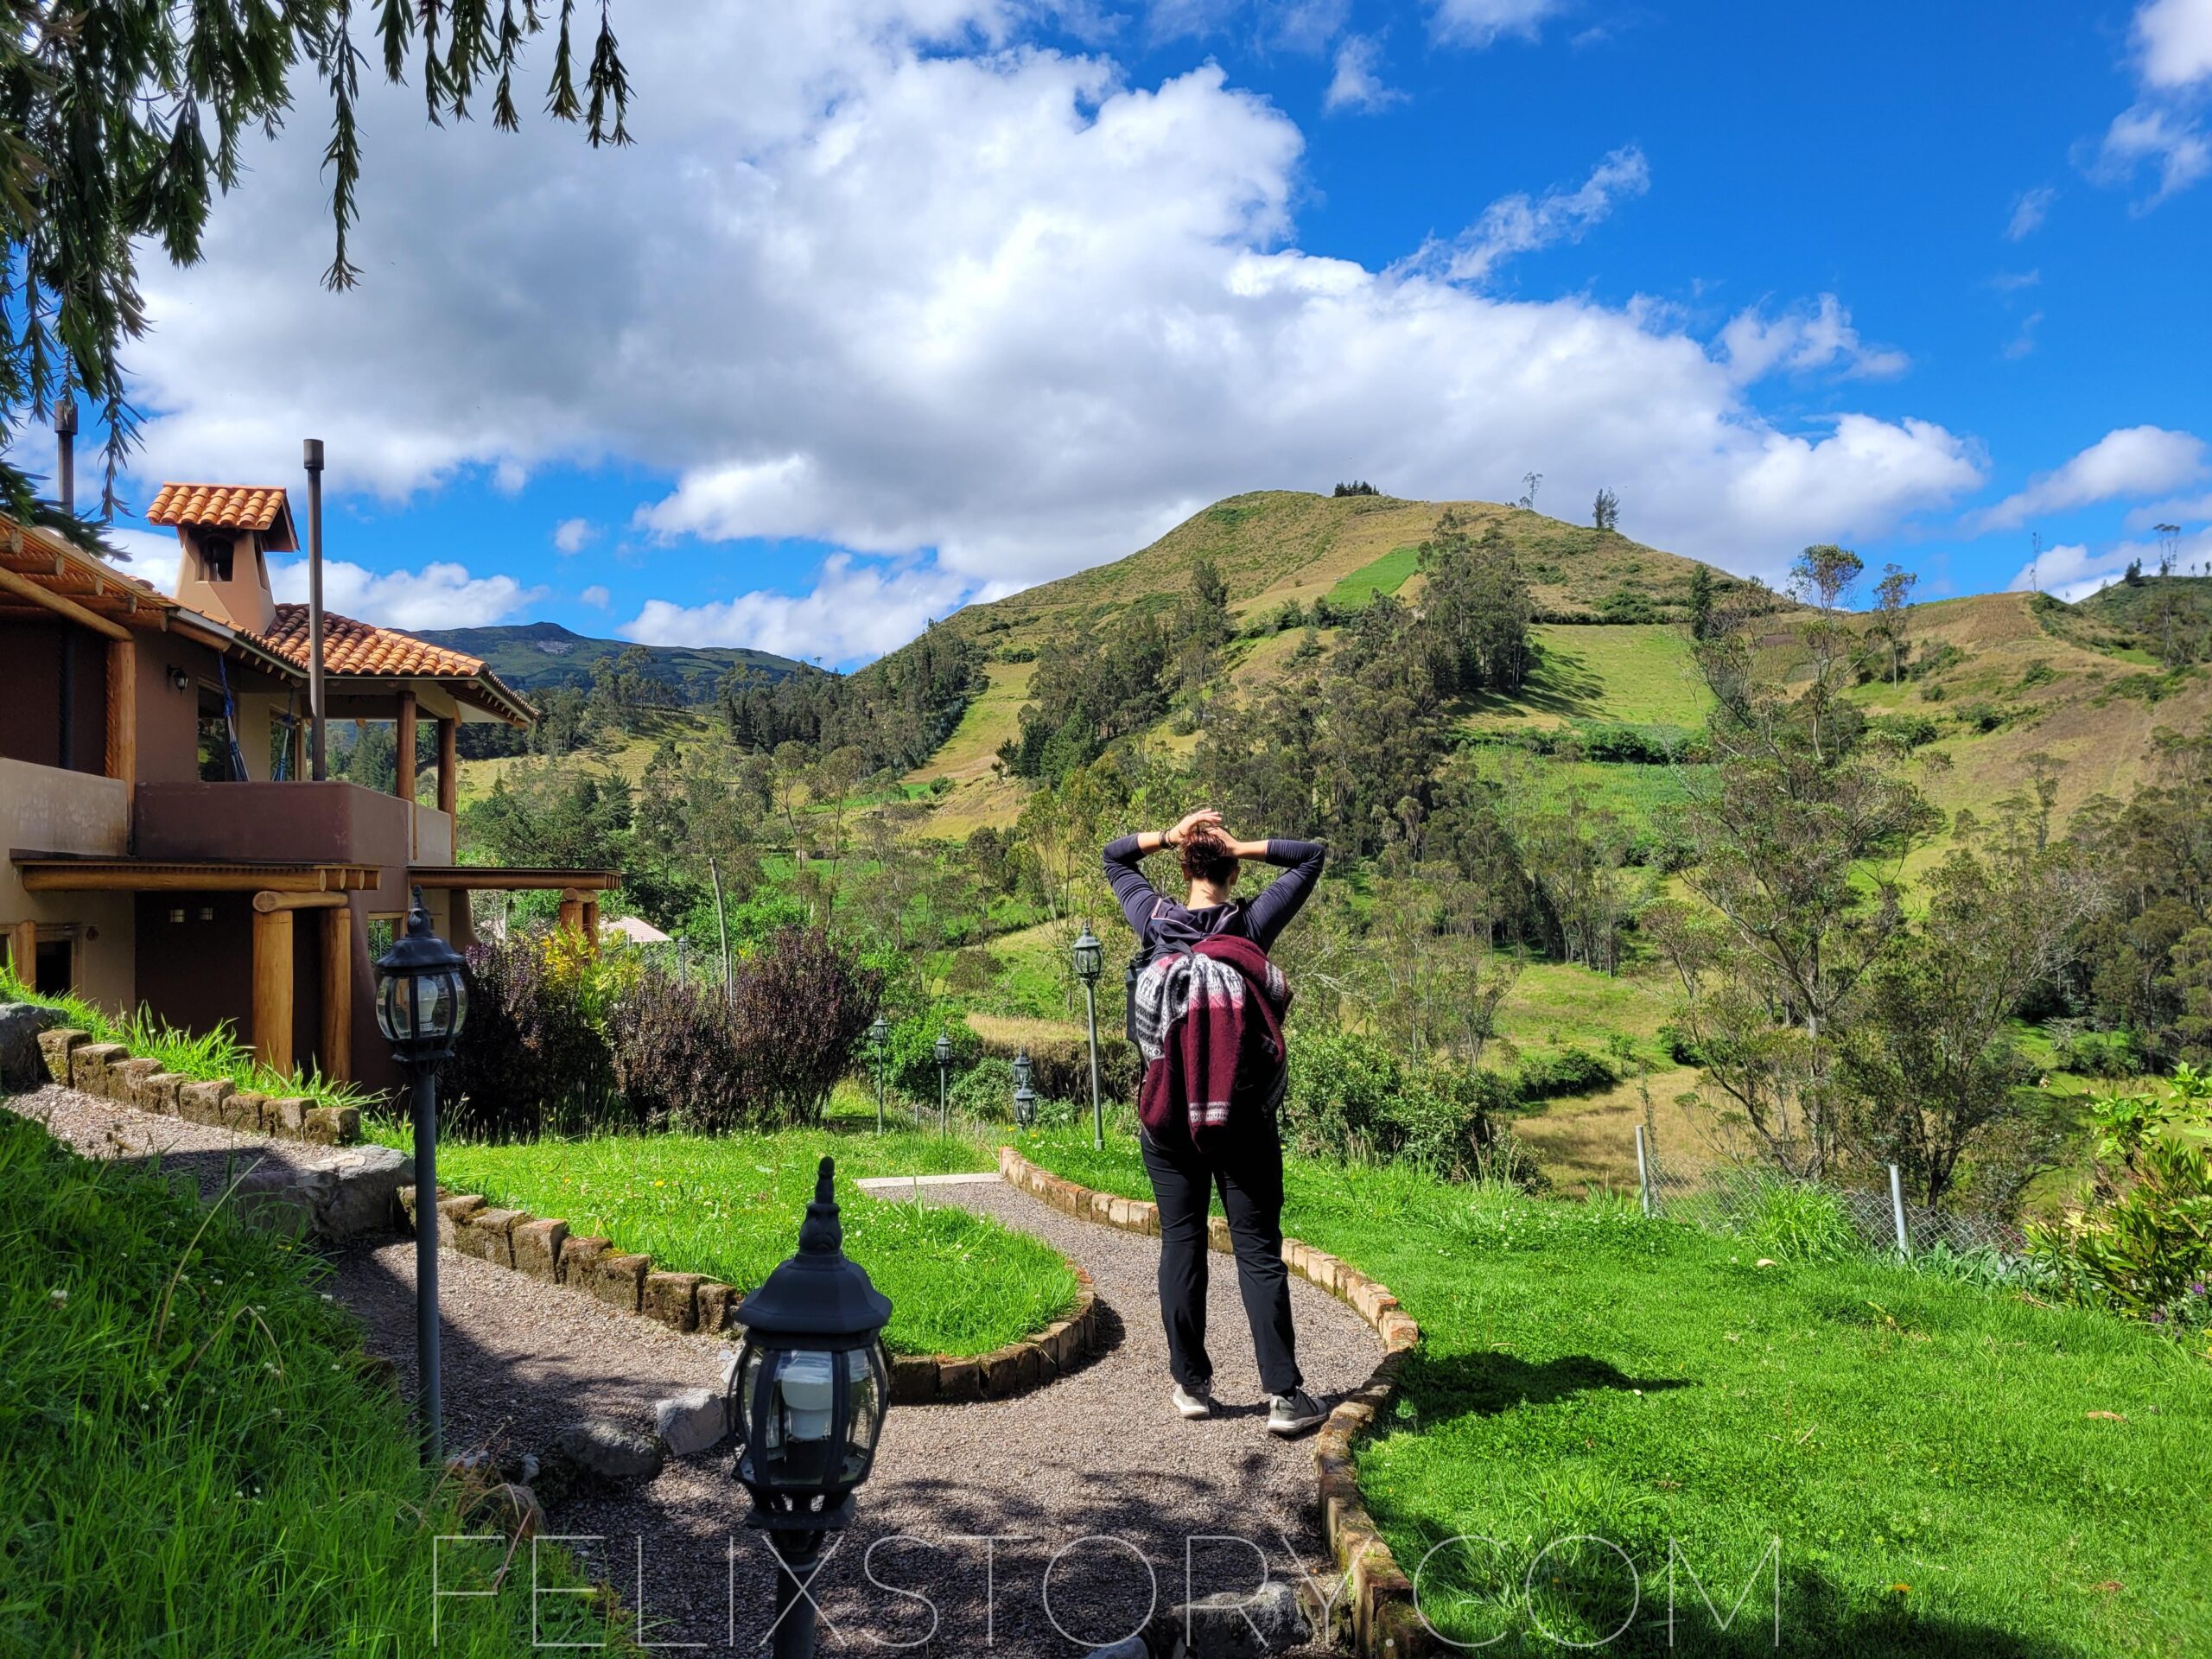
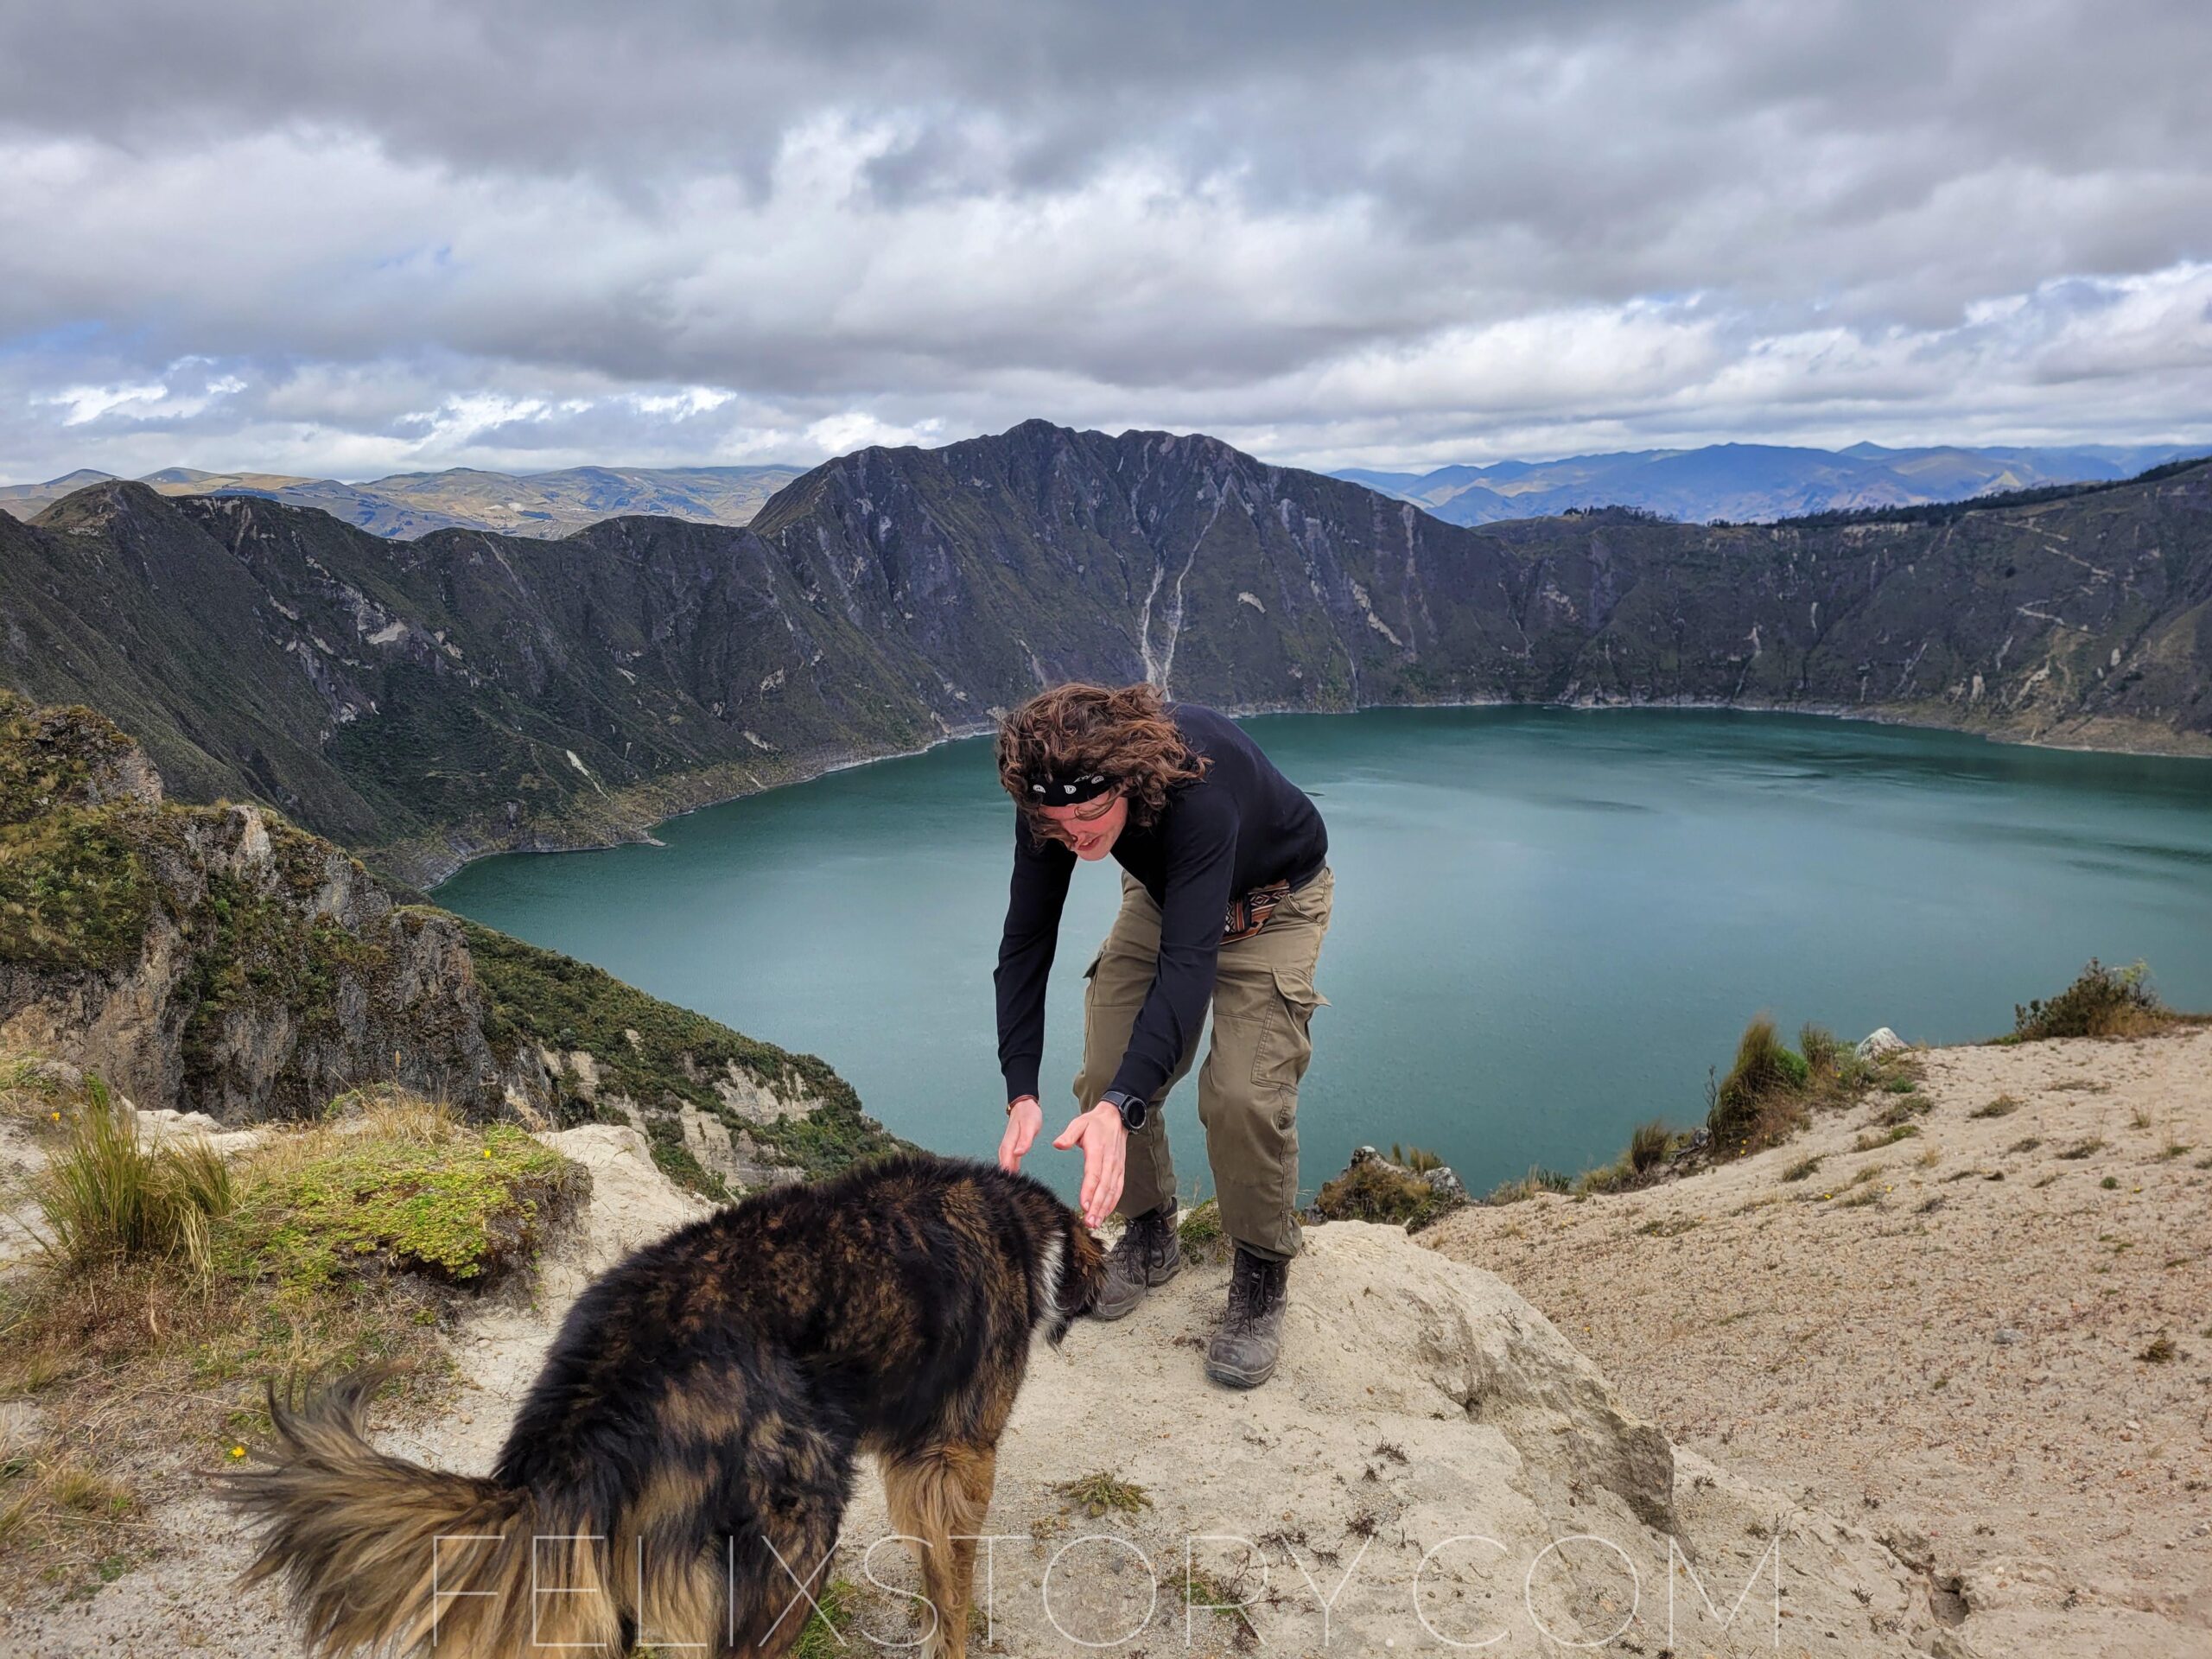
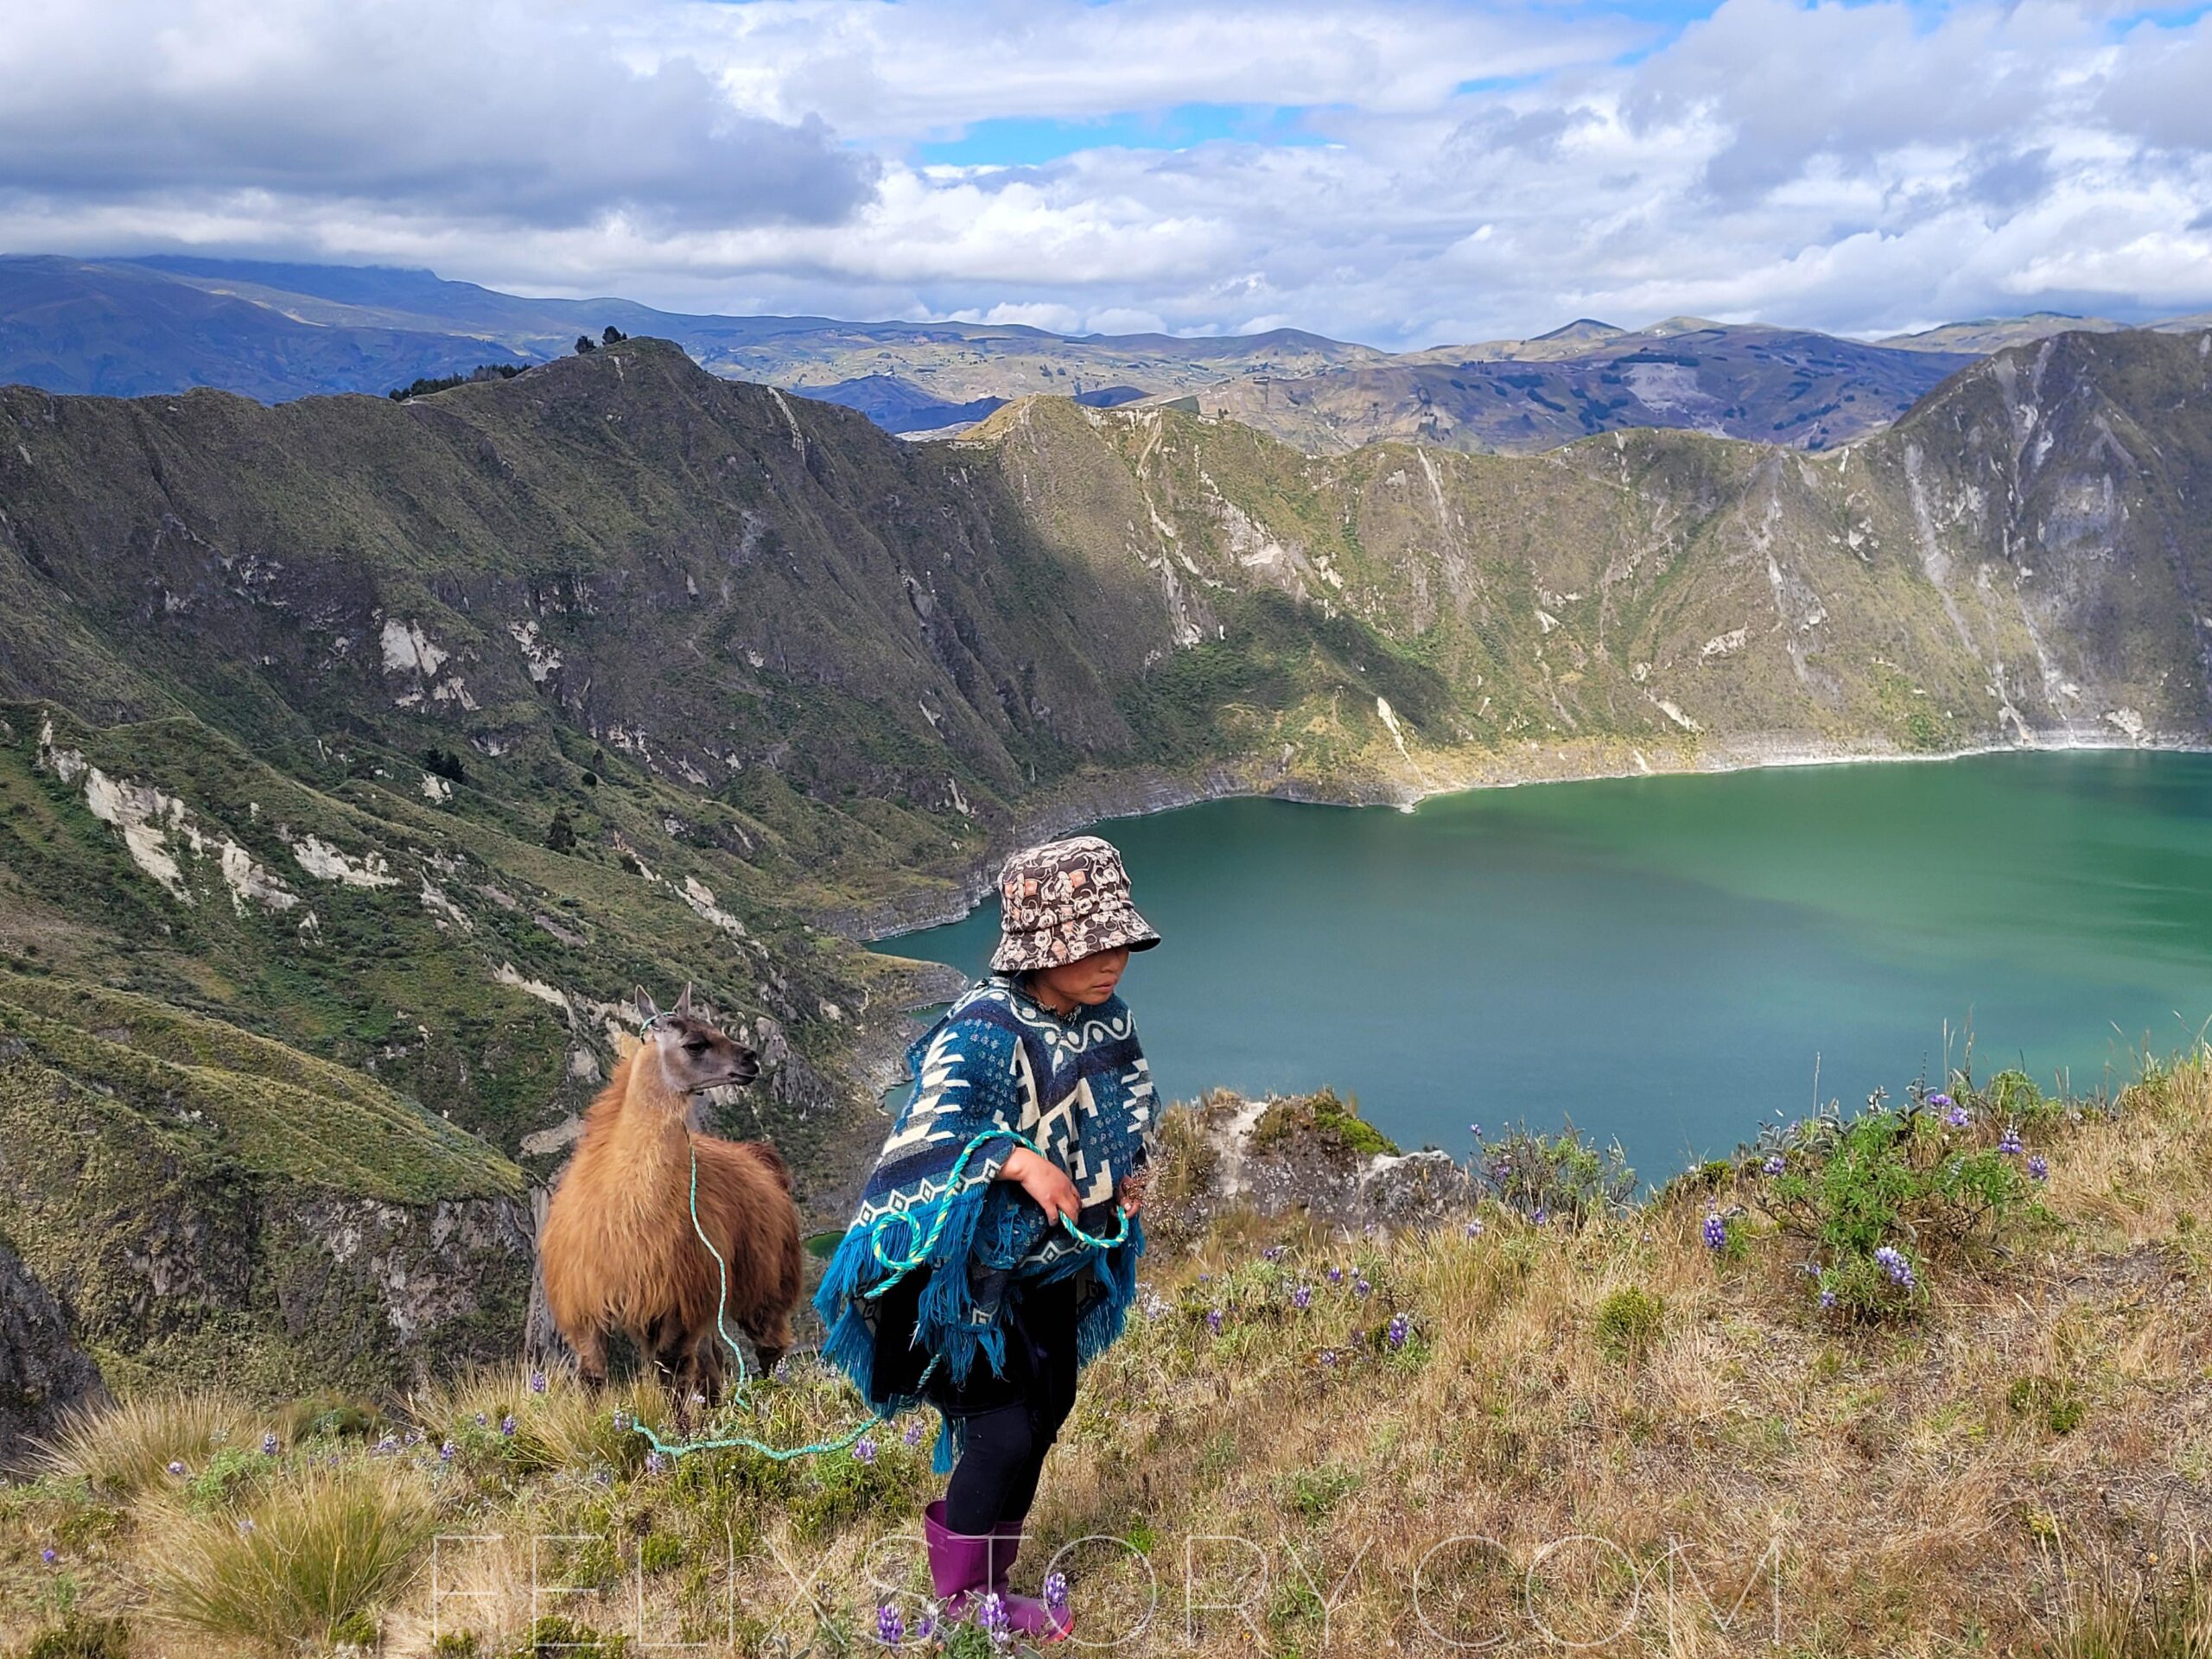
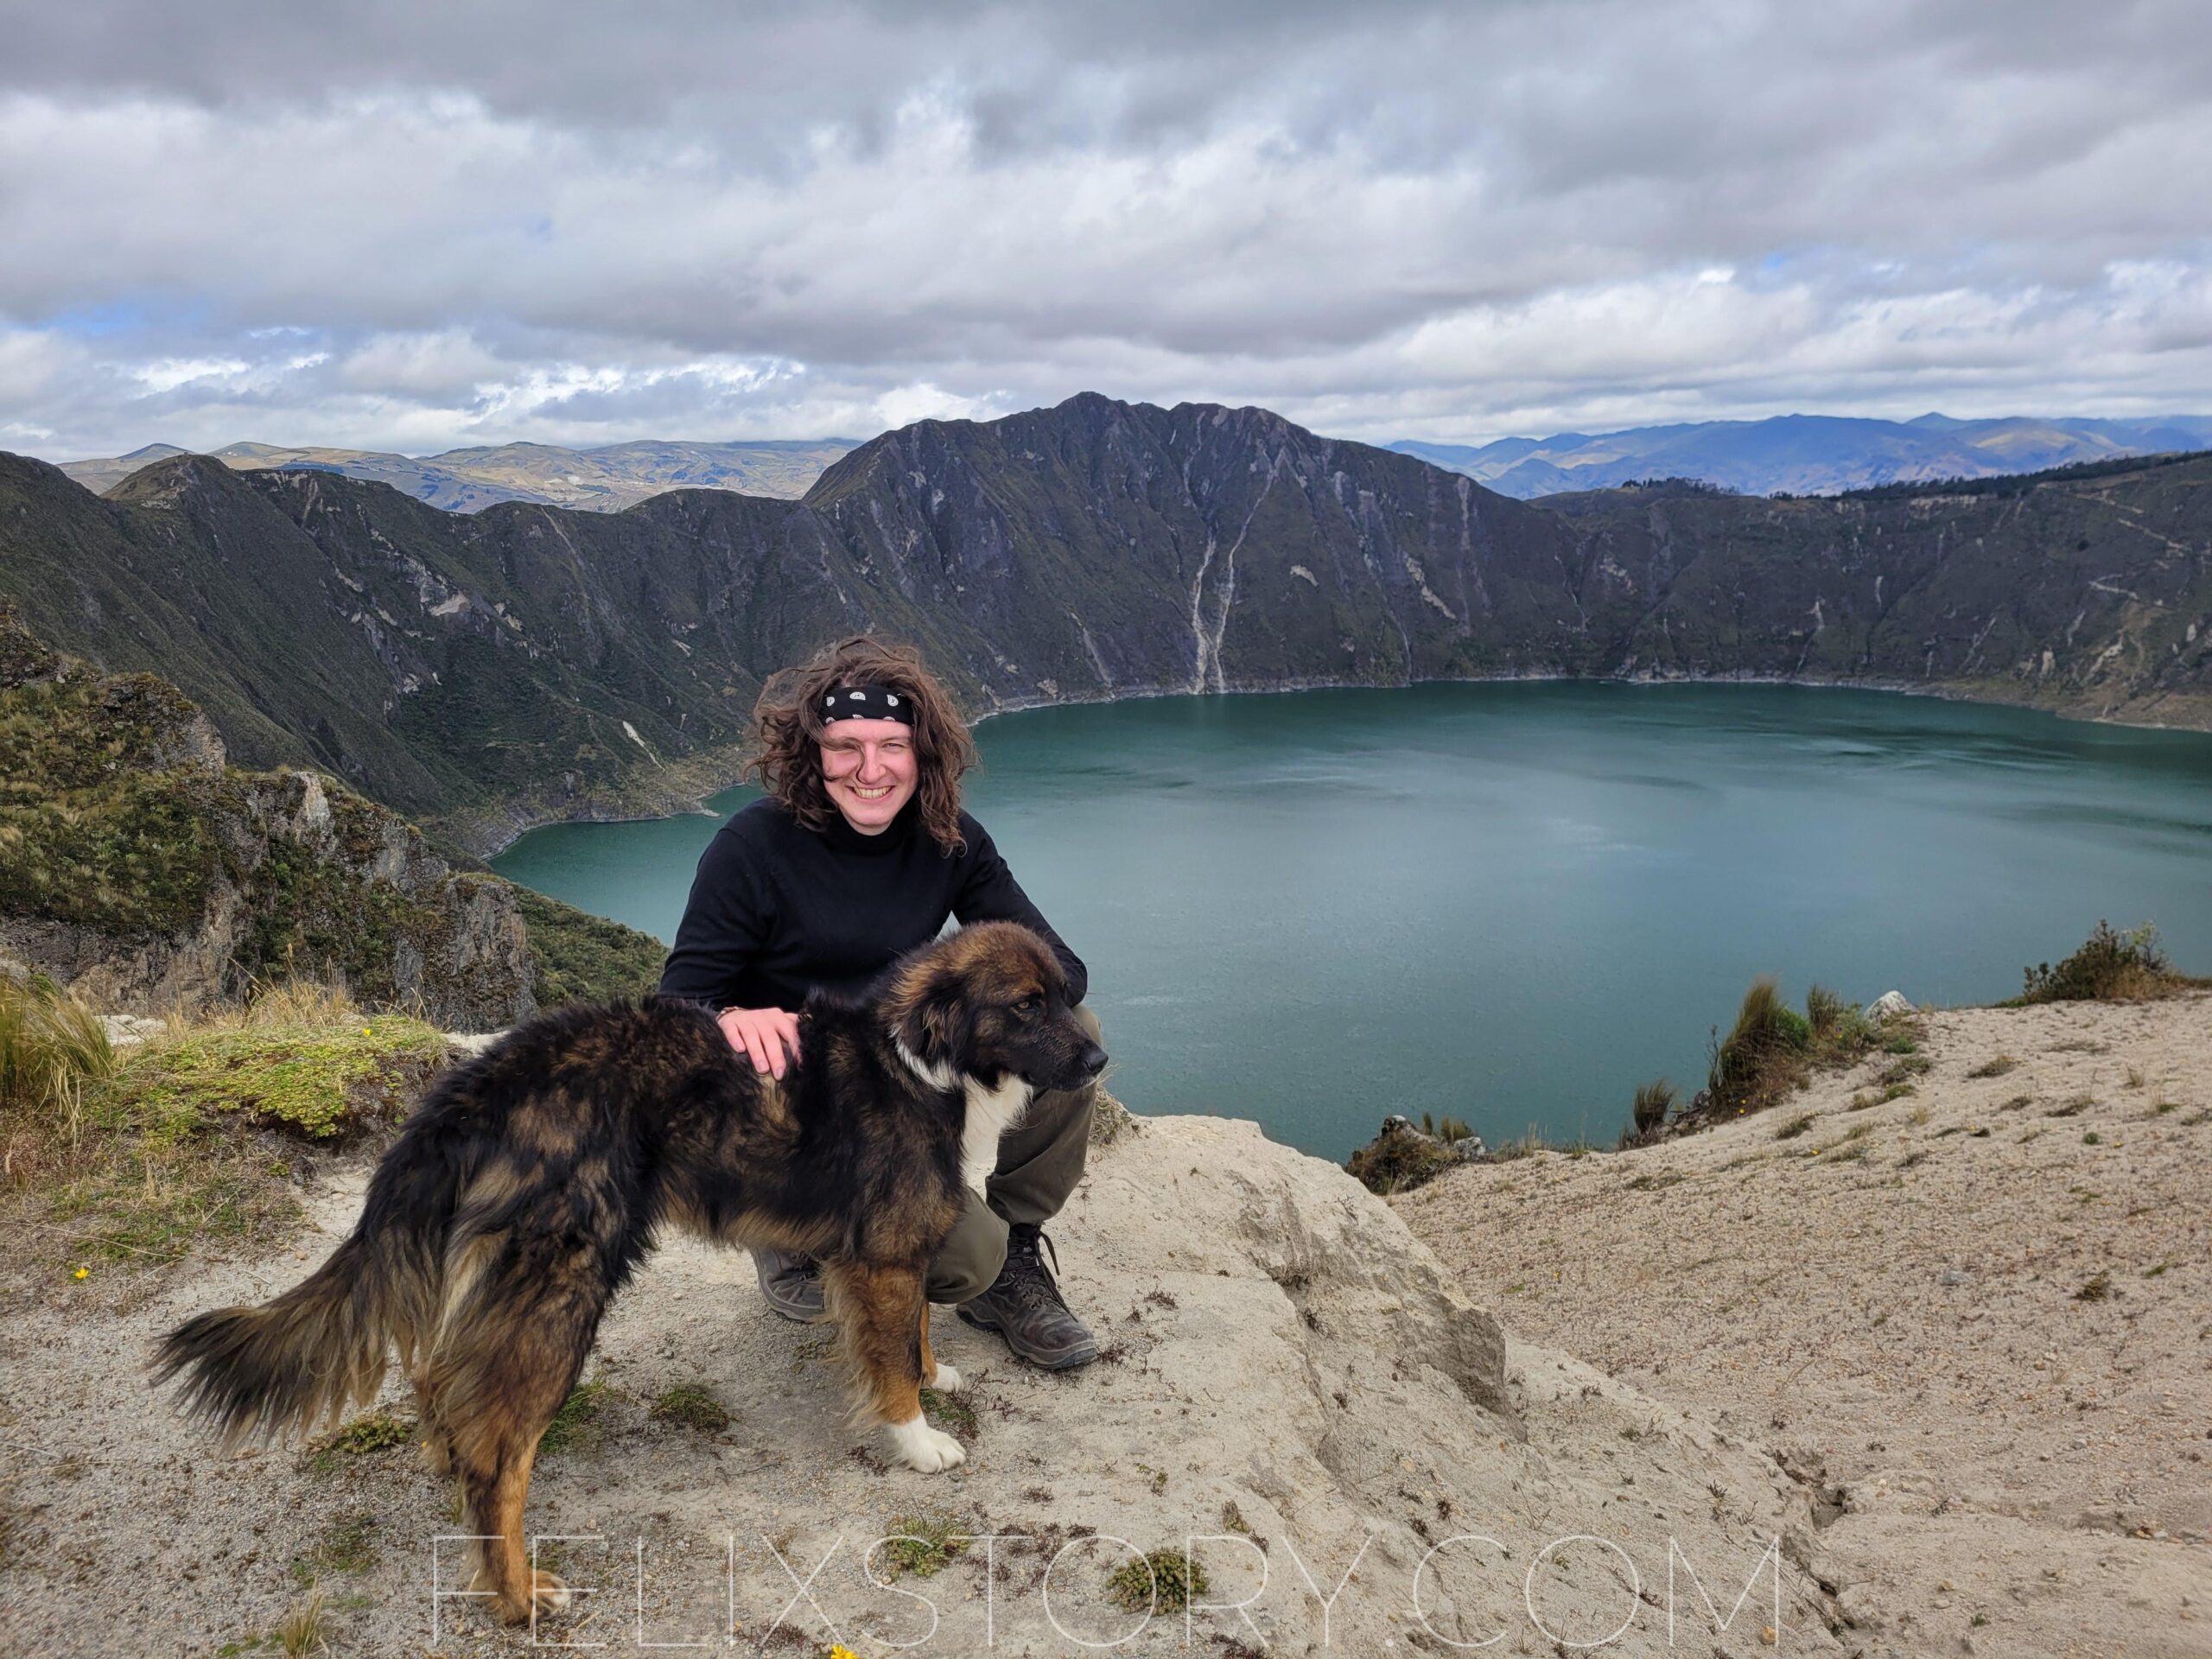
There are some people who do the hike in the opposite direction and start at the Quilotoa Lake. The “advantage” is that you will go predominantly downhill over the course of the days. The disadvantage is that you see the highlight of the trek before you’ve even started walking. It’s such a great feeling having walked for three days and arriving at this wonderful place, with all the fatigue blown away by awe. All the time you will have something truly stunning to look forward to while you do the hike. Hence, don’t do it the other way around 😊

Preparation

Your actual starting and end point is the city of Latacunga. The last thing you want and need is carrying all your stuff with you and there are several places in Latacunga where you can leave your things. The most popular option is to leave them at Hostal Café Tiana because they have lockers. The price is 4 $ per day per piece of luggage. I would not recommend staying there however, because honestly the quality of the hostel is not quite good and it’s pretty expensive. I stayed at Hostal Rosita Which is a 10-minute walk from the city Centre, but the rooms are really good and it’s just 15 $ for a private double room with hot shower and WiFi. Also, you can leave your stuff there for free, but there are no lockers. I left my stuff there and everything was fine, but if you have to store valuables, I would rather opt for Café Hostal Tiana and pay for the lockers.

You really don’t need more than a small backpack with a few clothes, a raincoat, sunscreen & mosquito repellent, some cash and a powerbank. Ideally, you also have a filter bottle that allows you to drink from any source of water. This saves both the environment and money and makes you more independent than ever, since you don’t have to buy bottled water.

Don’t forget to bring enough cash from Latacunga! There are no ATMs on the way and cards are not accepted. You can find the budget you need at the end of the post.

How to get to Sigchos

There is a bus that goes every day straight from the Latacunga bus terminal to Sigchos. The bus leaves every 2 hours from 8 AM onwards. The ride takes 2 – 2.5 h and costs you 2.65 $. Ideally, you take the bus at 8 AM, so you can enjoy the first day better. However, since the first day is particularly easy, it’s enough to start hiking at 1 PM, meaning you can also take the bus at 10 AM, if you prefer.

Where to stay

On the first day you walk from Sigchos to Isinlivi and there is really only one viable option to stay in Isinvili, which is the Llullu Lama Lodge. They have both bunk beds and apartments. Dinner and Breakfast is included and for a small fee there is even a sauna and whirlpool available. The atmosphere there is great and I would recommend to book ahead, because there are only two options in Isinlivi and Llullu Lama is definitely the preferable one.

On the second day you walk from Isinlivi to Chugchillan. Unlike Isinlivi, Chugchillan has many accommodation options and there is no need to book ahead. I stayed at Black Sheep Hostel, which is 20 $ for a bunk bed but it includes breakfast, a fantastic dinner and a lunch box when you head out. Coffee, Tea and Cookies as well as purified water is available all day long for free. And what I found really great is that everything is vegetarian. If all that isn’t convincing enough, I got to tell you they have the most spectacular toilet I’ve ever seen. Its basically a garden inside there with a window that points to the sunrise spot. You’re going to love it. A sauna is available as well (at extra cost)

DAY 1: Sigschos to Isinlivi

This is the easiest day and you will likely need just a few hours. From Sigchos you walk down into a valley and then up again on the other side. In my opinion it is completely reasonable to combine day 1 and day 2 and make it a “proper” hike. And yet, I wouldn’t recommend it. The Llullu Lama Lodge as well as the Black Sheep Hostel are amazing places to hang out and chill and it would be a pity if you skip enjoying Llullu Lama and only get to Chugchillan so late, that you are merely having dinner and go to bed. It is much more fun to do it in 3 days and be in pace with most other people you will meet and connect with on the way. A few hours hiking per day and then relaxing, what a bliss.

Map Day 1: Sigchos - Isinlivi
Profile Day 1: Sigchos - Isinlivi

DAY 2: Isinlivi to Chugchillan​

This day is indeed a little harder than day 1 but is still nothing to worry about. There is just this one tricky spot, where it is easy to get lost, because the path is not entirely clear. After you reach a viewpoint and stay on the cliffs you have to keep walking on the same height. There is a path that descends to the river that is below you in the valley. That is not the right path. Don’t go down, that’s a dead end. I was very confused here and climbed up the hill in a completely different spot until I finally reached the proper path, don’t do the same mistake.

Overall, this is a beautiful day. You will see wonderful views over the valley you’ve walked in and see some animals here and there. Horses, mules, cows, lamas and dogs. The hike gave me a feeling of peace. It was calming.

Map Day 2: Isinlivi - Chugchillan
Profile Day 2: Isinlivi - Chugchillan

DAY 3: Chugchillan to Quilotoa and Return to Latacunga

This is the big day, today you will reach the reason behind this trek: The marvelous Quilotoa Crater Lake! From the hiking perspective this is the most beautiful day as well, because you will walk along a gigantic canyon. It is worth the hike and even if some people have the idea of skipping this day to be able to walk the entire circumference of the crater, I wouldn’t recommend that. Firstly, it’s worth the hike to the lake. Secondly, you won’t have completed the initial challenge and lastly you will walk half the circumference anyways to get to the Quilotoa village where the buses leave to Latacunga. Not doing the entire circumference isn’t of importance. If you are very fit and leave Chugchillan early, you could even hike the entire circumference after finishing the actual trek. I know people who’ve done that.

Return to Latacunga

After you reach the Quilotoa village, you have to walk along the main street to the exit of town. Right where the town ends the buses are waiting. The time schedule is irregular, but I’ve got you covered. The timetable is right below. The price is 2.50 $ and the ride takes about 2 hours.

Map Day 3: Chugchillan - Quilotoa
Profile Day 3: Chugchillan - Quilotoa

Budget

With 42 $ per person you’re covered for accommodation, breakfast and dinner. Transport from and to Latacunga is 5.50 $ in total. Furthermore, you might want to use amenities like Sauna or the Whirlpool which accounts for a budget of ~10 $ and need some money to have a take-away lunch which shouldn’t cost more than 5 $ each or 15 $ in total. That means that your budget is about 75 $ per person, which is a quite conservative estimate. With 100 – 120 $ of cash you should be covered for any situation. Remember to bring that cash amount from Latacunga, since there are no ATMs anywhere around.

Summary

QUILOTOA LOOPDay 1Day 2Day 3
Start PointSigchosIsinliviChugchillan
End PointIsinliviChugchillanLaguna Quilotoa
Start Point Altitude2850 m2920 m3140 m
End Point Altitude2920 m3140 m3510 m
Highest Altitude PointIsinliviChugchillanQuilotoa Village
Highest Altitude2930 m3140 m3860 m
Distance10.5 km11.1 km13.1 km
Total Climb450 m640 m1010 m
Total Descend380 m420 m640 m
Difficulty3 out of 104 out of 106 out of 10

RELATED POSTS

featured image
ECUADOR COAST GUIDE: MONTAÑITA, AYAMPE, ISLA DE LA PLATA
I intended to spend a whole week at the coast of Ecuador and live in a cozy bungalow right at the beach of Ayampe, a small laid-back surfer town. Doing one week of just surfing, napping...
Read More
Screenshot 2023-01-18 211214
BEST OF BAÑOS IN 4 DAYS
Baños, located in the Tungurahua province of Ecuador, is a popular tourist destination known for its beautiful scenery, outdoor activities, and therapeutic hot springs. The town is...
Read More
20220805_135411
HOW TO VISIT (AND BIKE) THE COTOPAXI VOLCANO
Cotopaxi Volcano, located in the Andes mountains of Ecuador, is an awe-inspiring natural wonder that should be on every nature lover's bucket list. Standing tall at 5,897 m (19,347...
Read More
20220801_140548
BEST OF MINDO (ECUADOR) IN 3 DAYS
The town San Carlos in the Mindo Valley, mostly known as Mindo is a small village in the cloud forests of Ecuador. Being situated in a relatively low elevation of 1250 m on the western...
Read More
20220729_141552
HIKING TO RUCU PICHINCHA (4669 M) FROM QUITO
For me this was the first time ever crossing the boundary of 4,000 m and I surely did underestimate what altitude sickness means. Personally, this was the first step towards my ultimate...
Read More
20220727_154450
BEST OF QUITO WITH DAYTRIPS IN 5 DAYS
Quito has the most original and best preserved colonial old town in South America and is the highest capital on Earth at 2850 m (Though La Paz in Bolivia is the highest administrative...
Read More